The ClipBar
Semester long research and product production project
With William Tyerrill
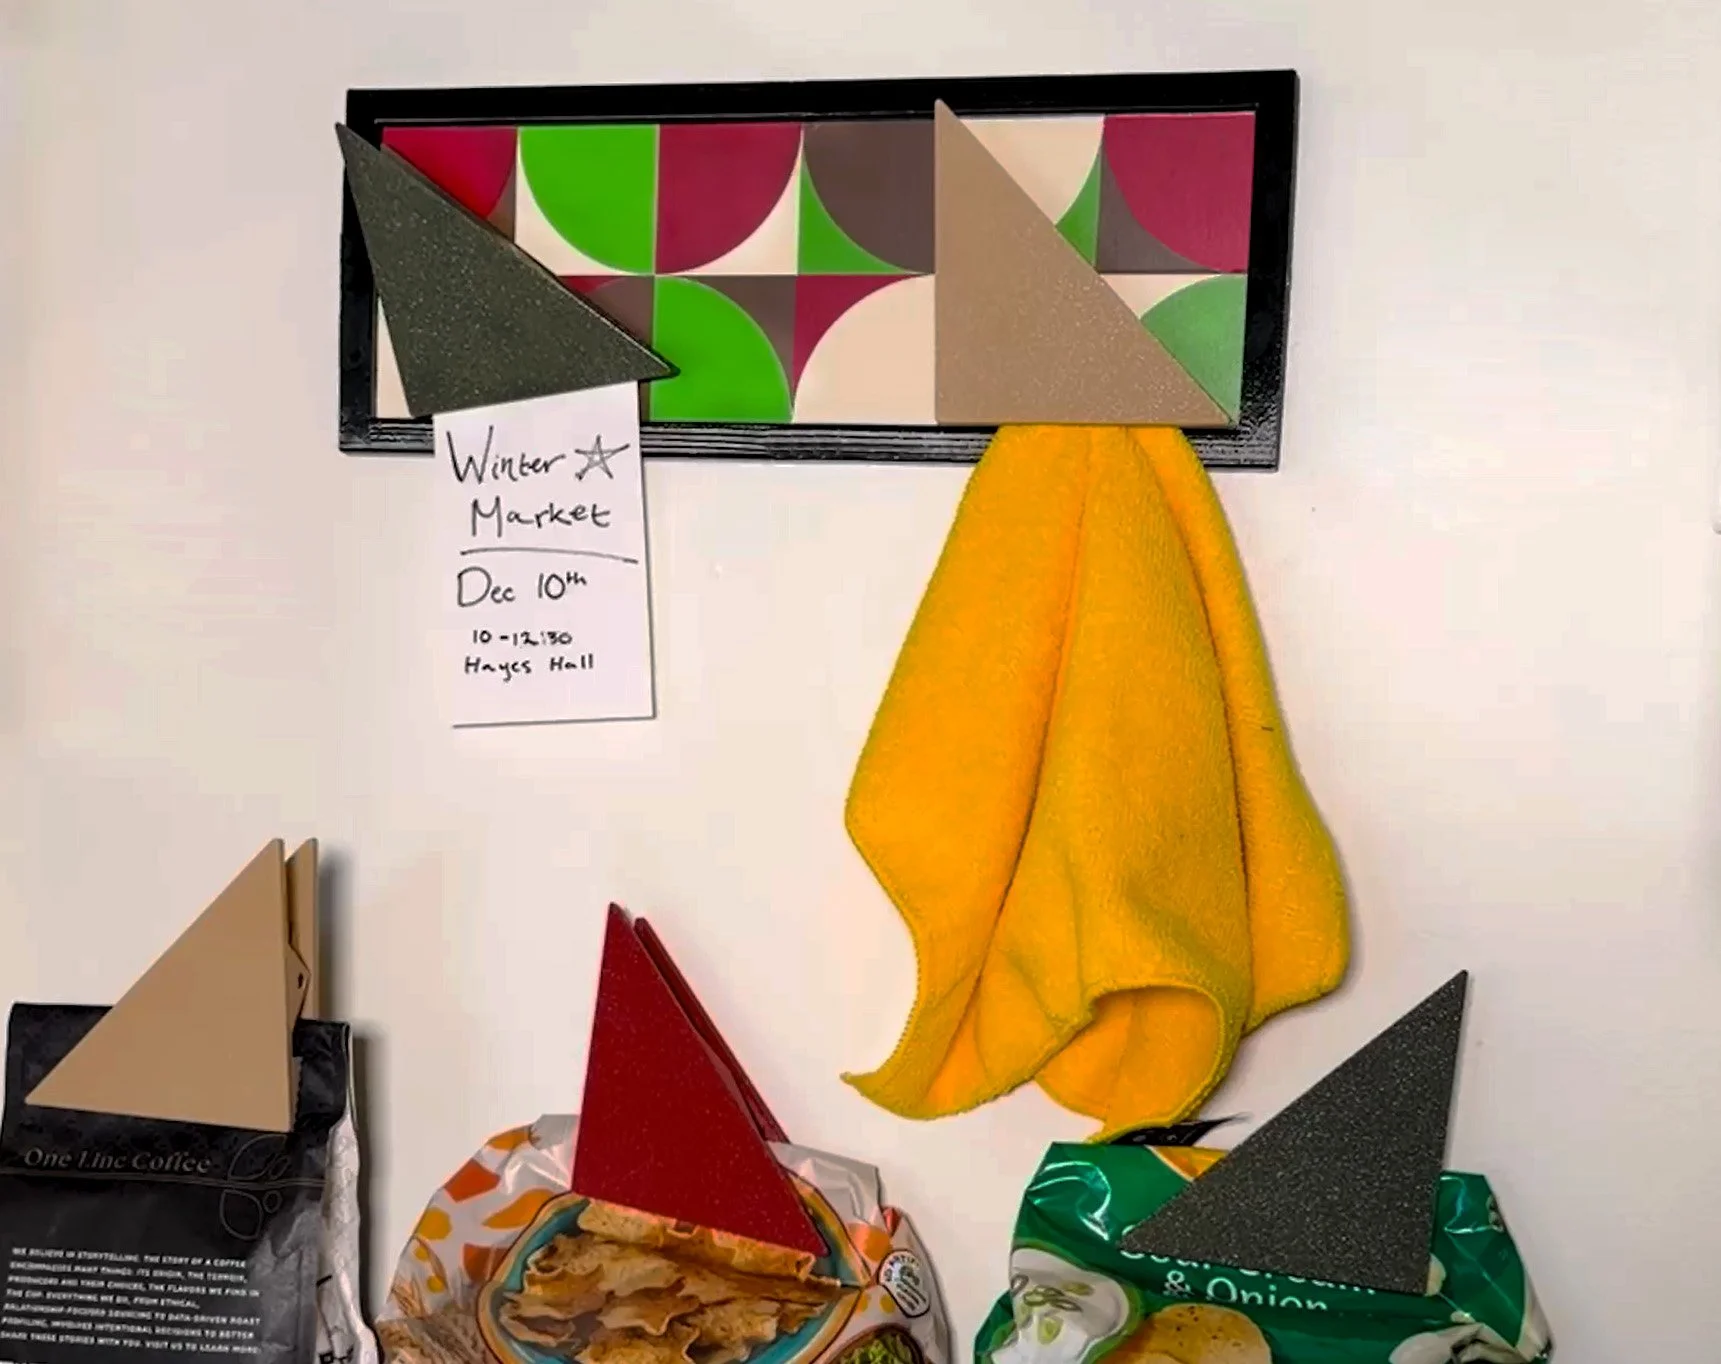
The ClipBar is a sleek, wall-mounted frame carrying six sturdy and sustainable chip clips.
When your chip clips illude you in the black hole that once was your utensil drawer, look no farther than The ClipBar.


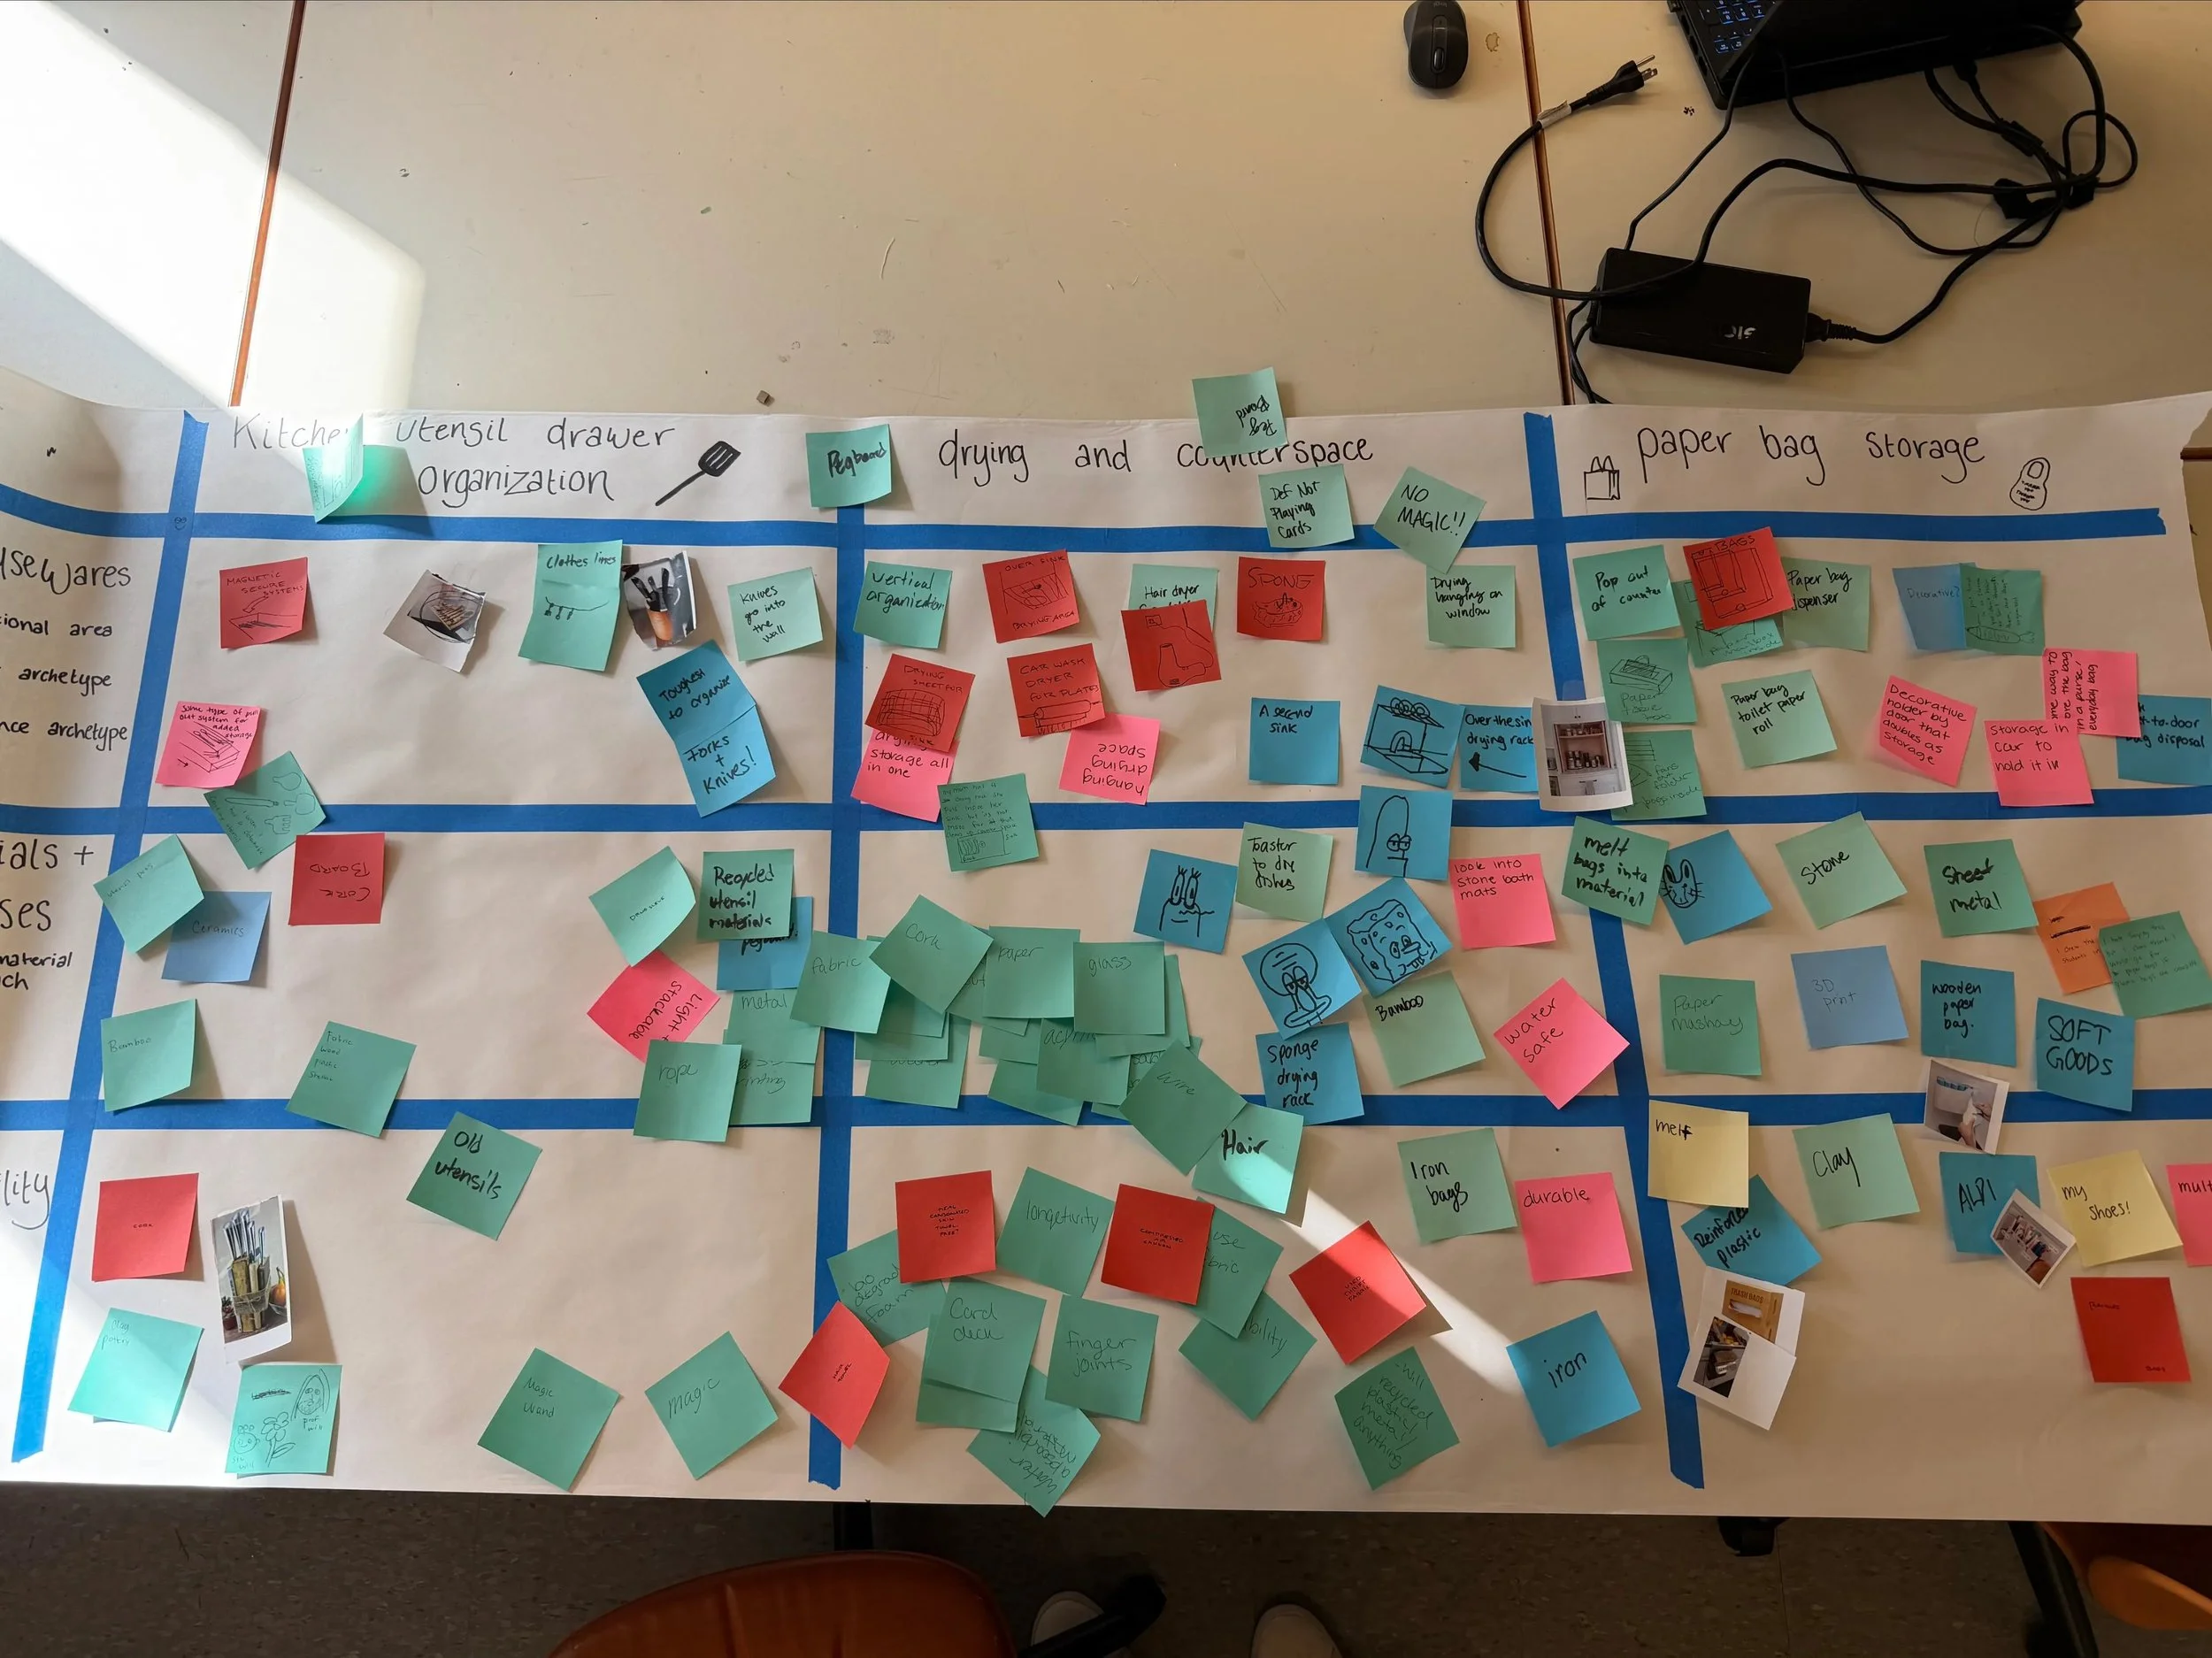
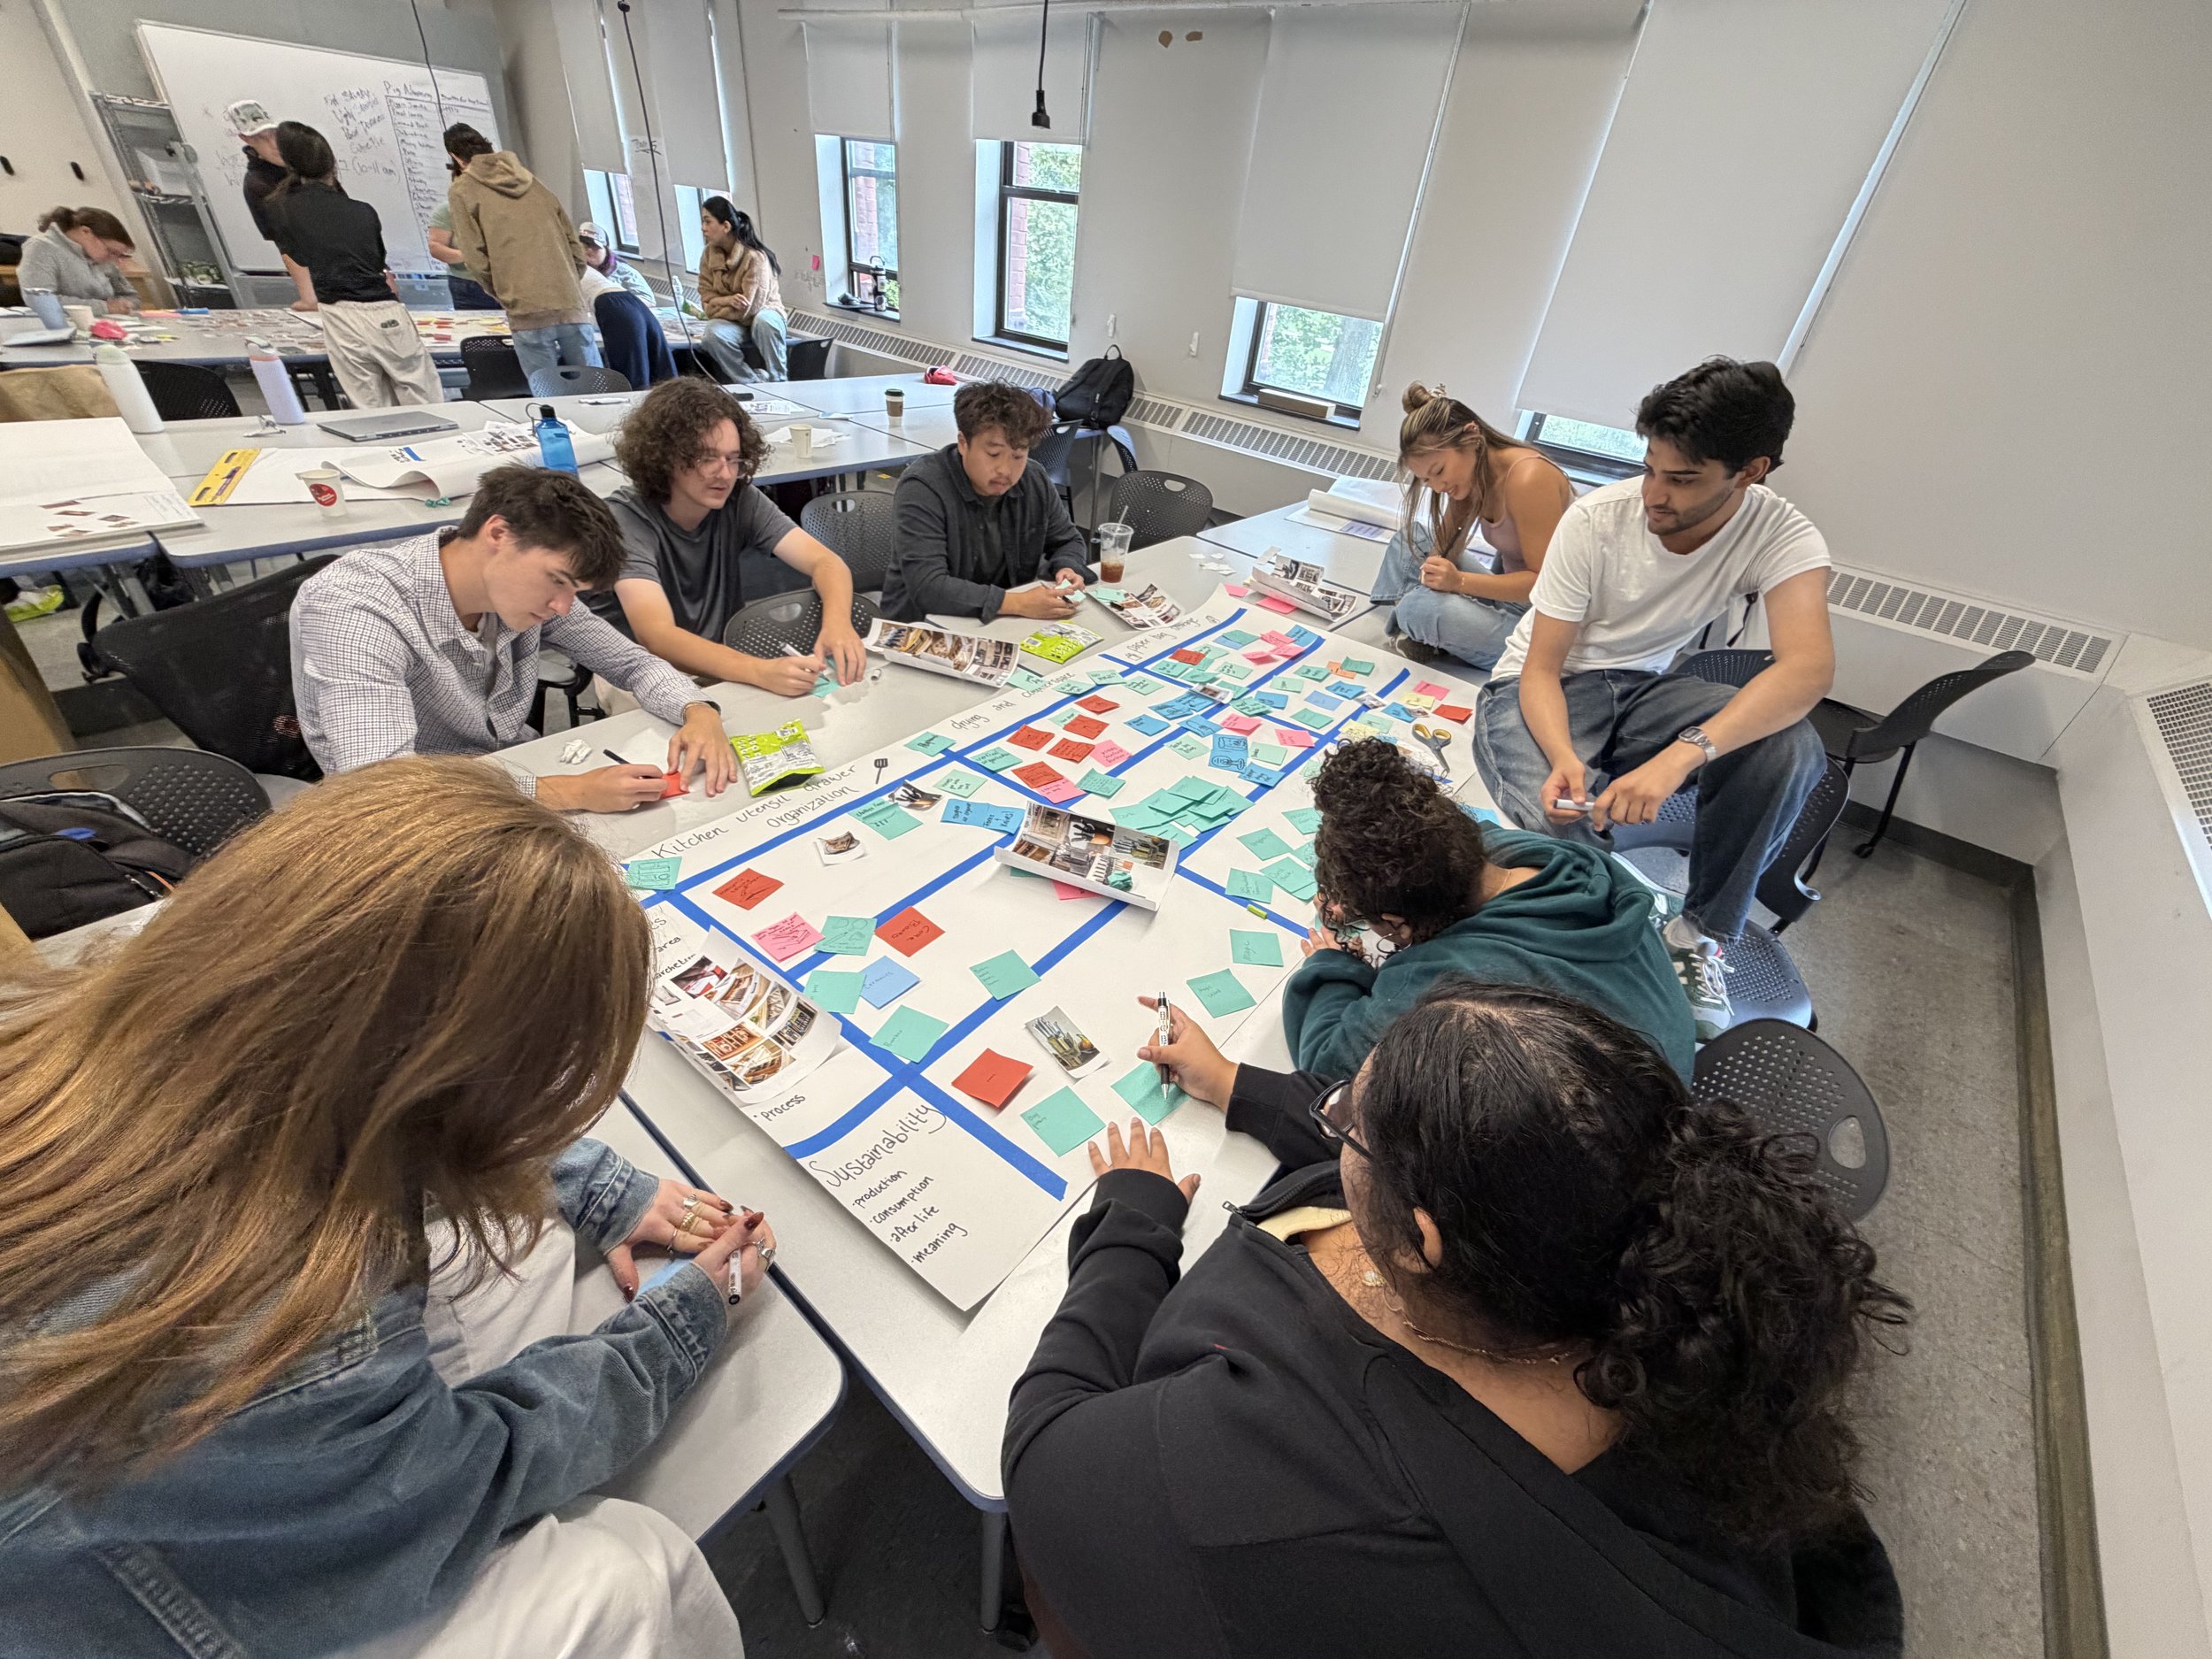
Initial Research
Will and I went to countless kitchens, studying and photographing everything we could. In the end, we settled on three “actionable insights”, or common pain points that our product could address. These insights included a common issue with storing utensils beyond silverware, the drying space taking up a majority of counter space, and little to no storage space for both plastic and paper bags.
Sketching and Ideating
From our insights, Will and I came up with as many ideas as we could that would benefit the average person without being redundant with what is already on the market. Here are a few of our ideas in the form of sketches and quick prototypes.
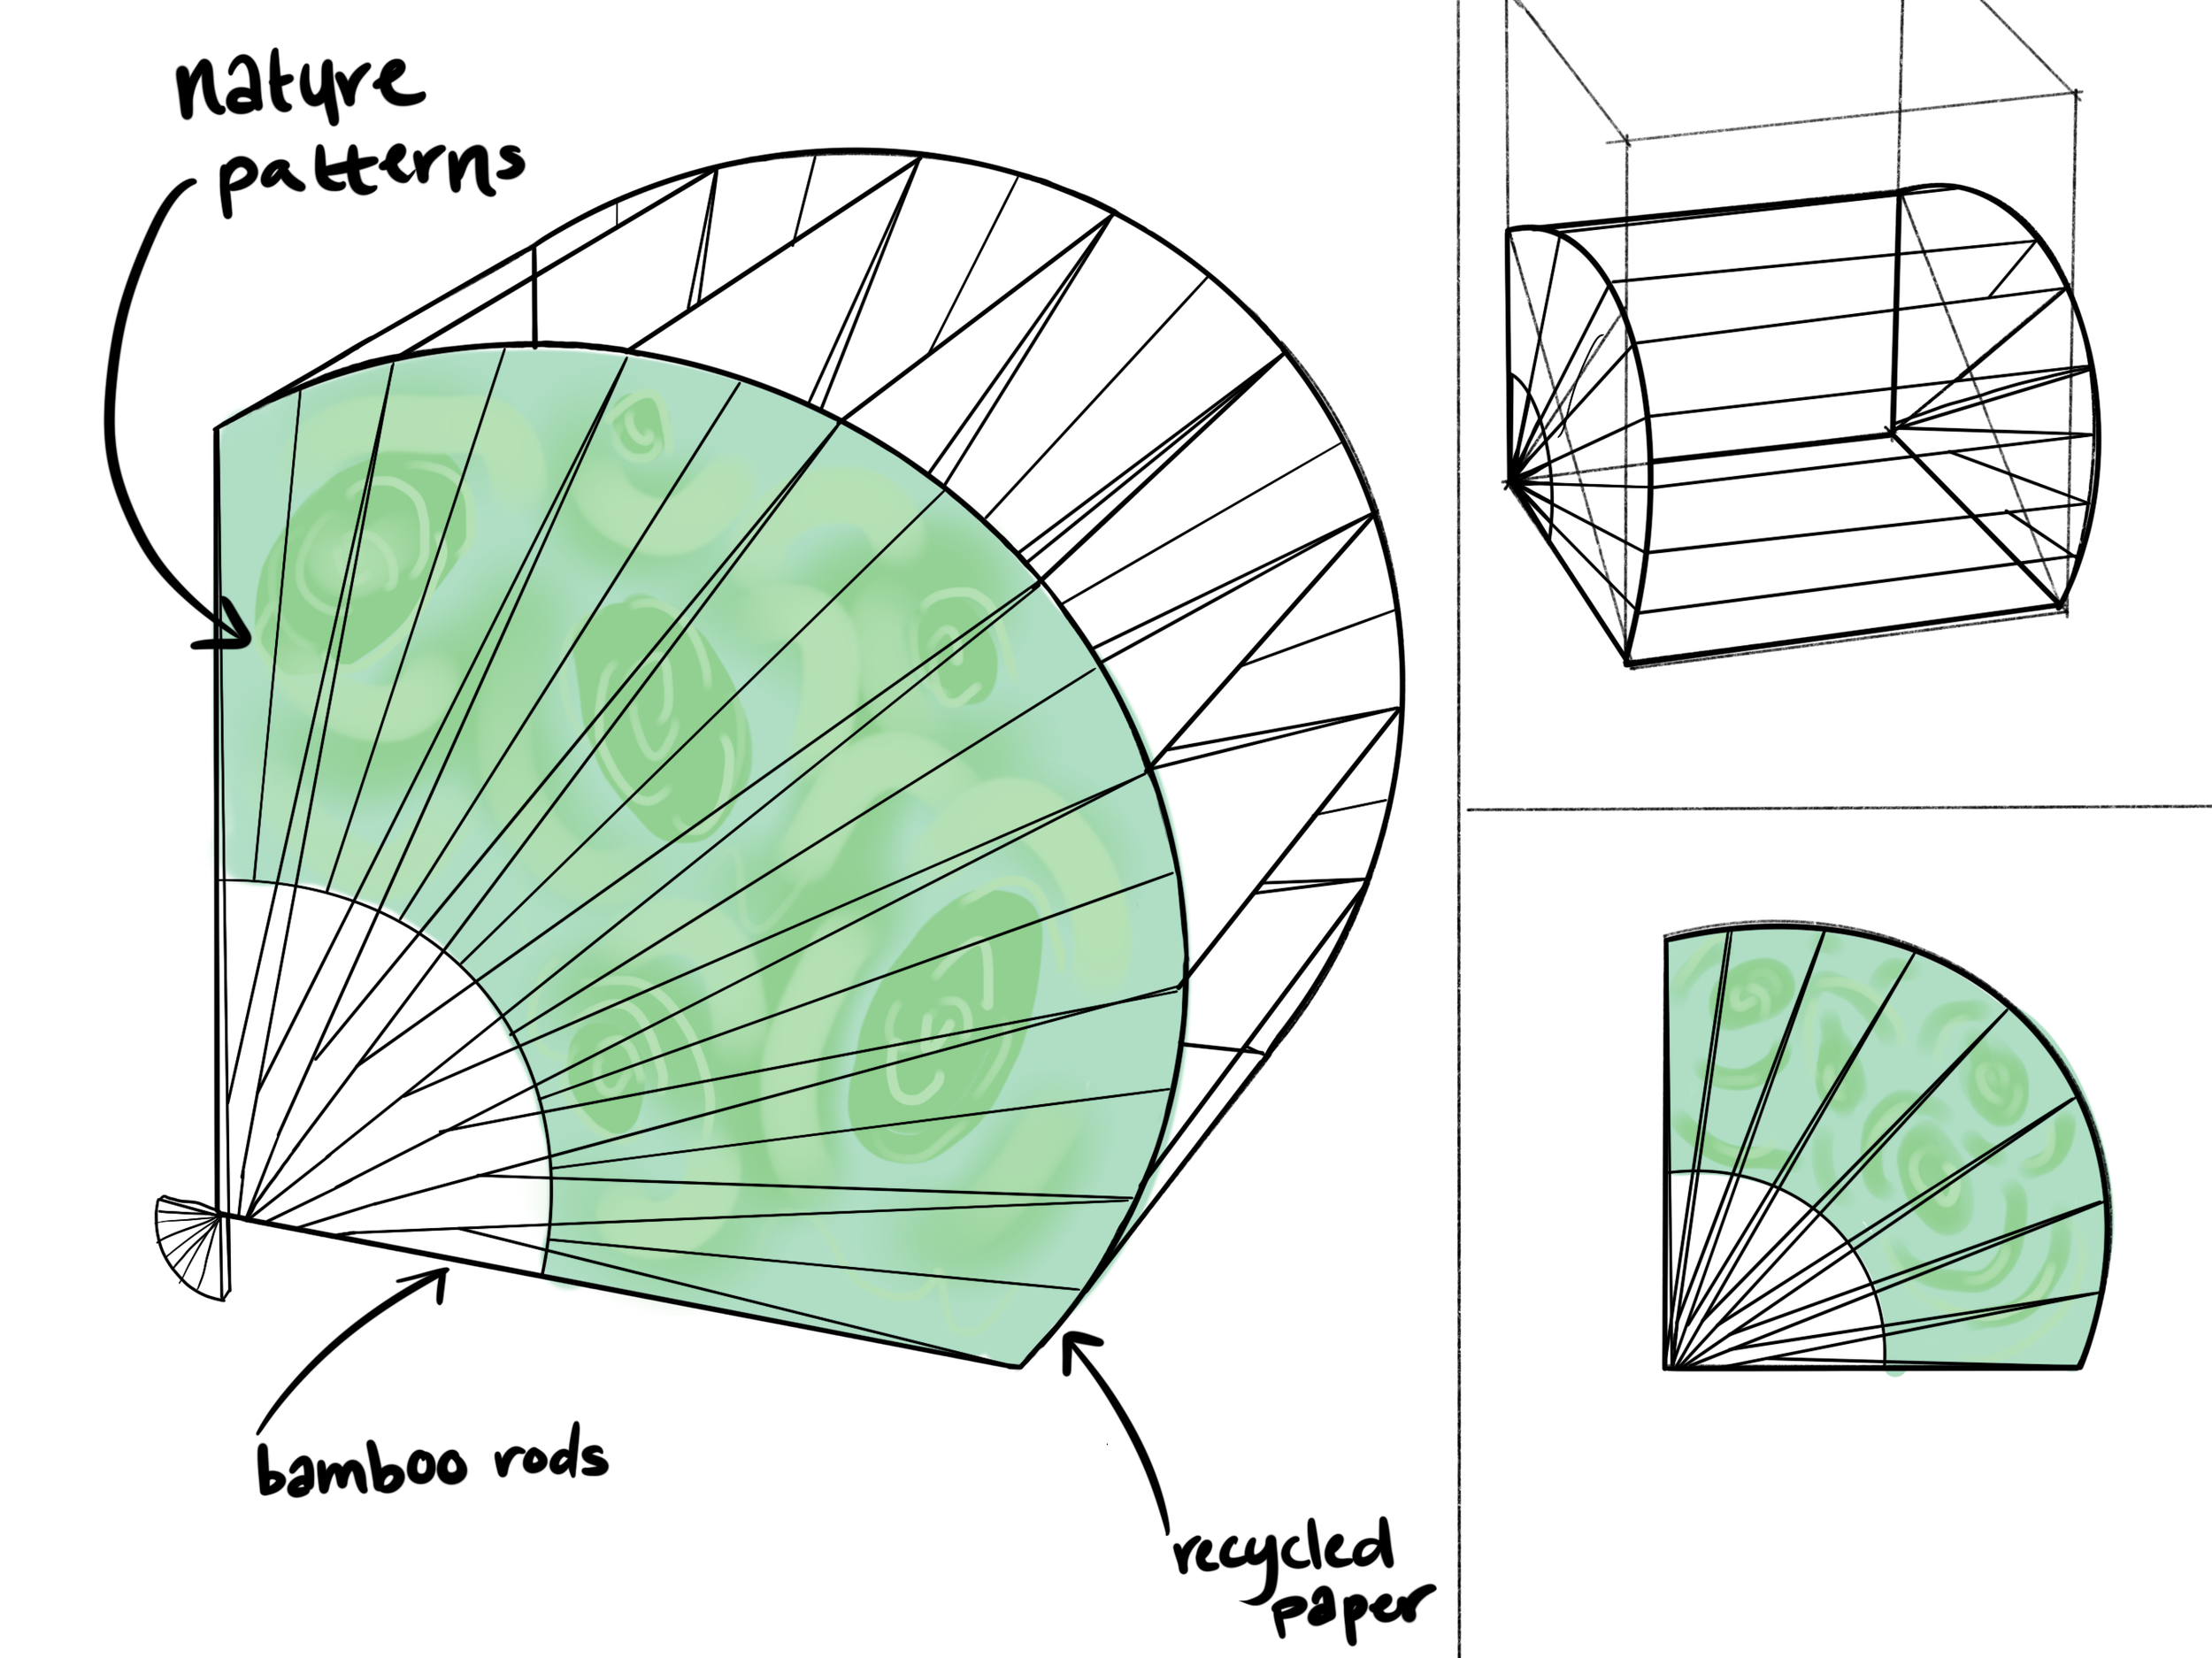
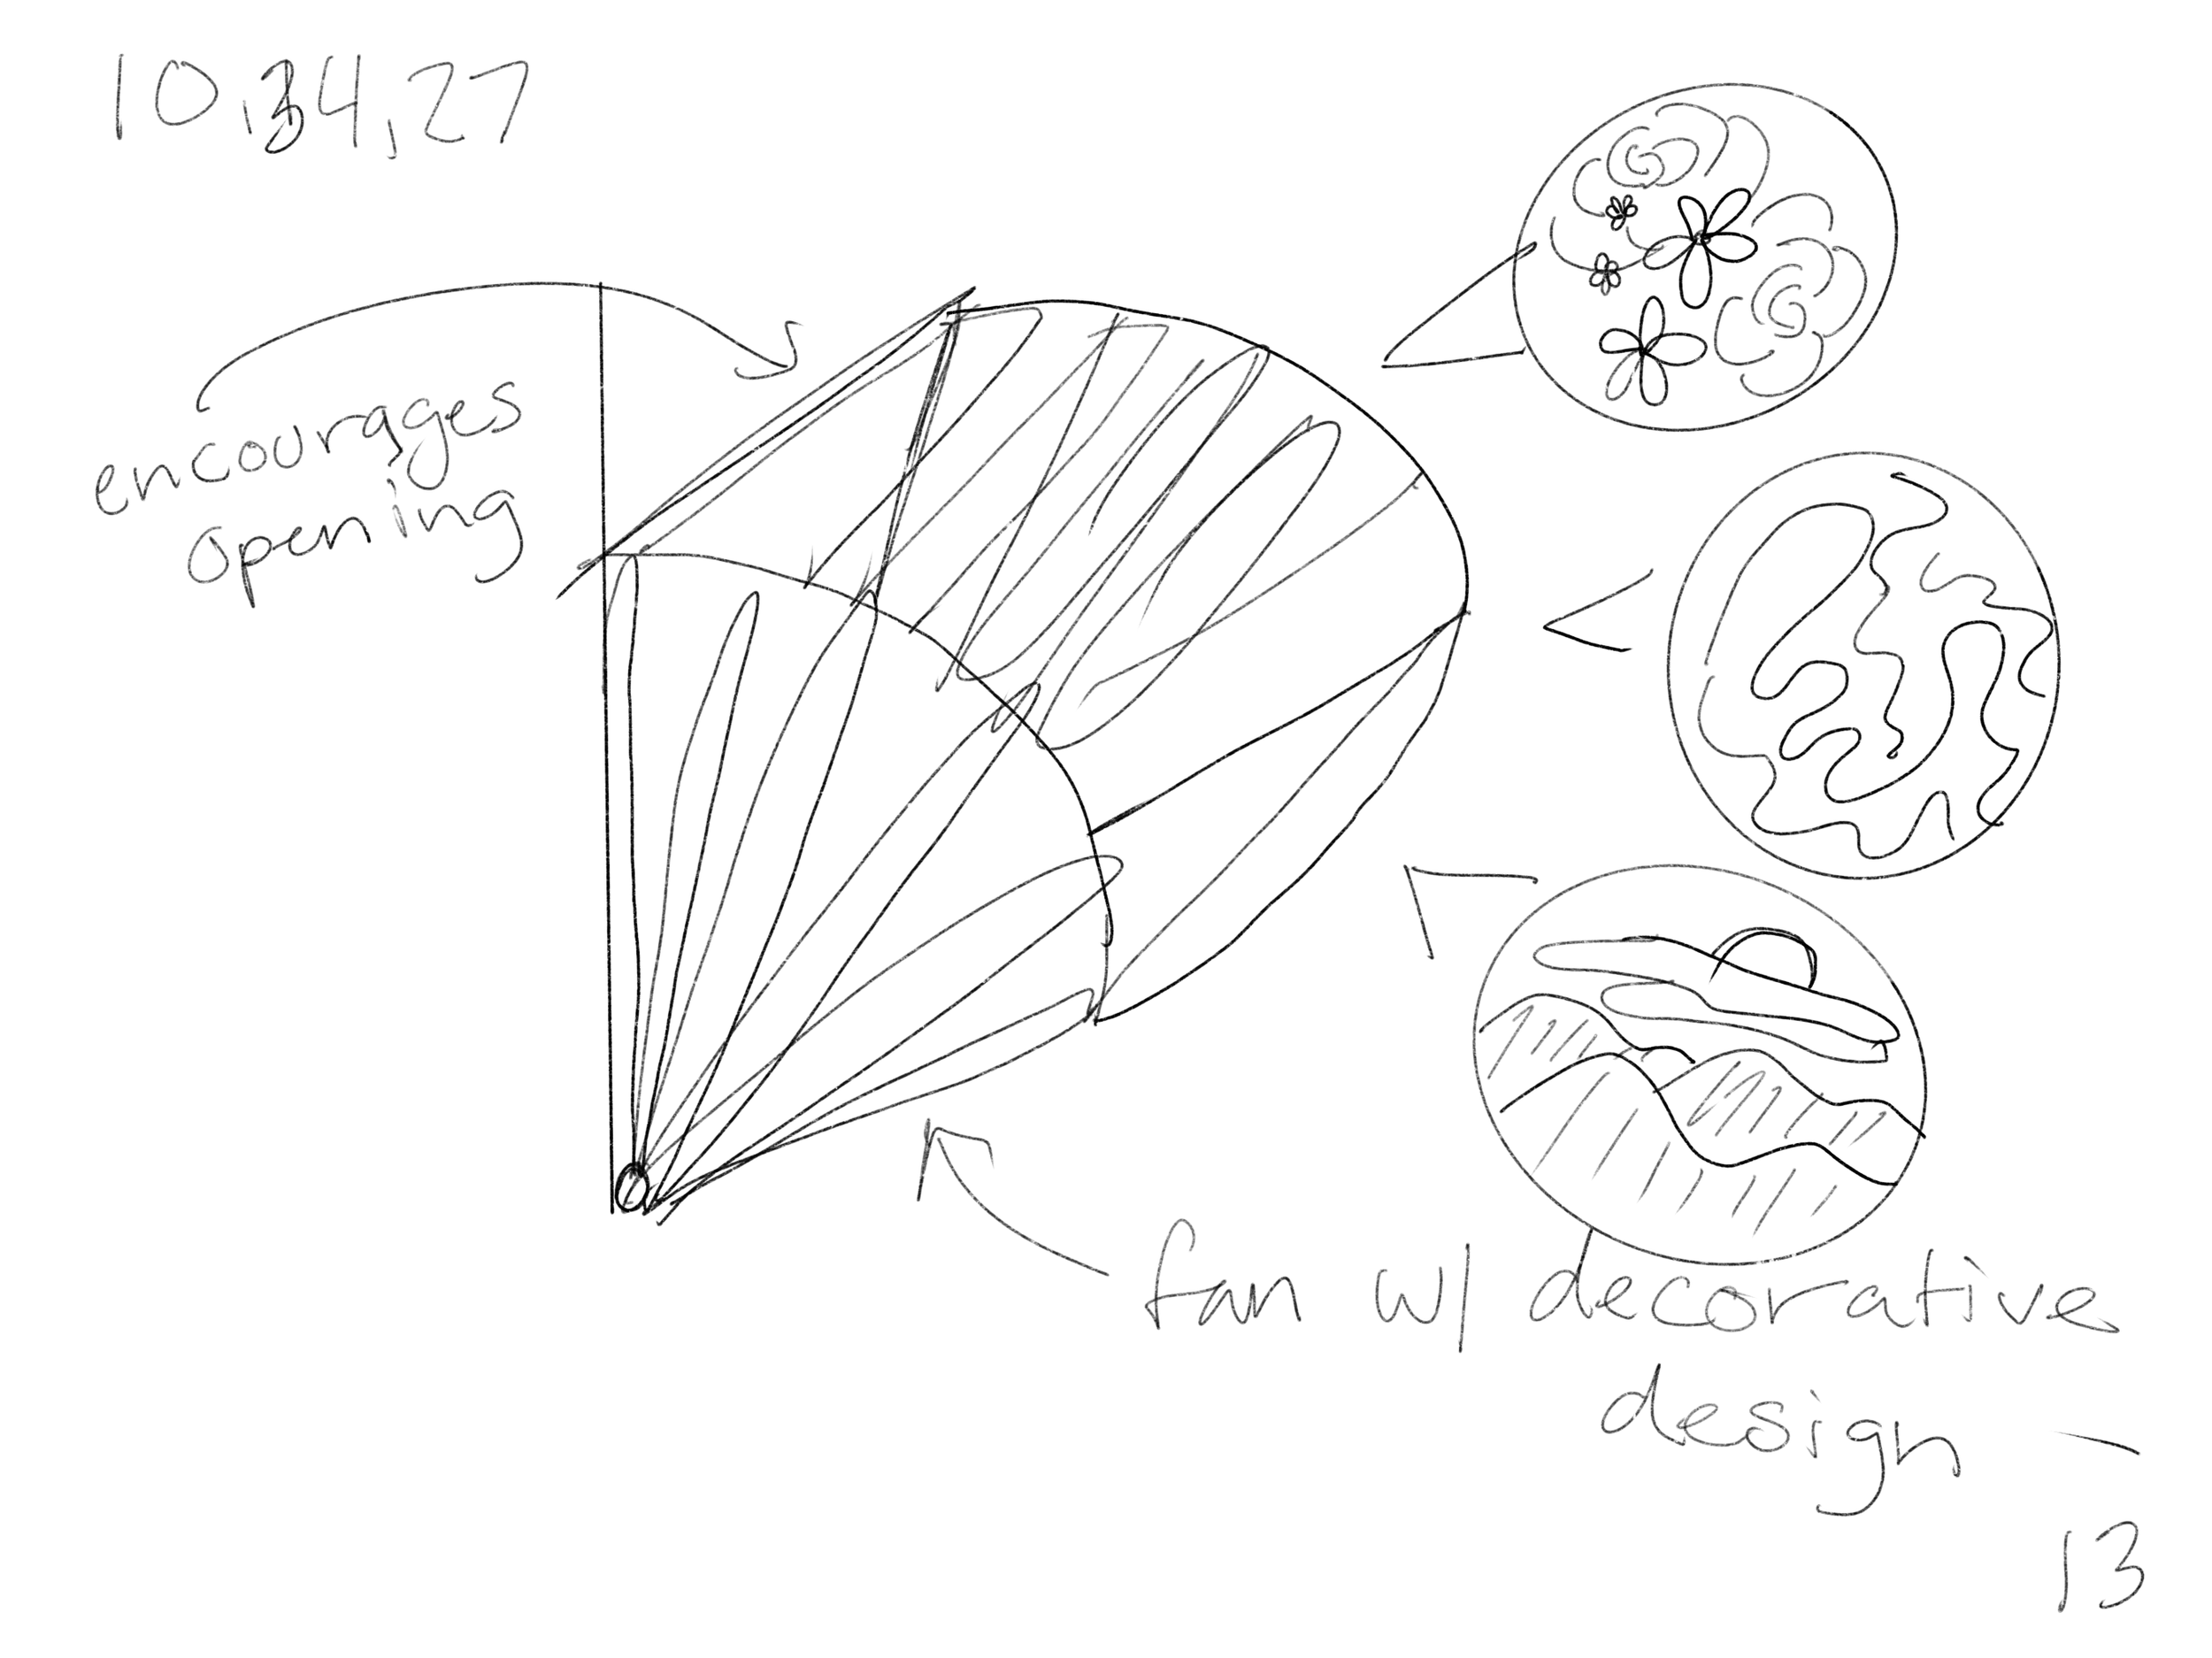
Fan-inspired bag holder
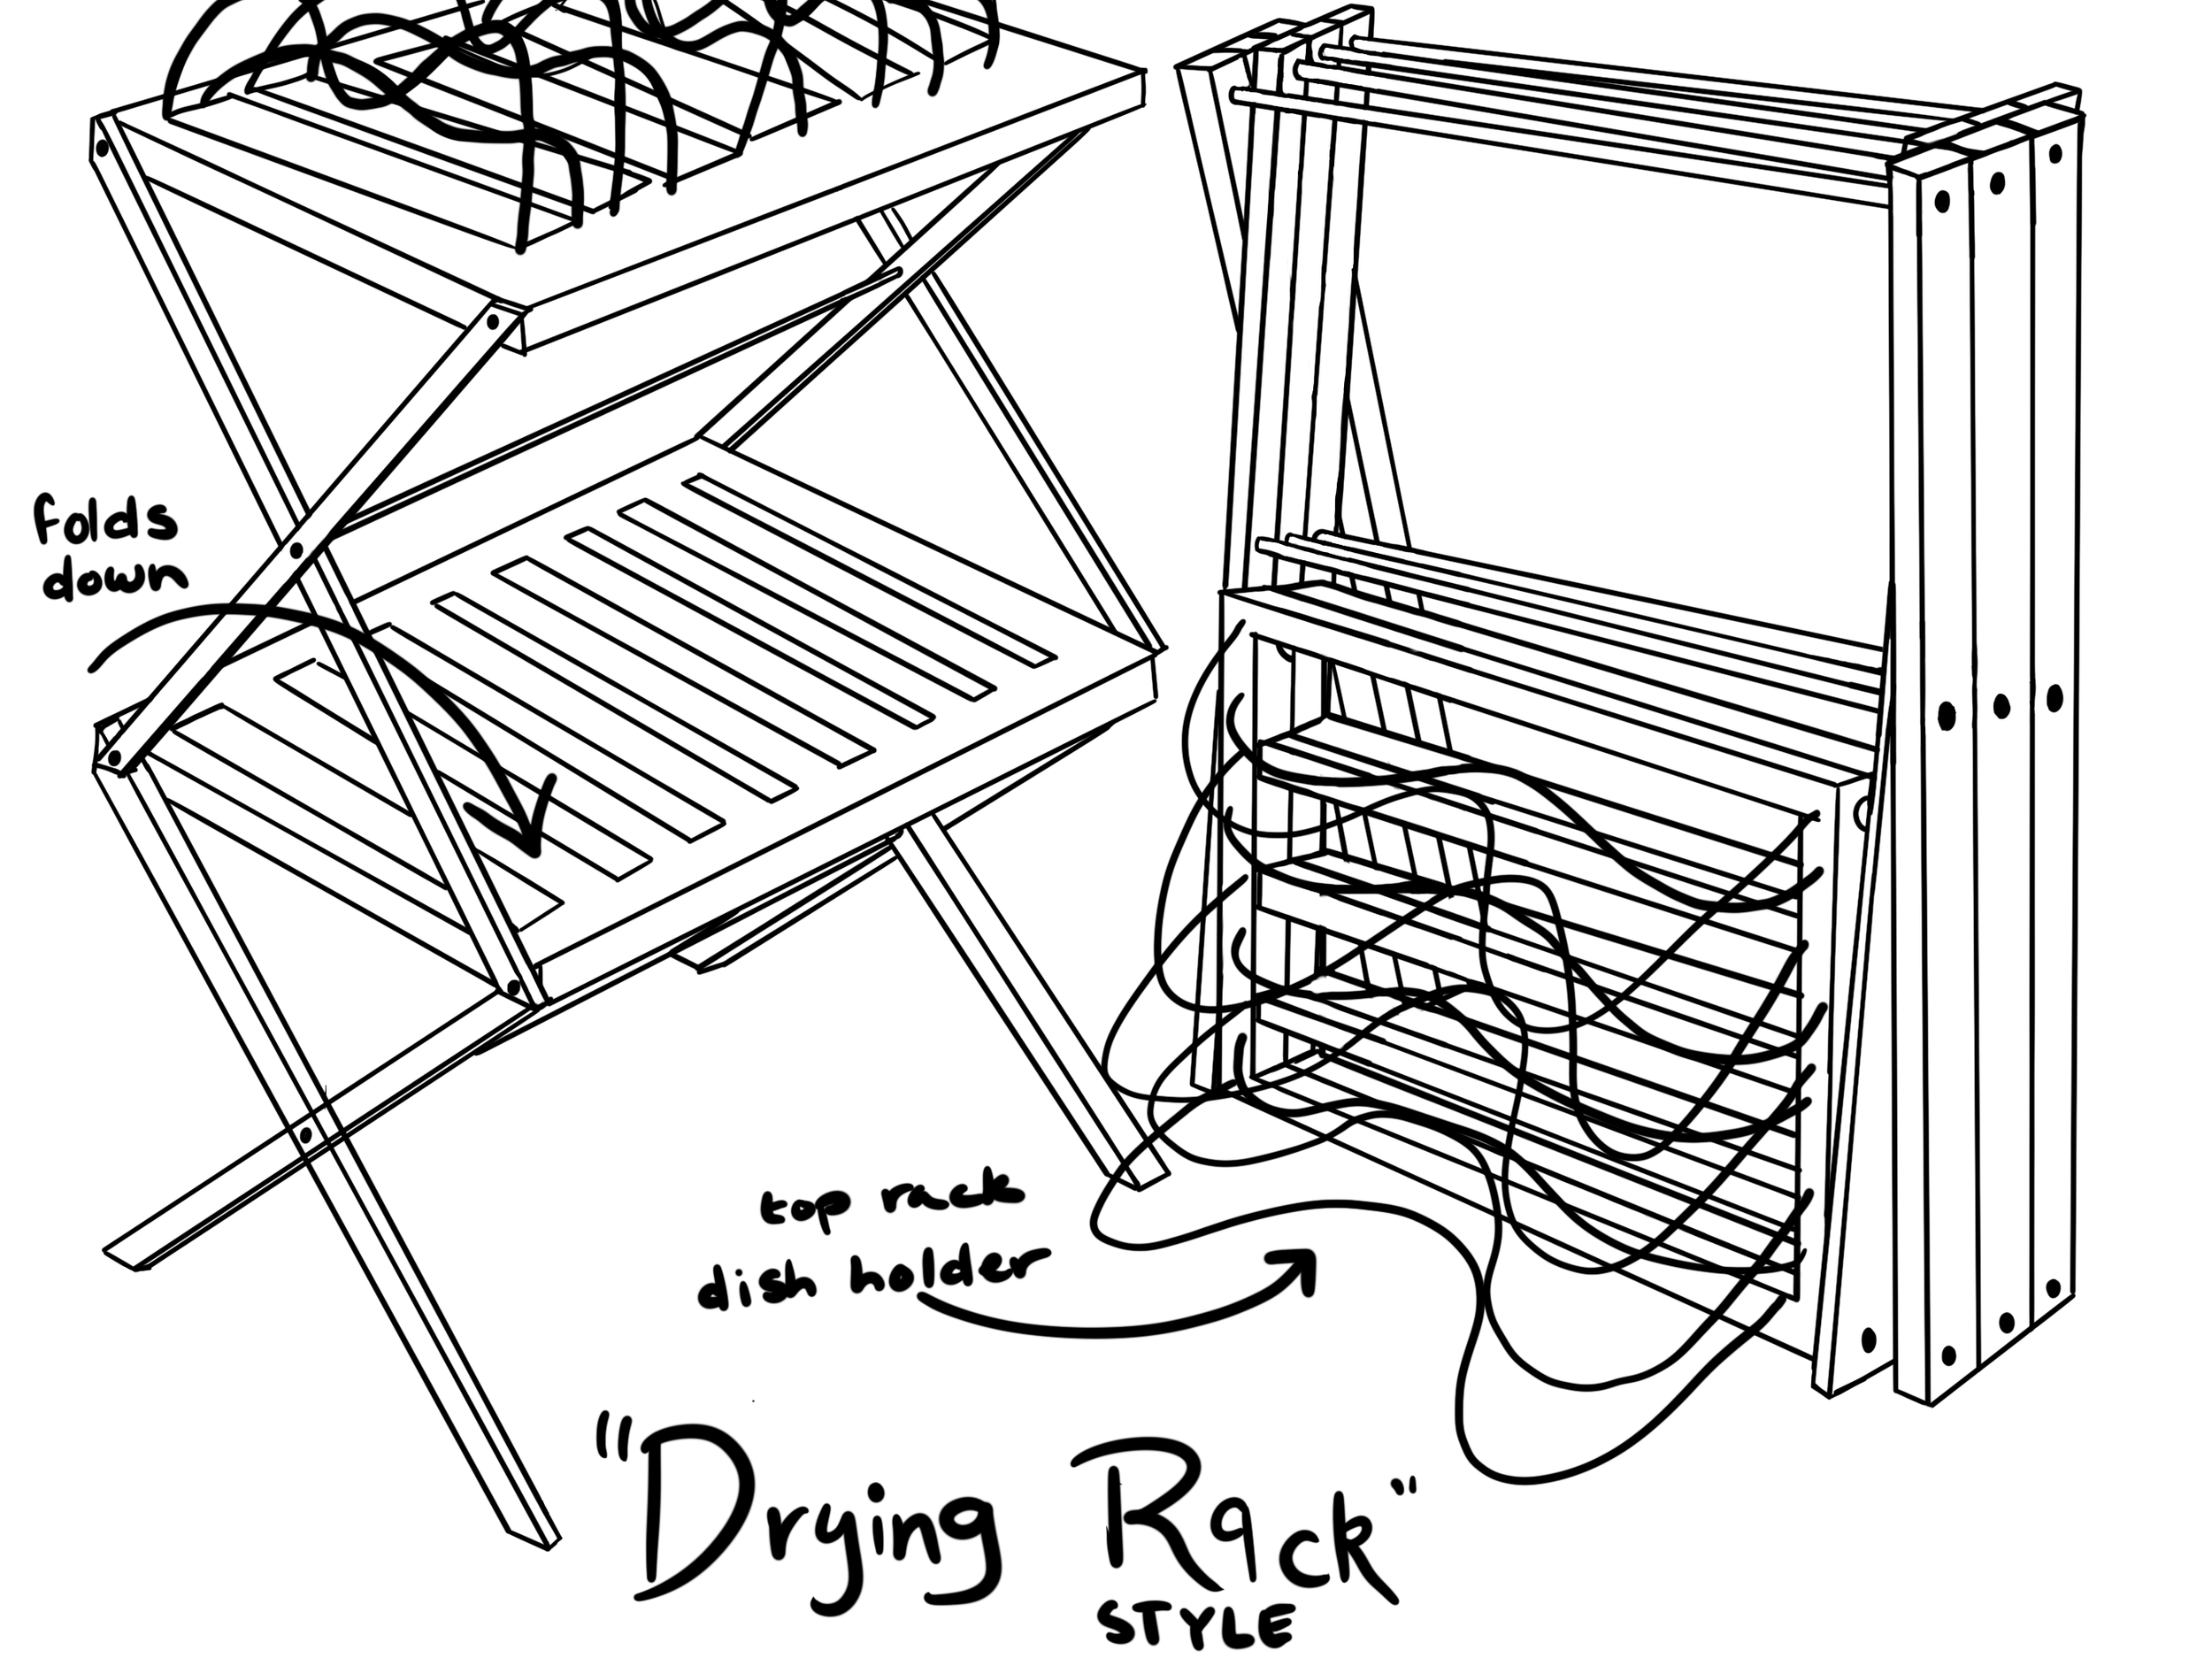
"Clothing rack" style drying rack
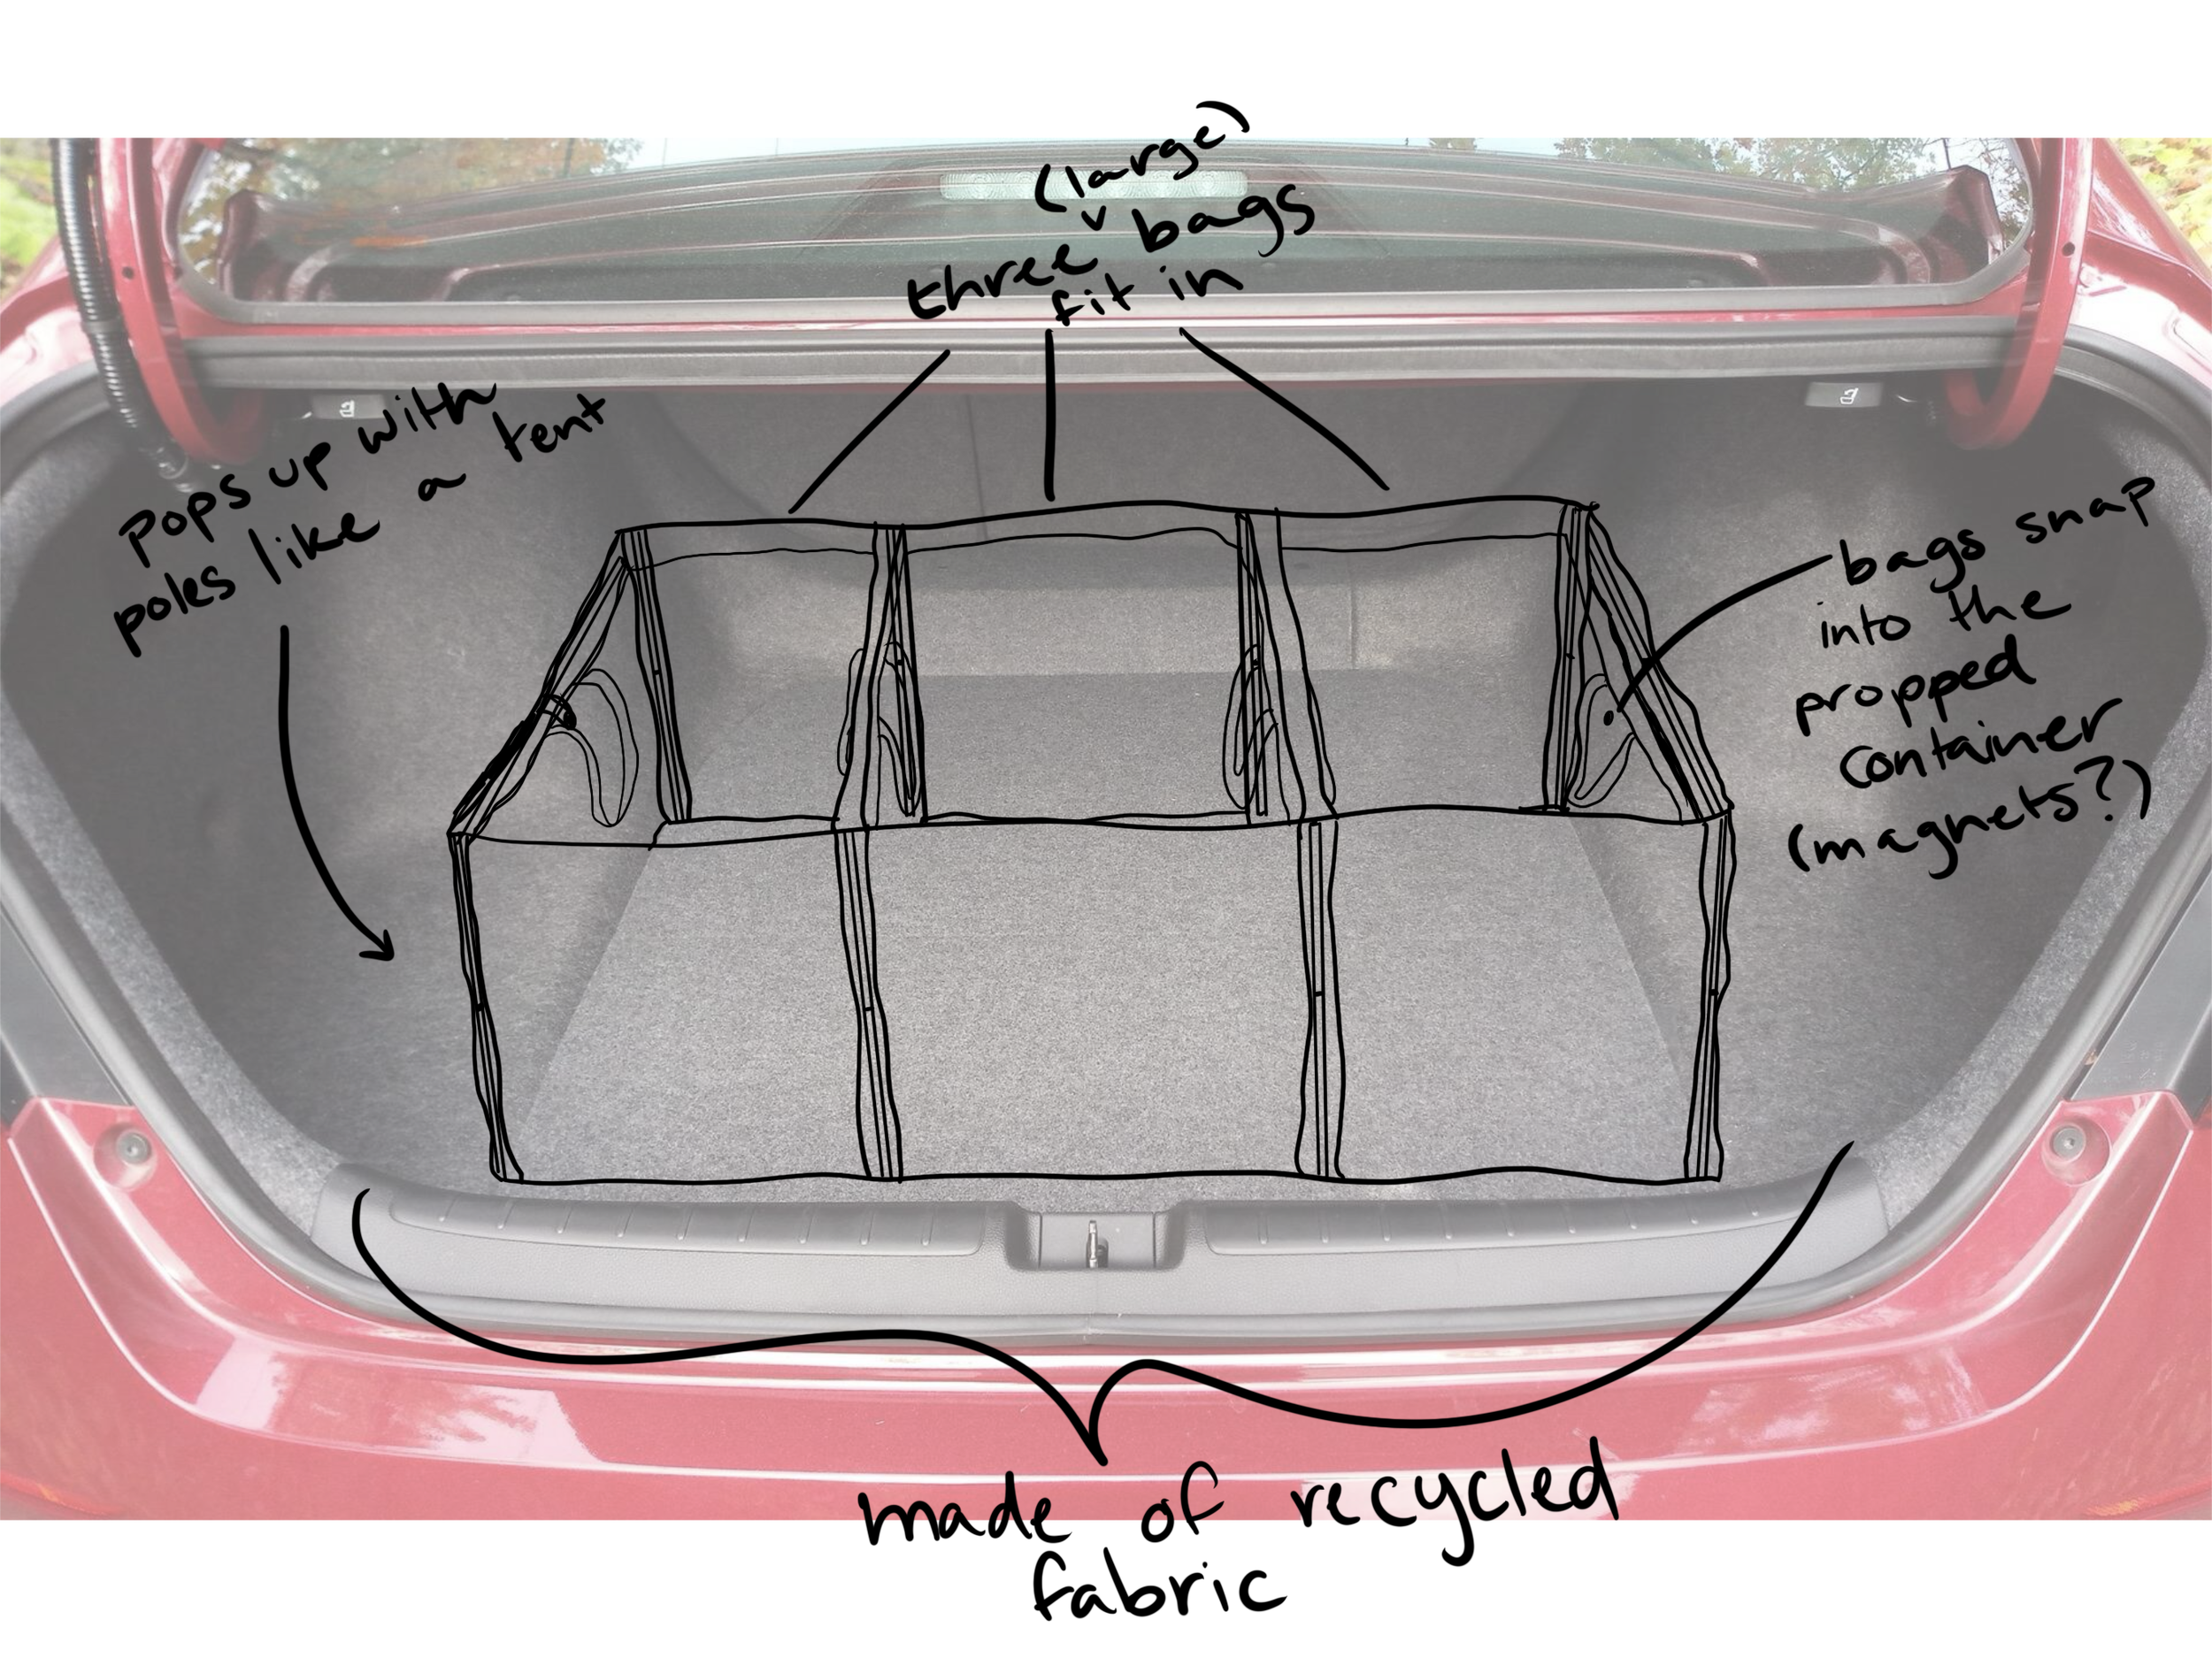
Reusable bags with a holder for the trunk
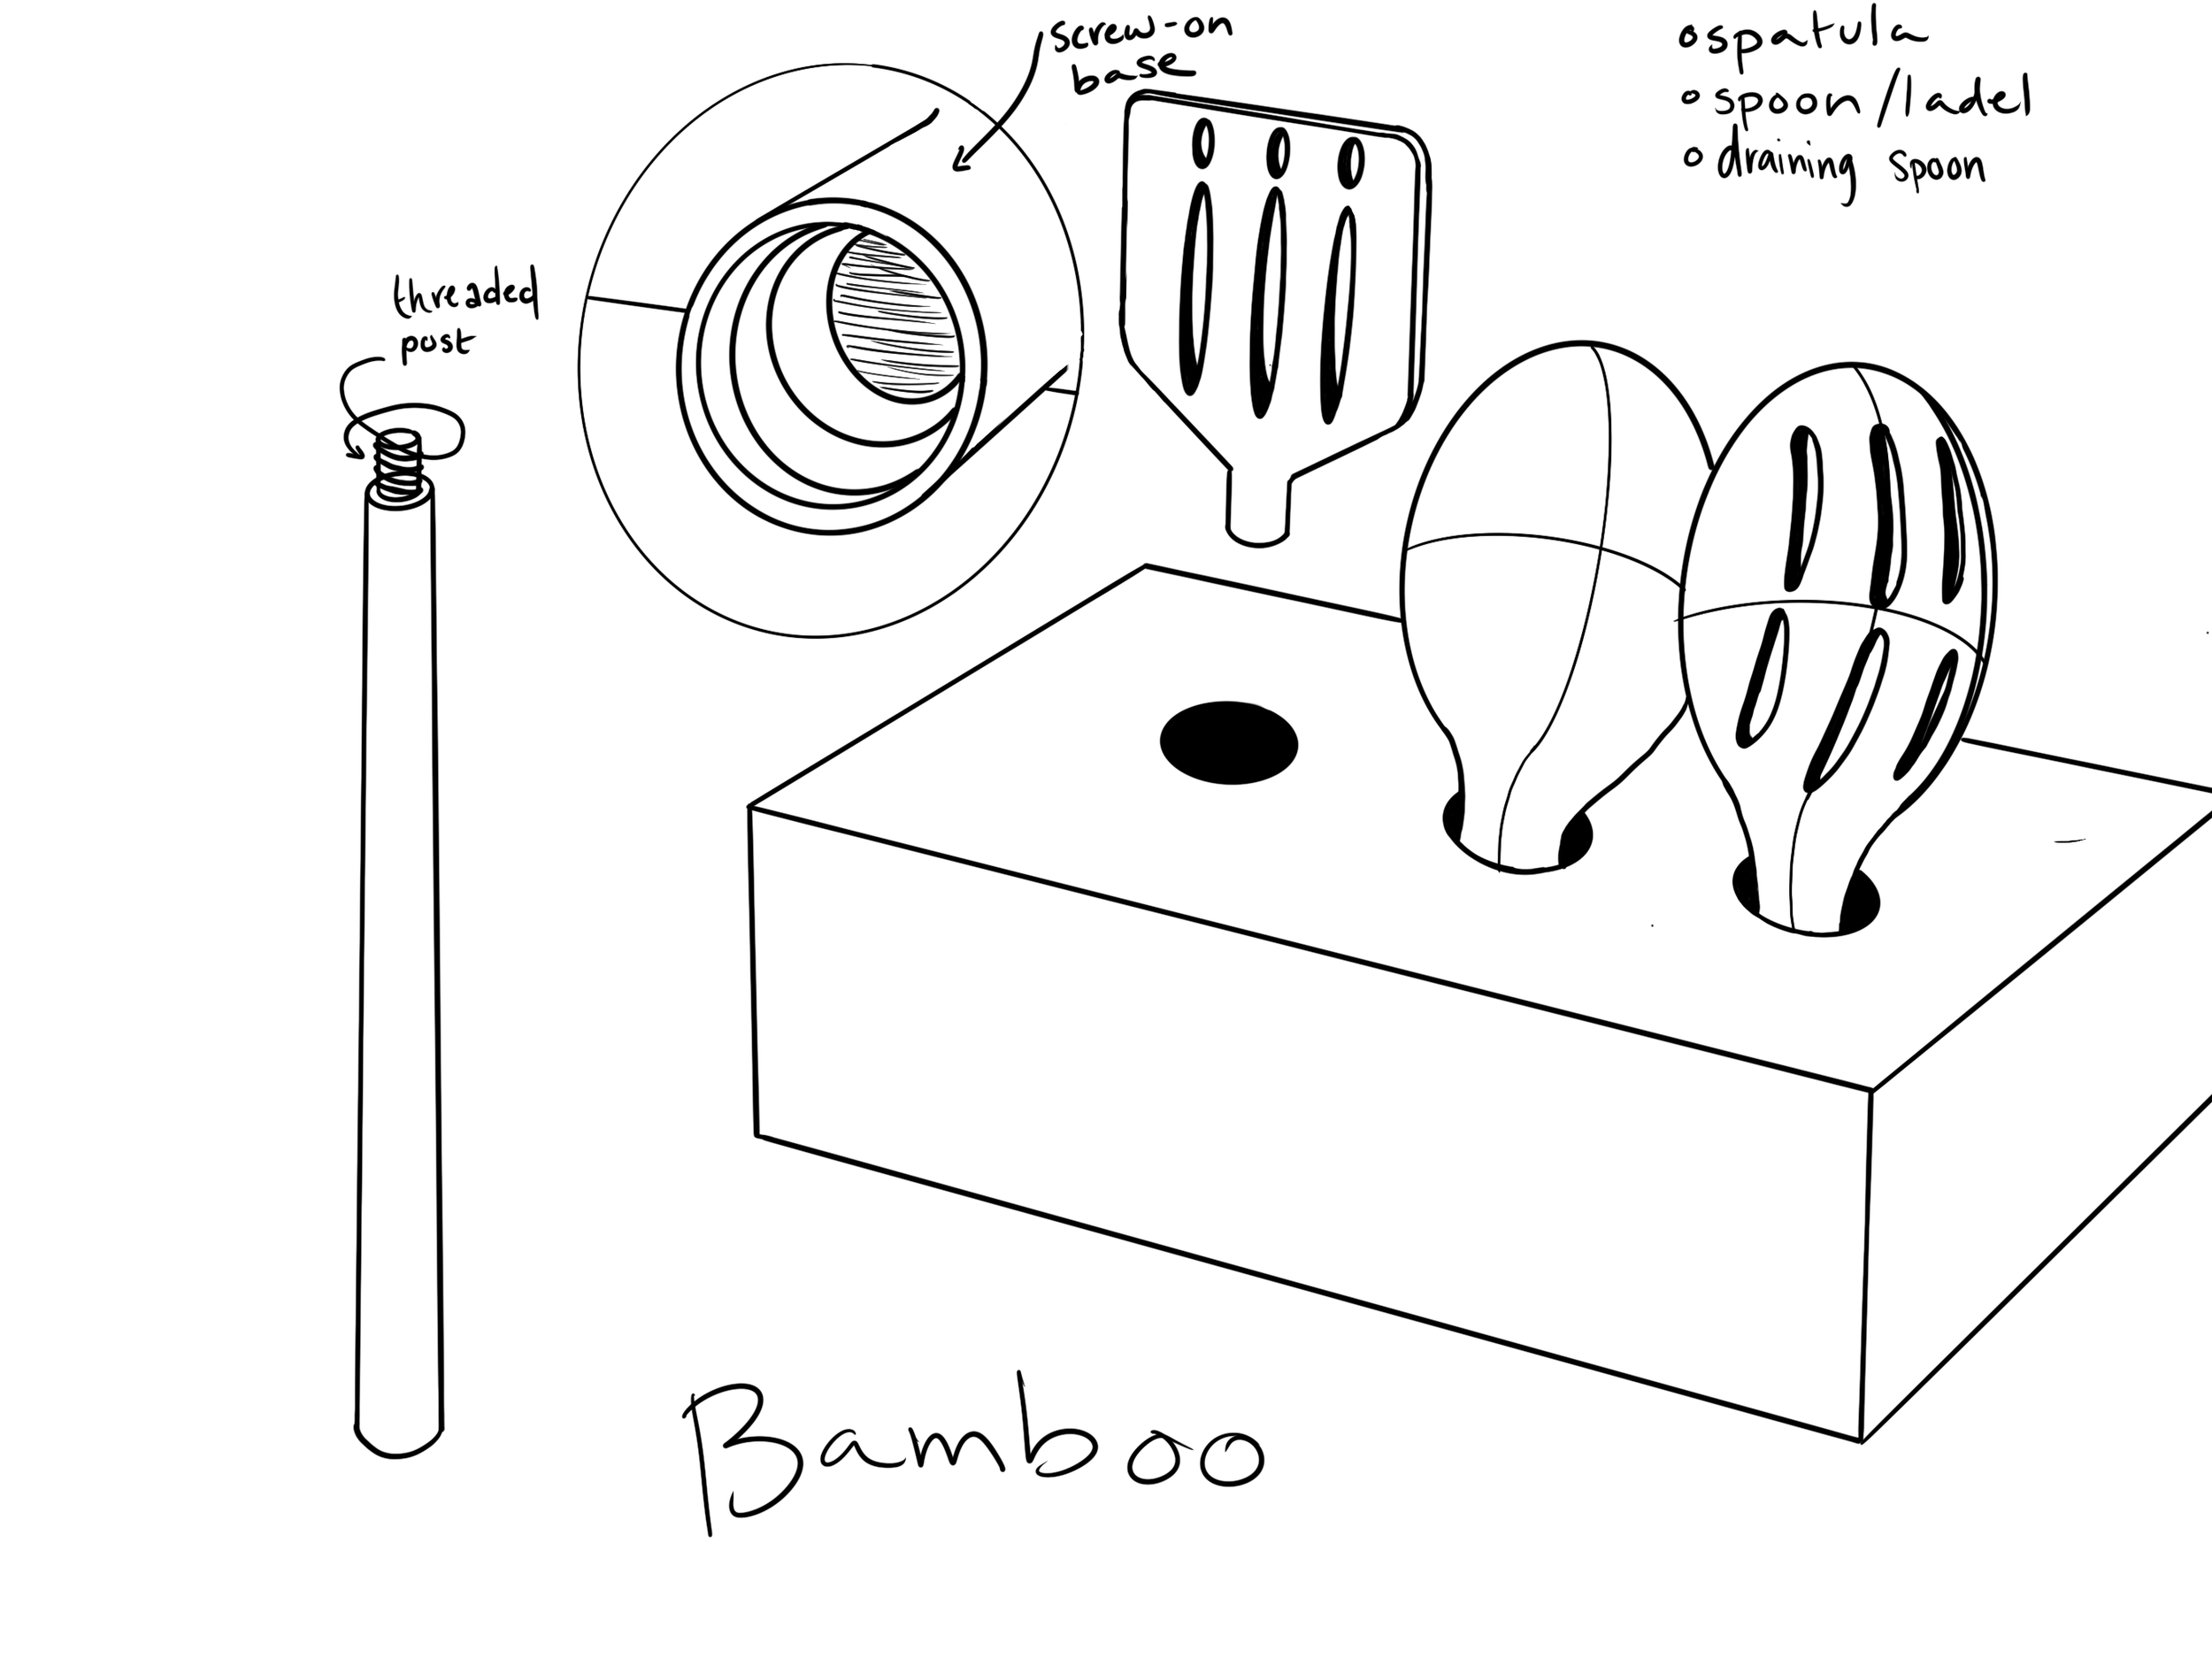
Interchangeable cooking utensil
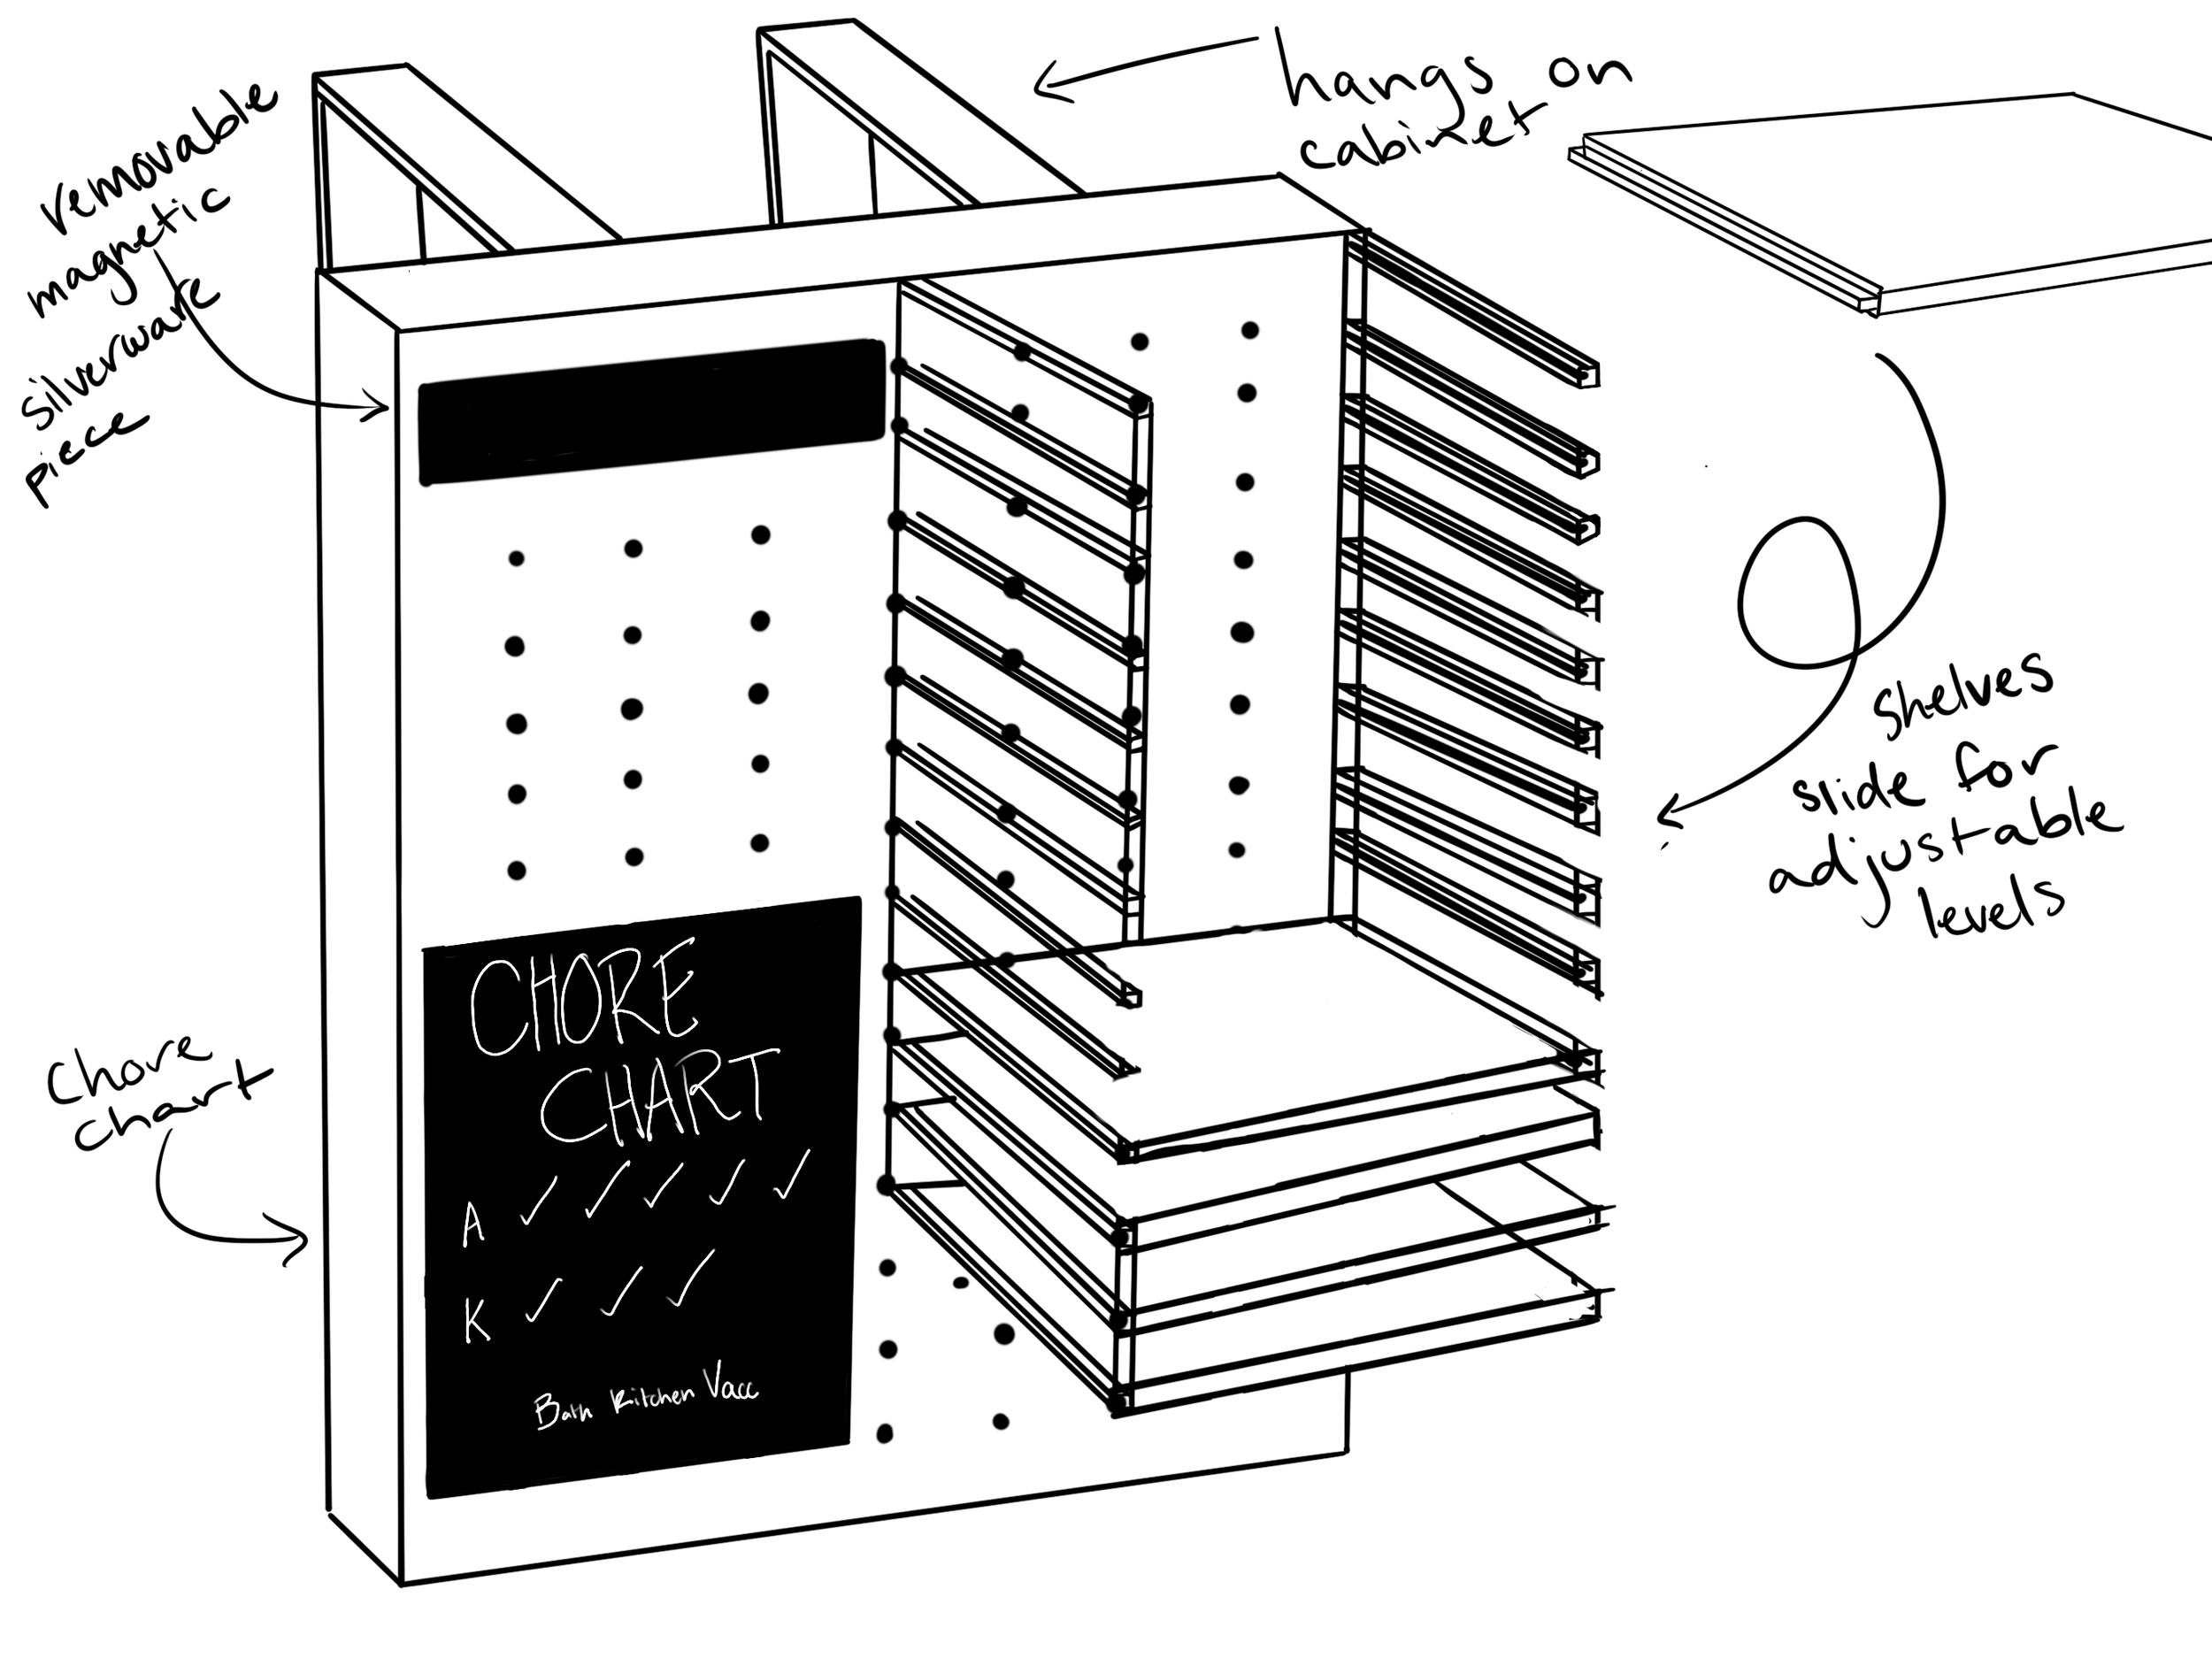
Cabinet-hanging peg board
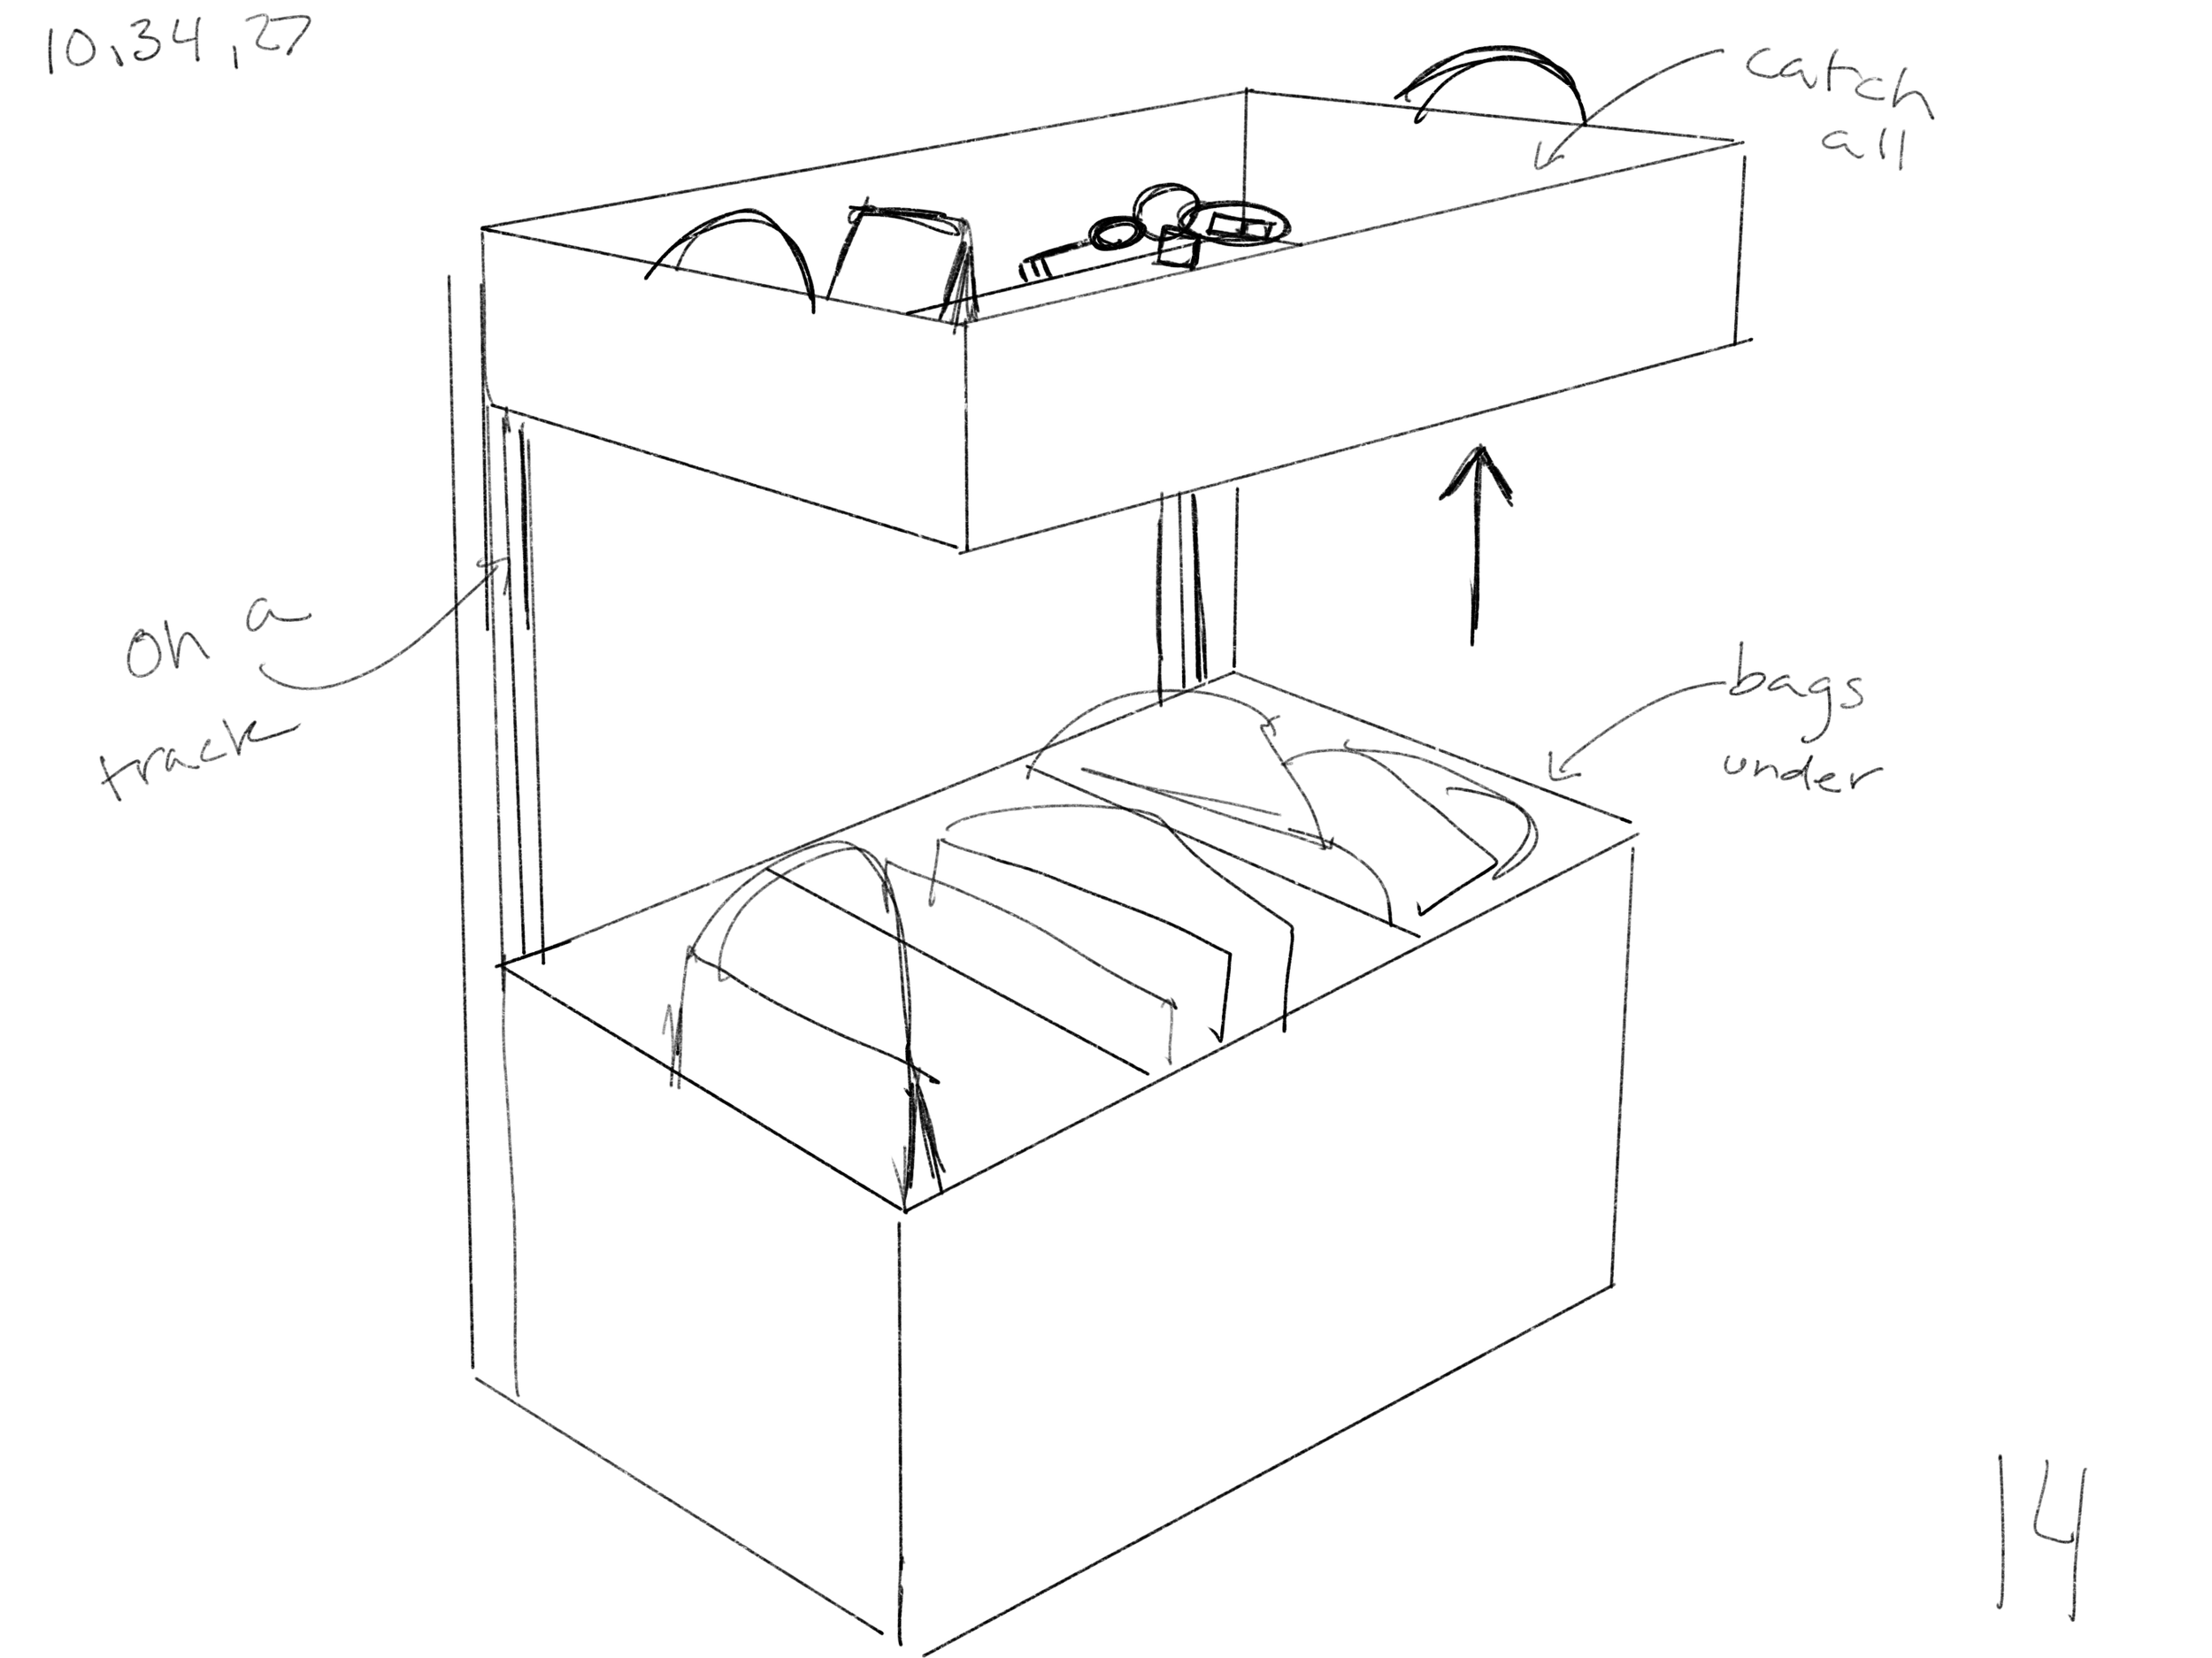
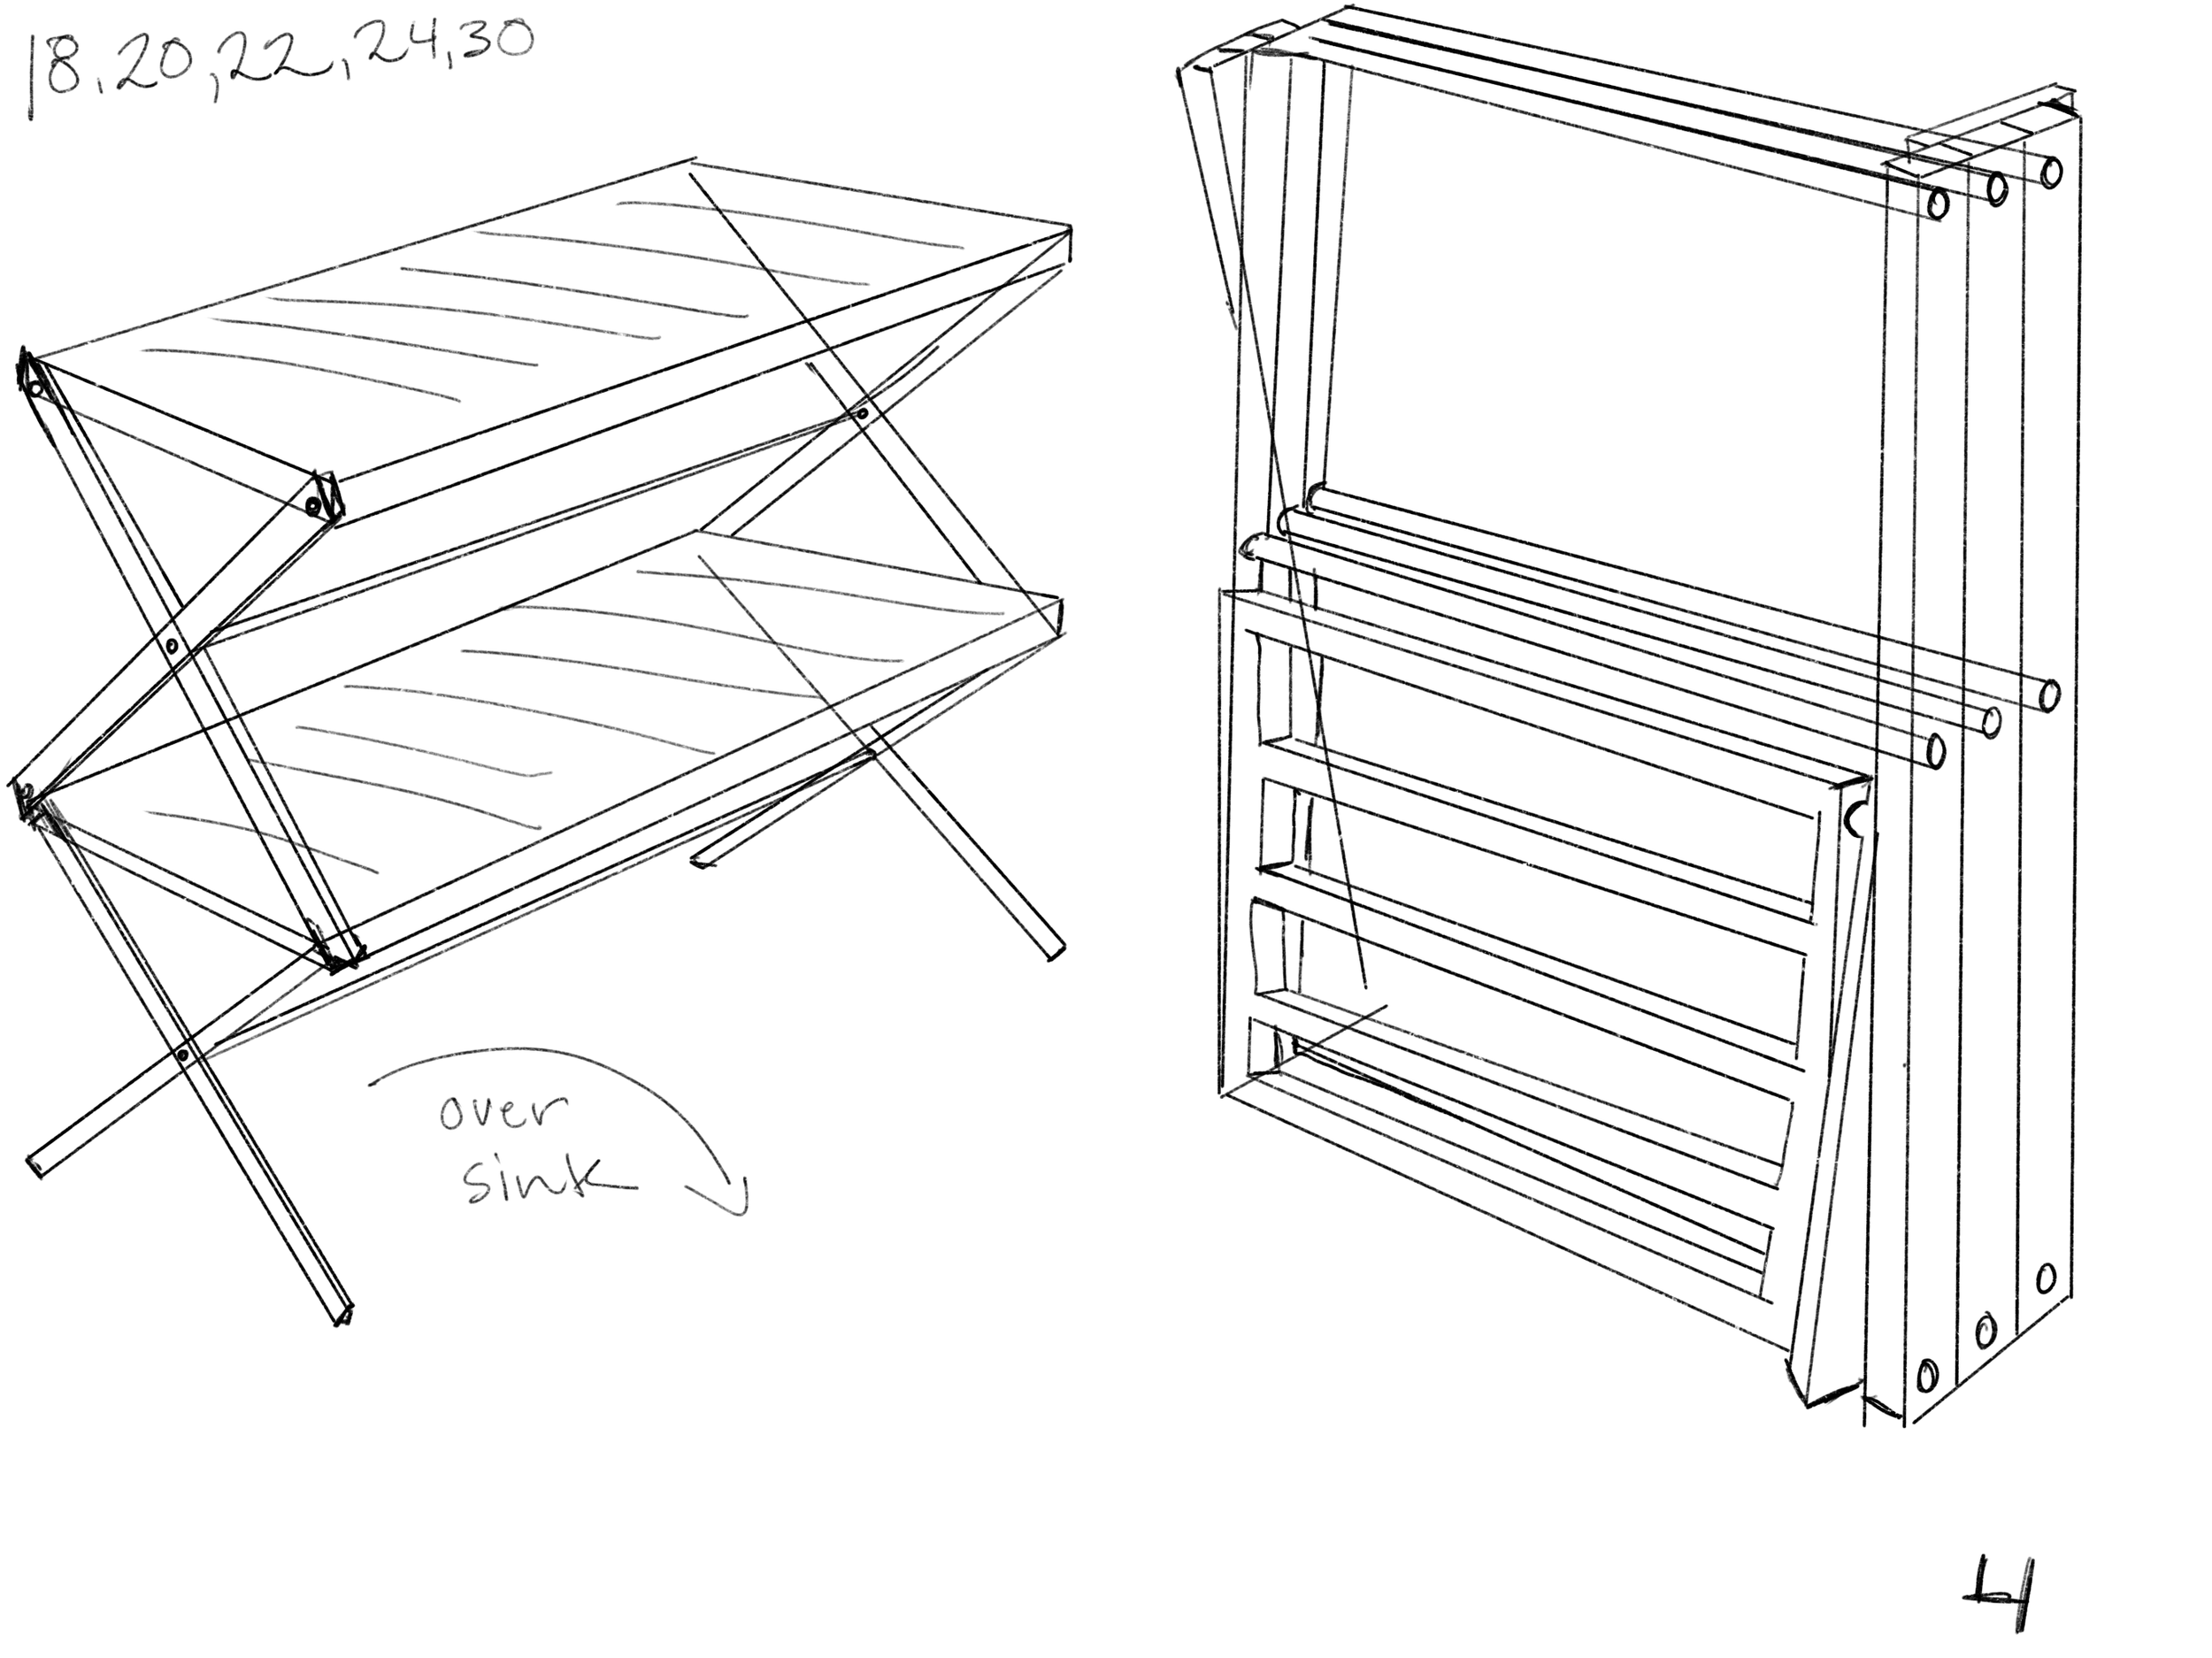
Compact drying rack
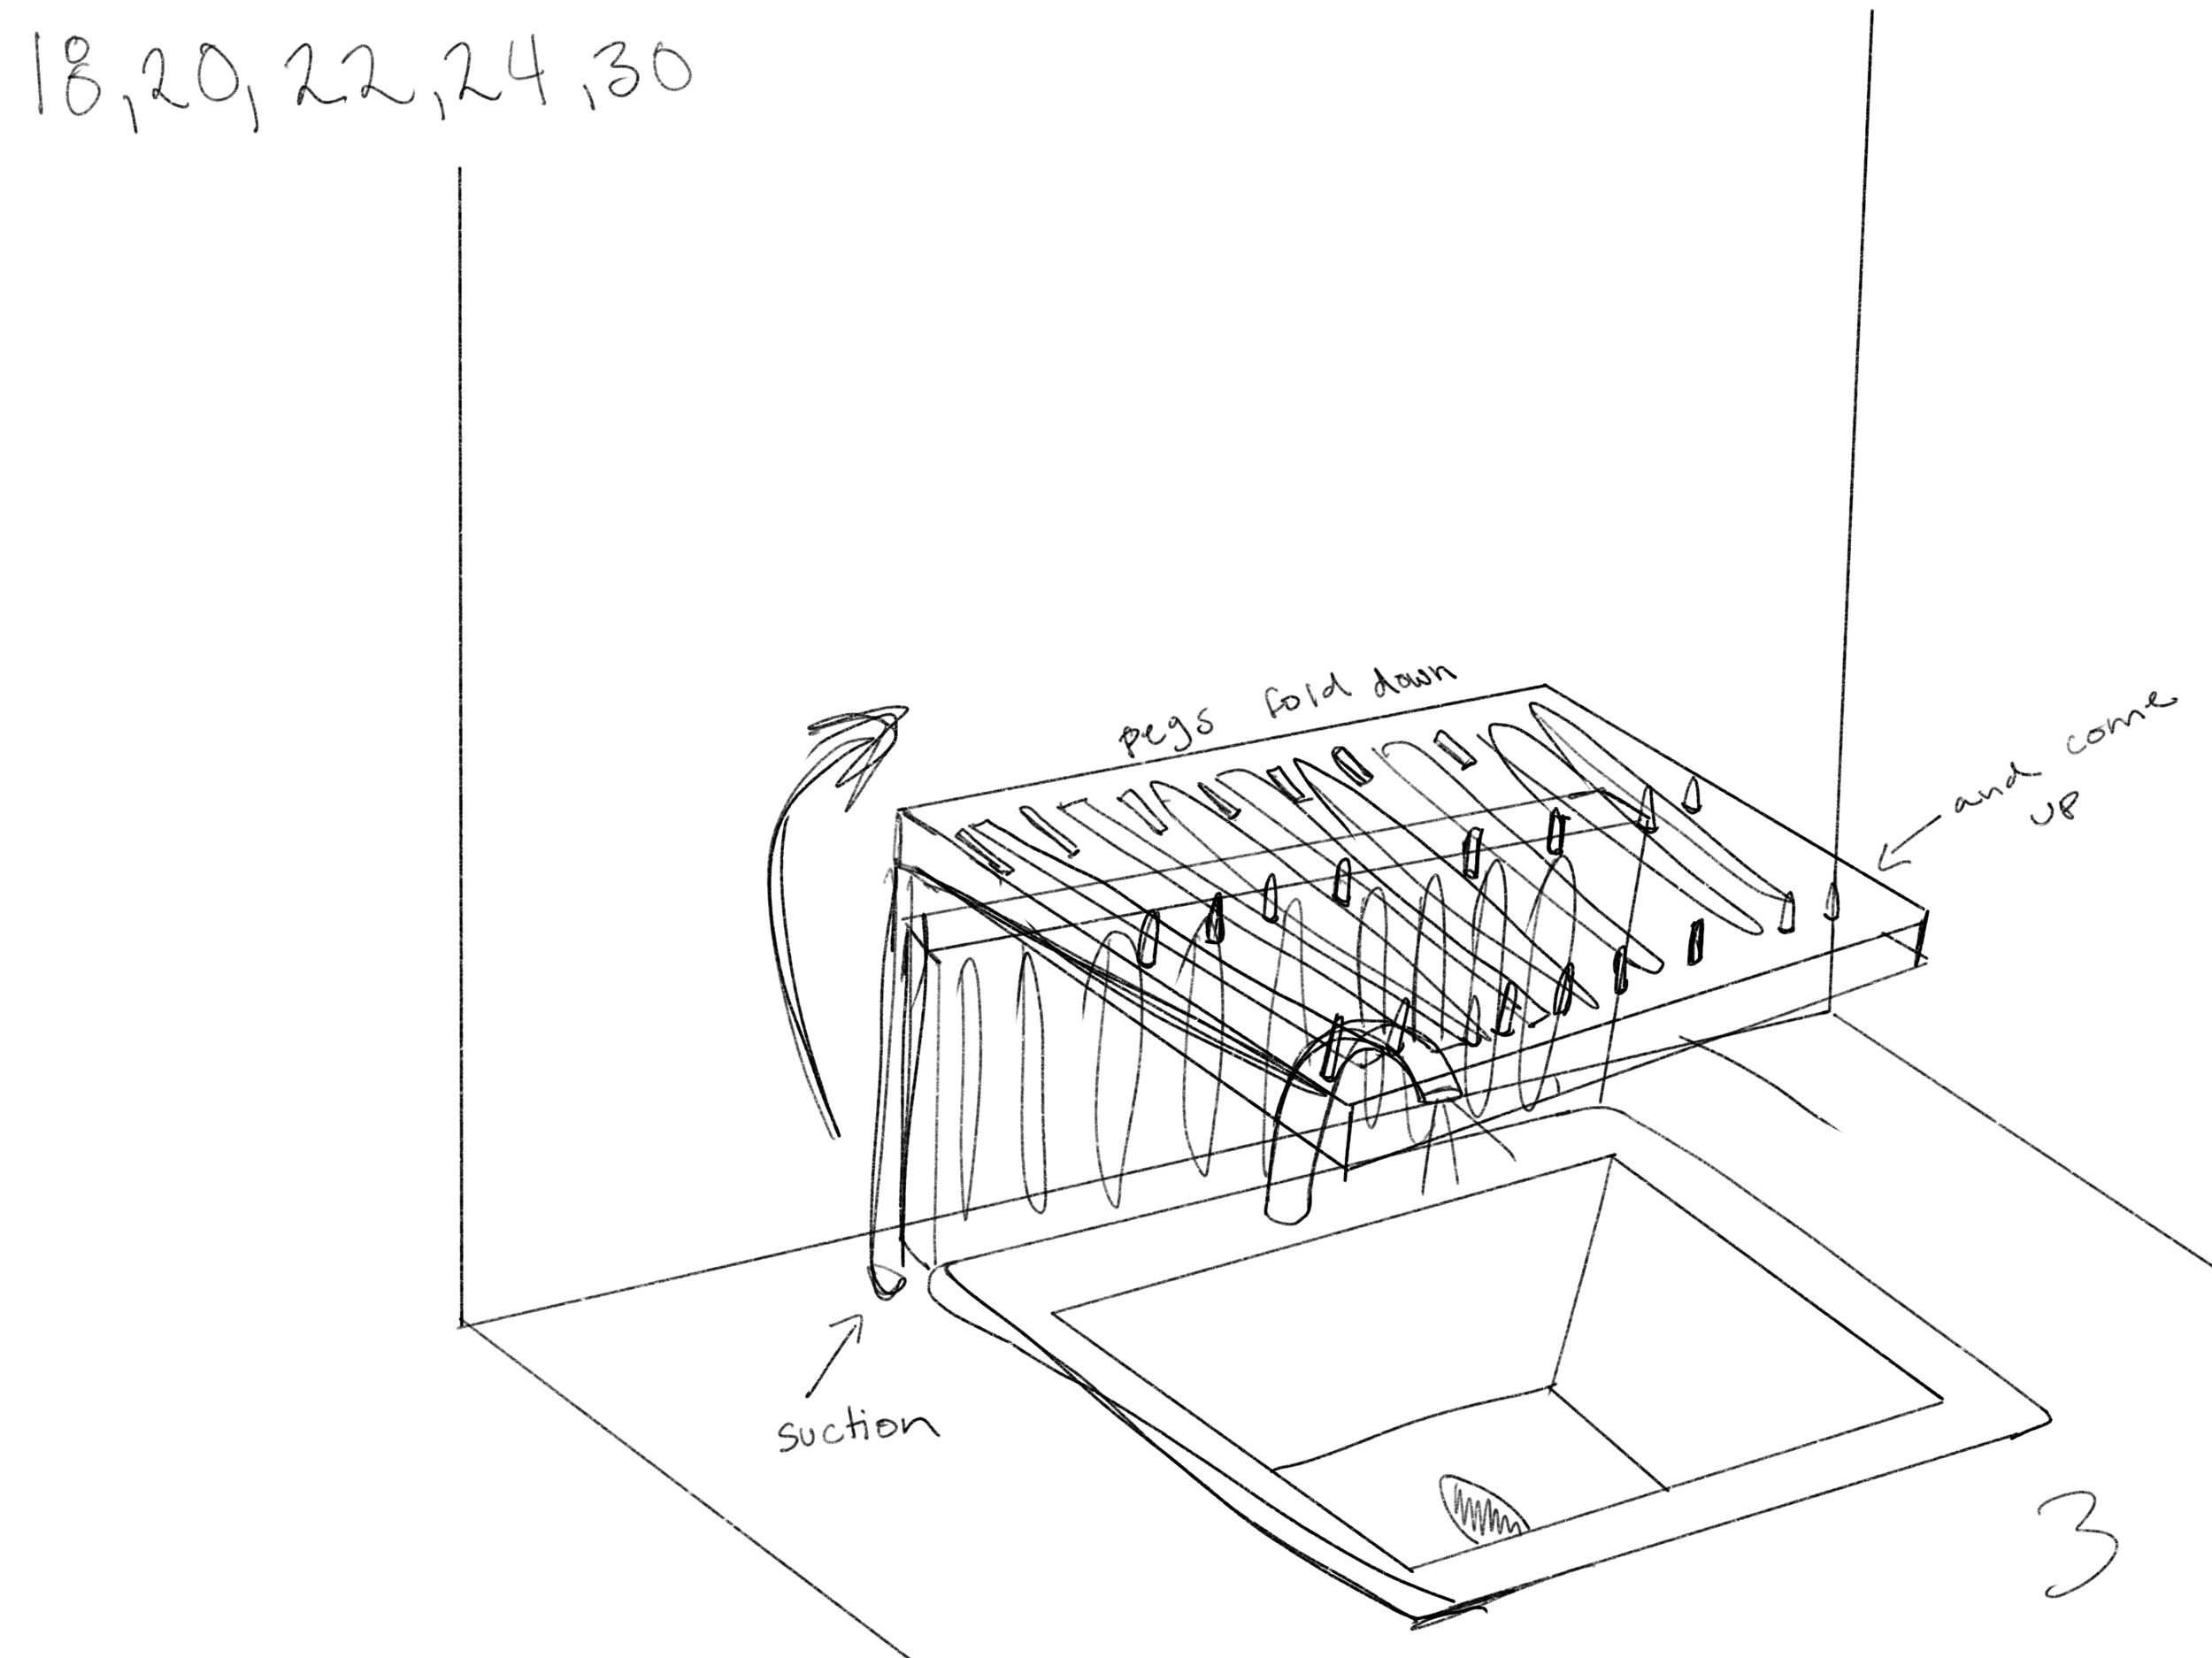
Fold-out over the sink drying rack
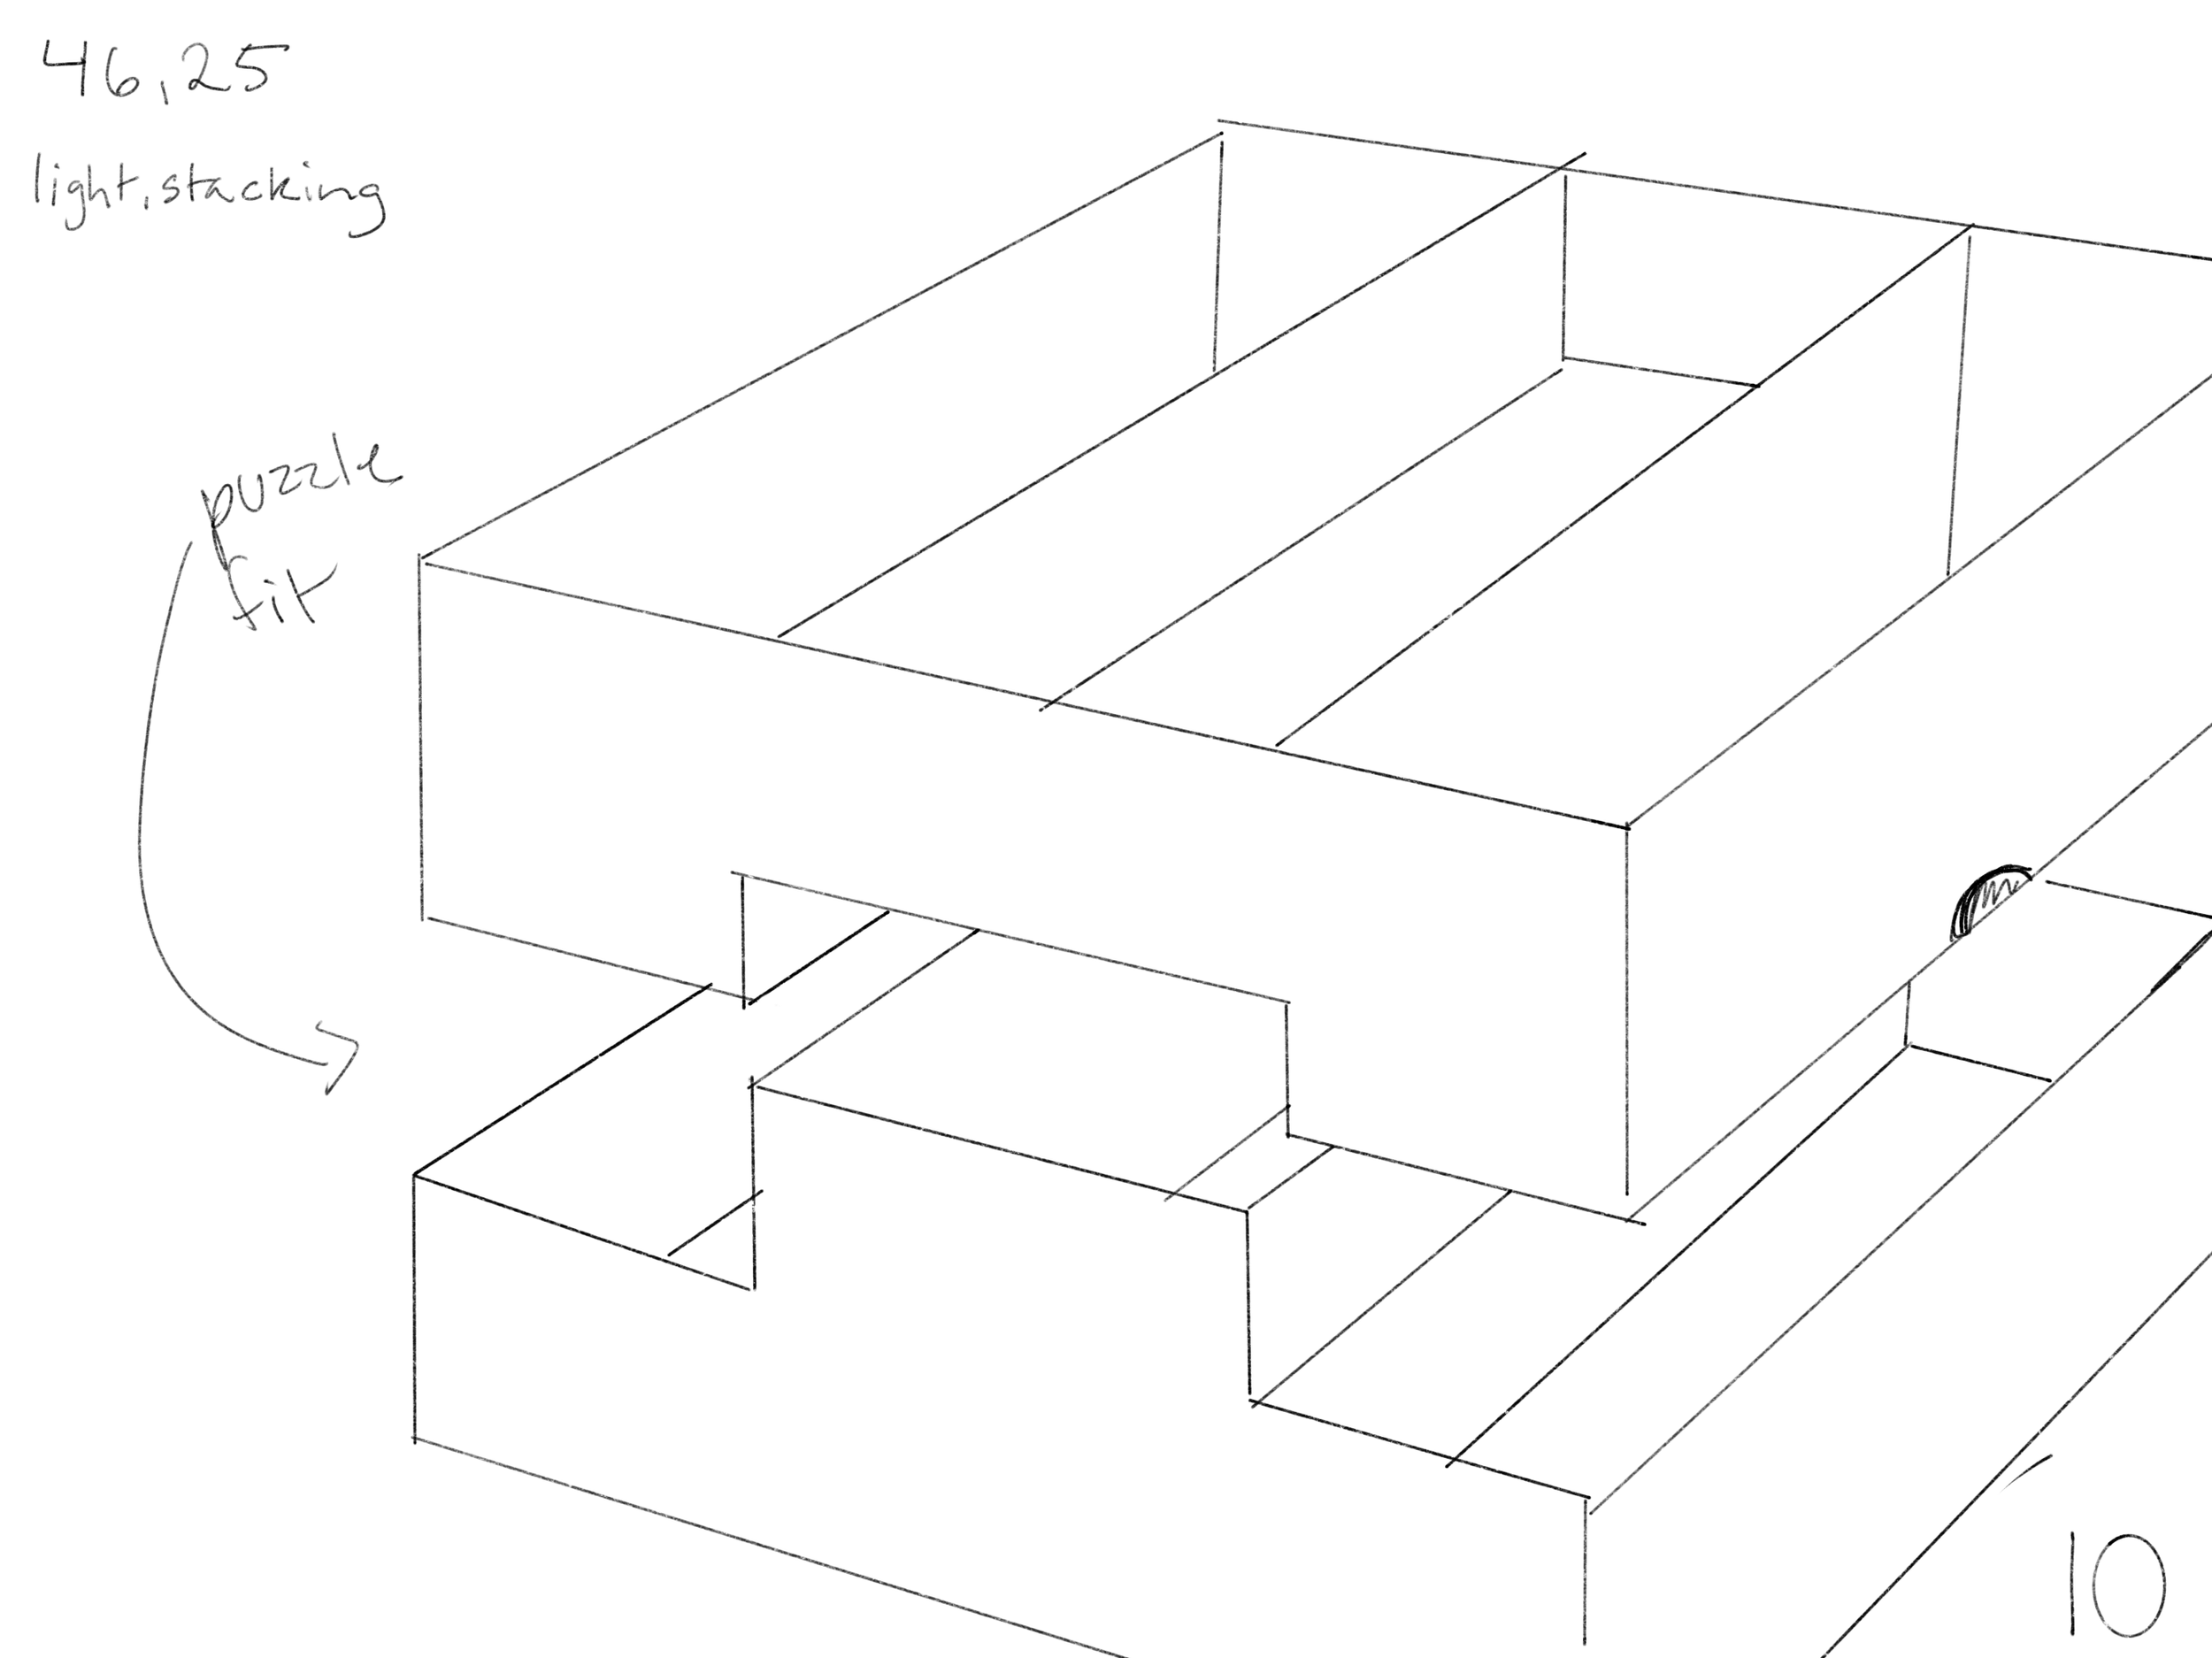
Puzzle-fit utensil organizer
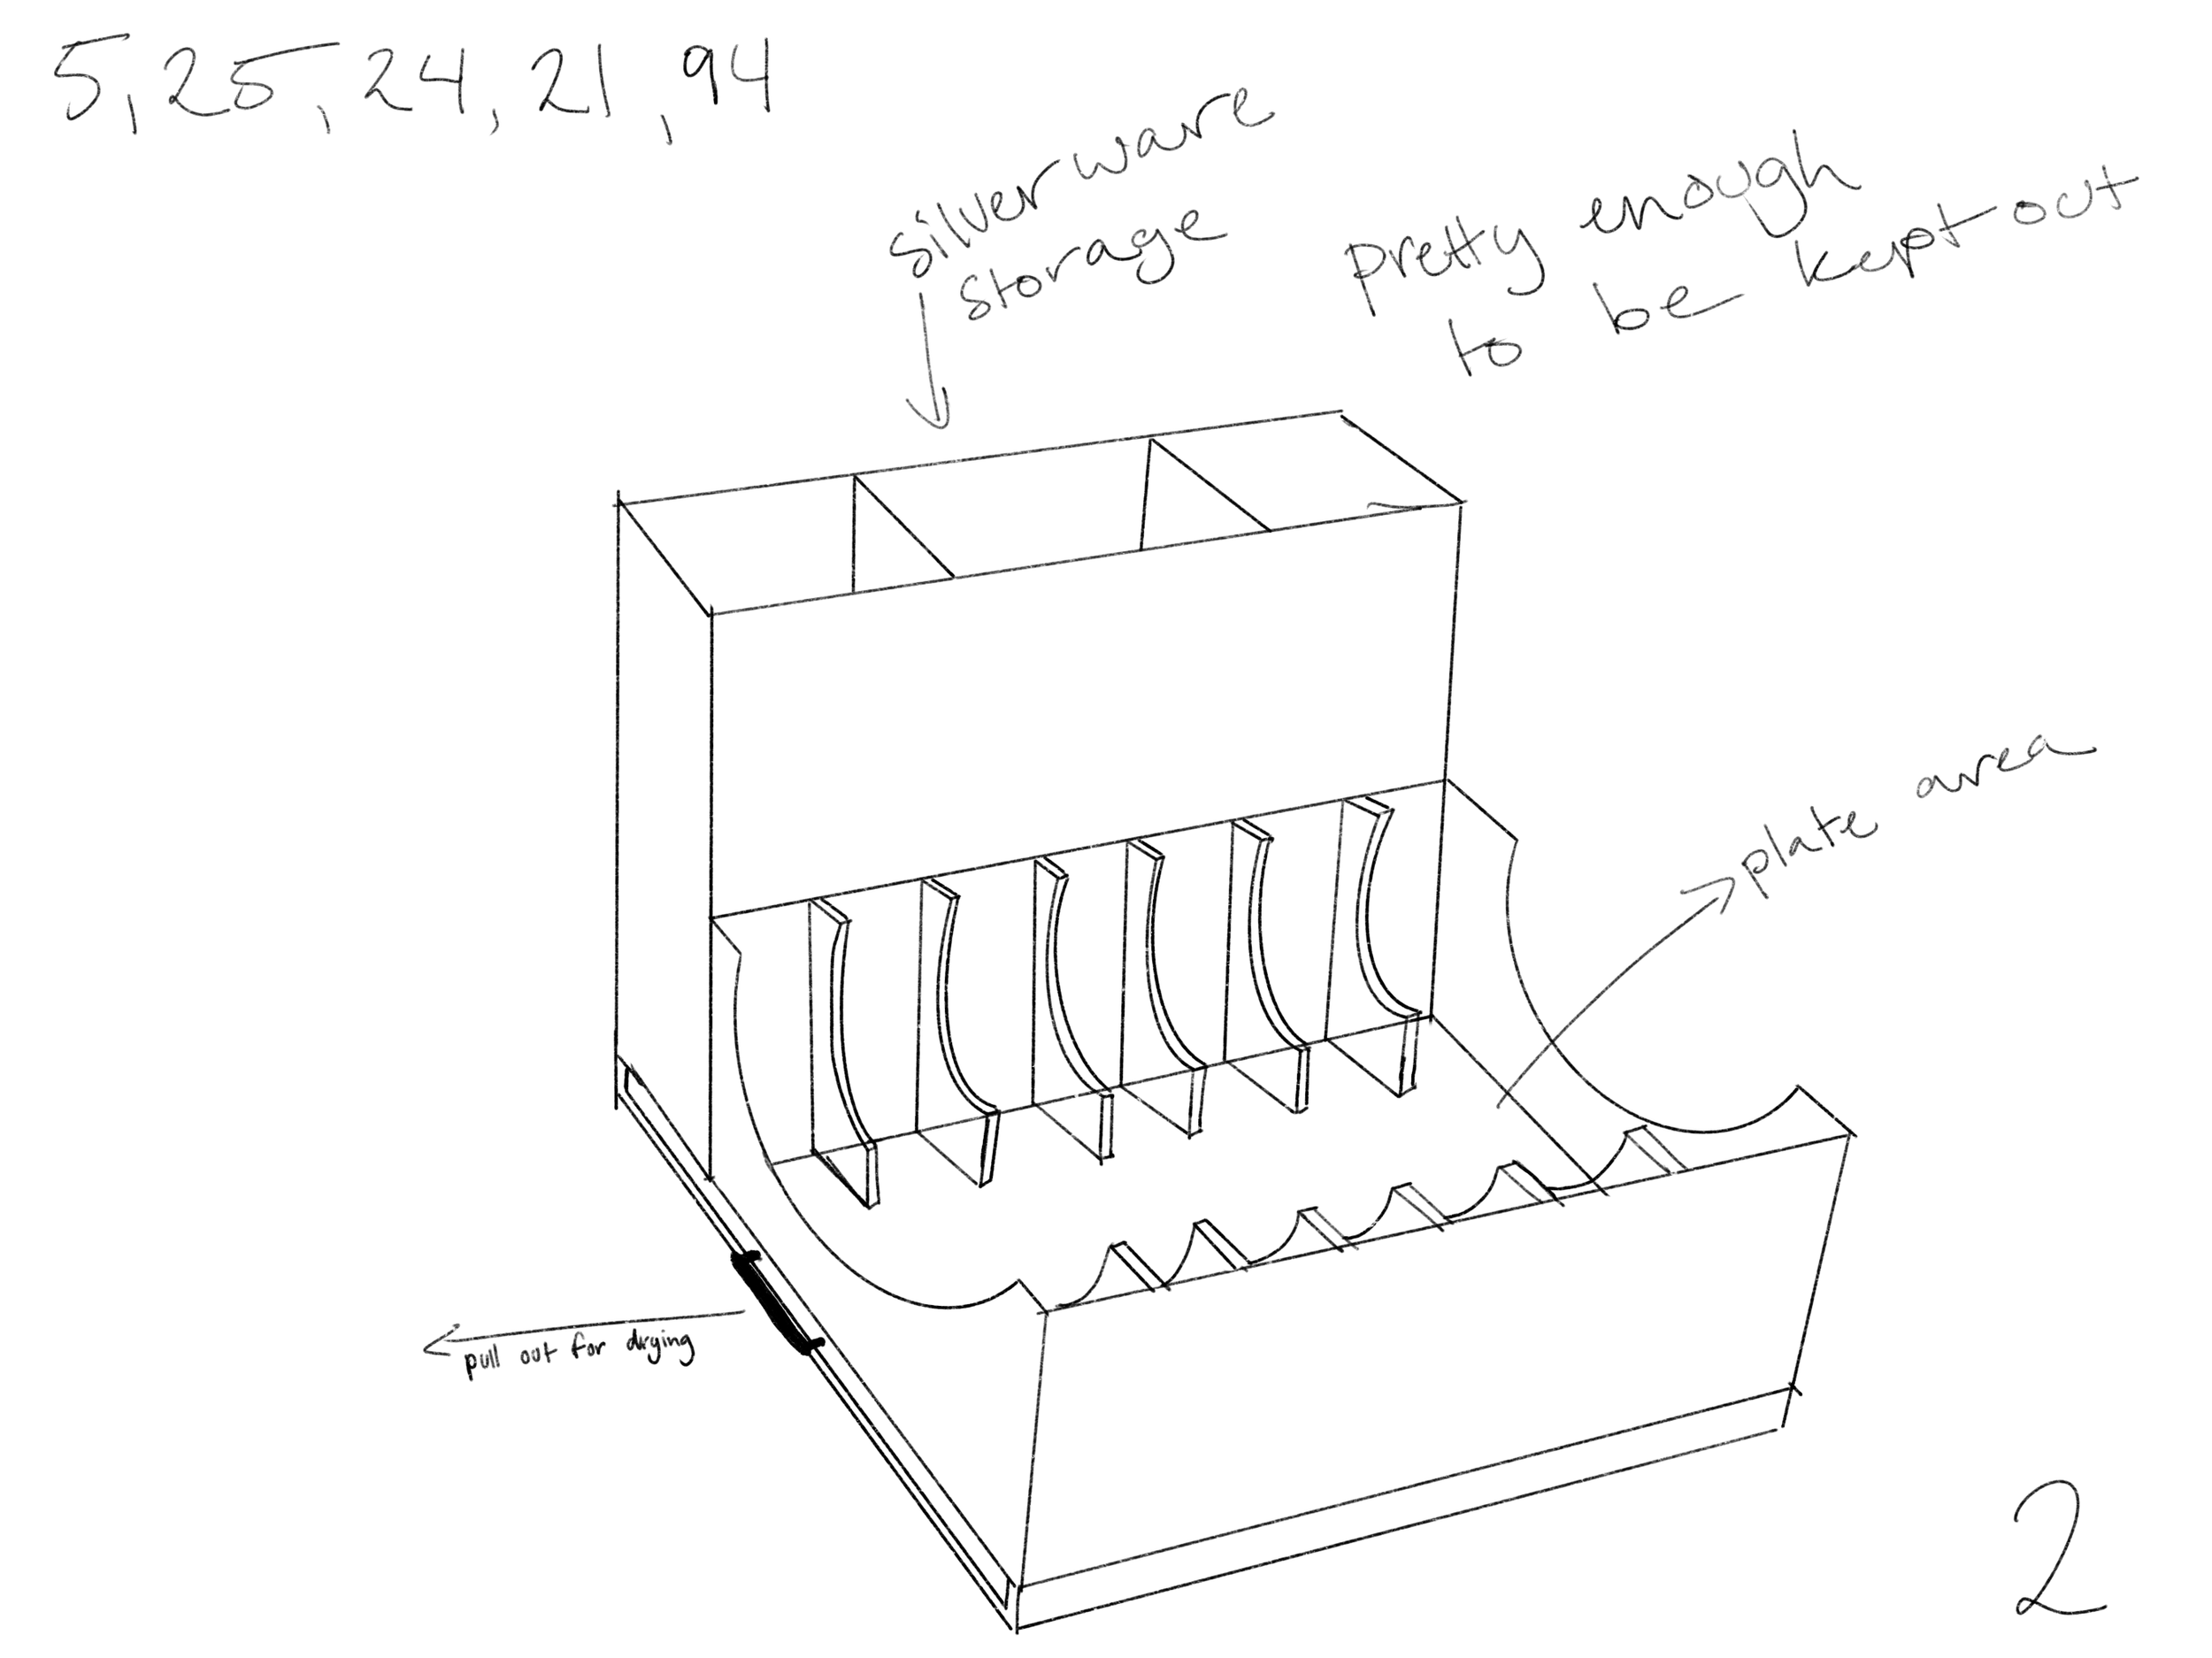
Elegant drying rack
Paper bag storage
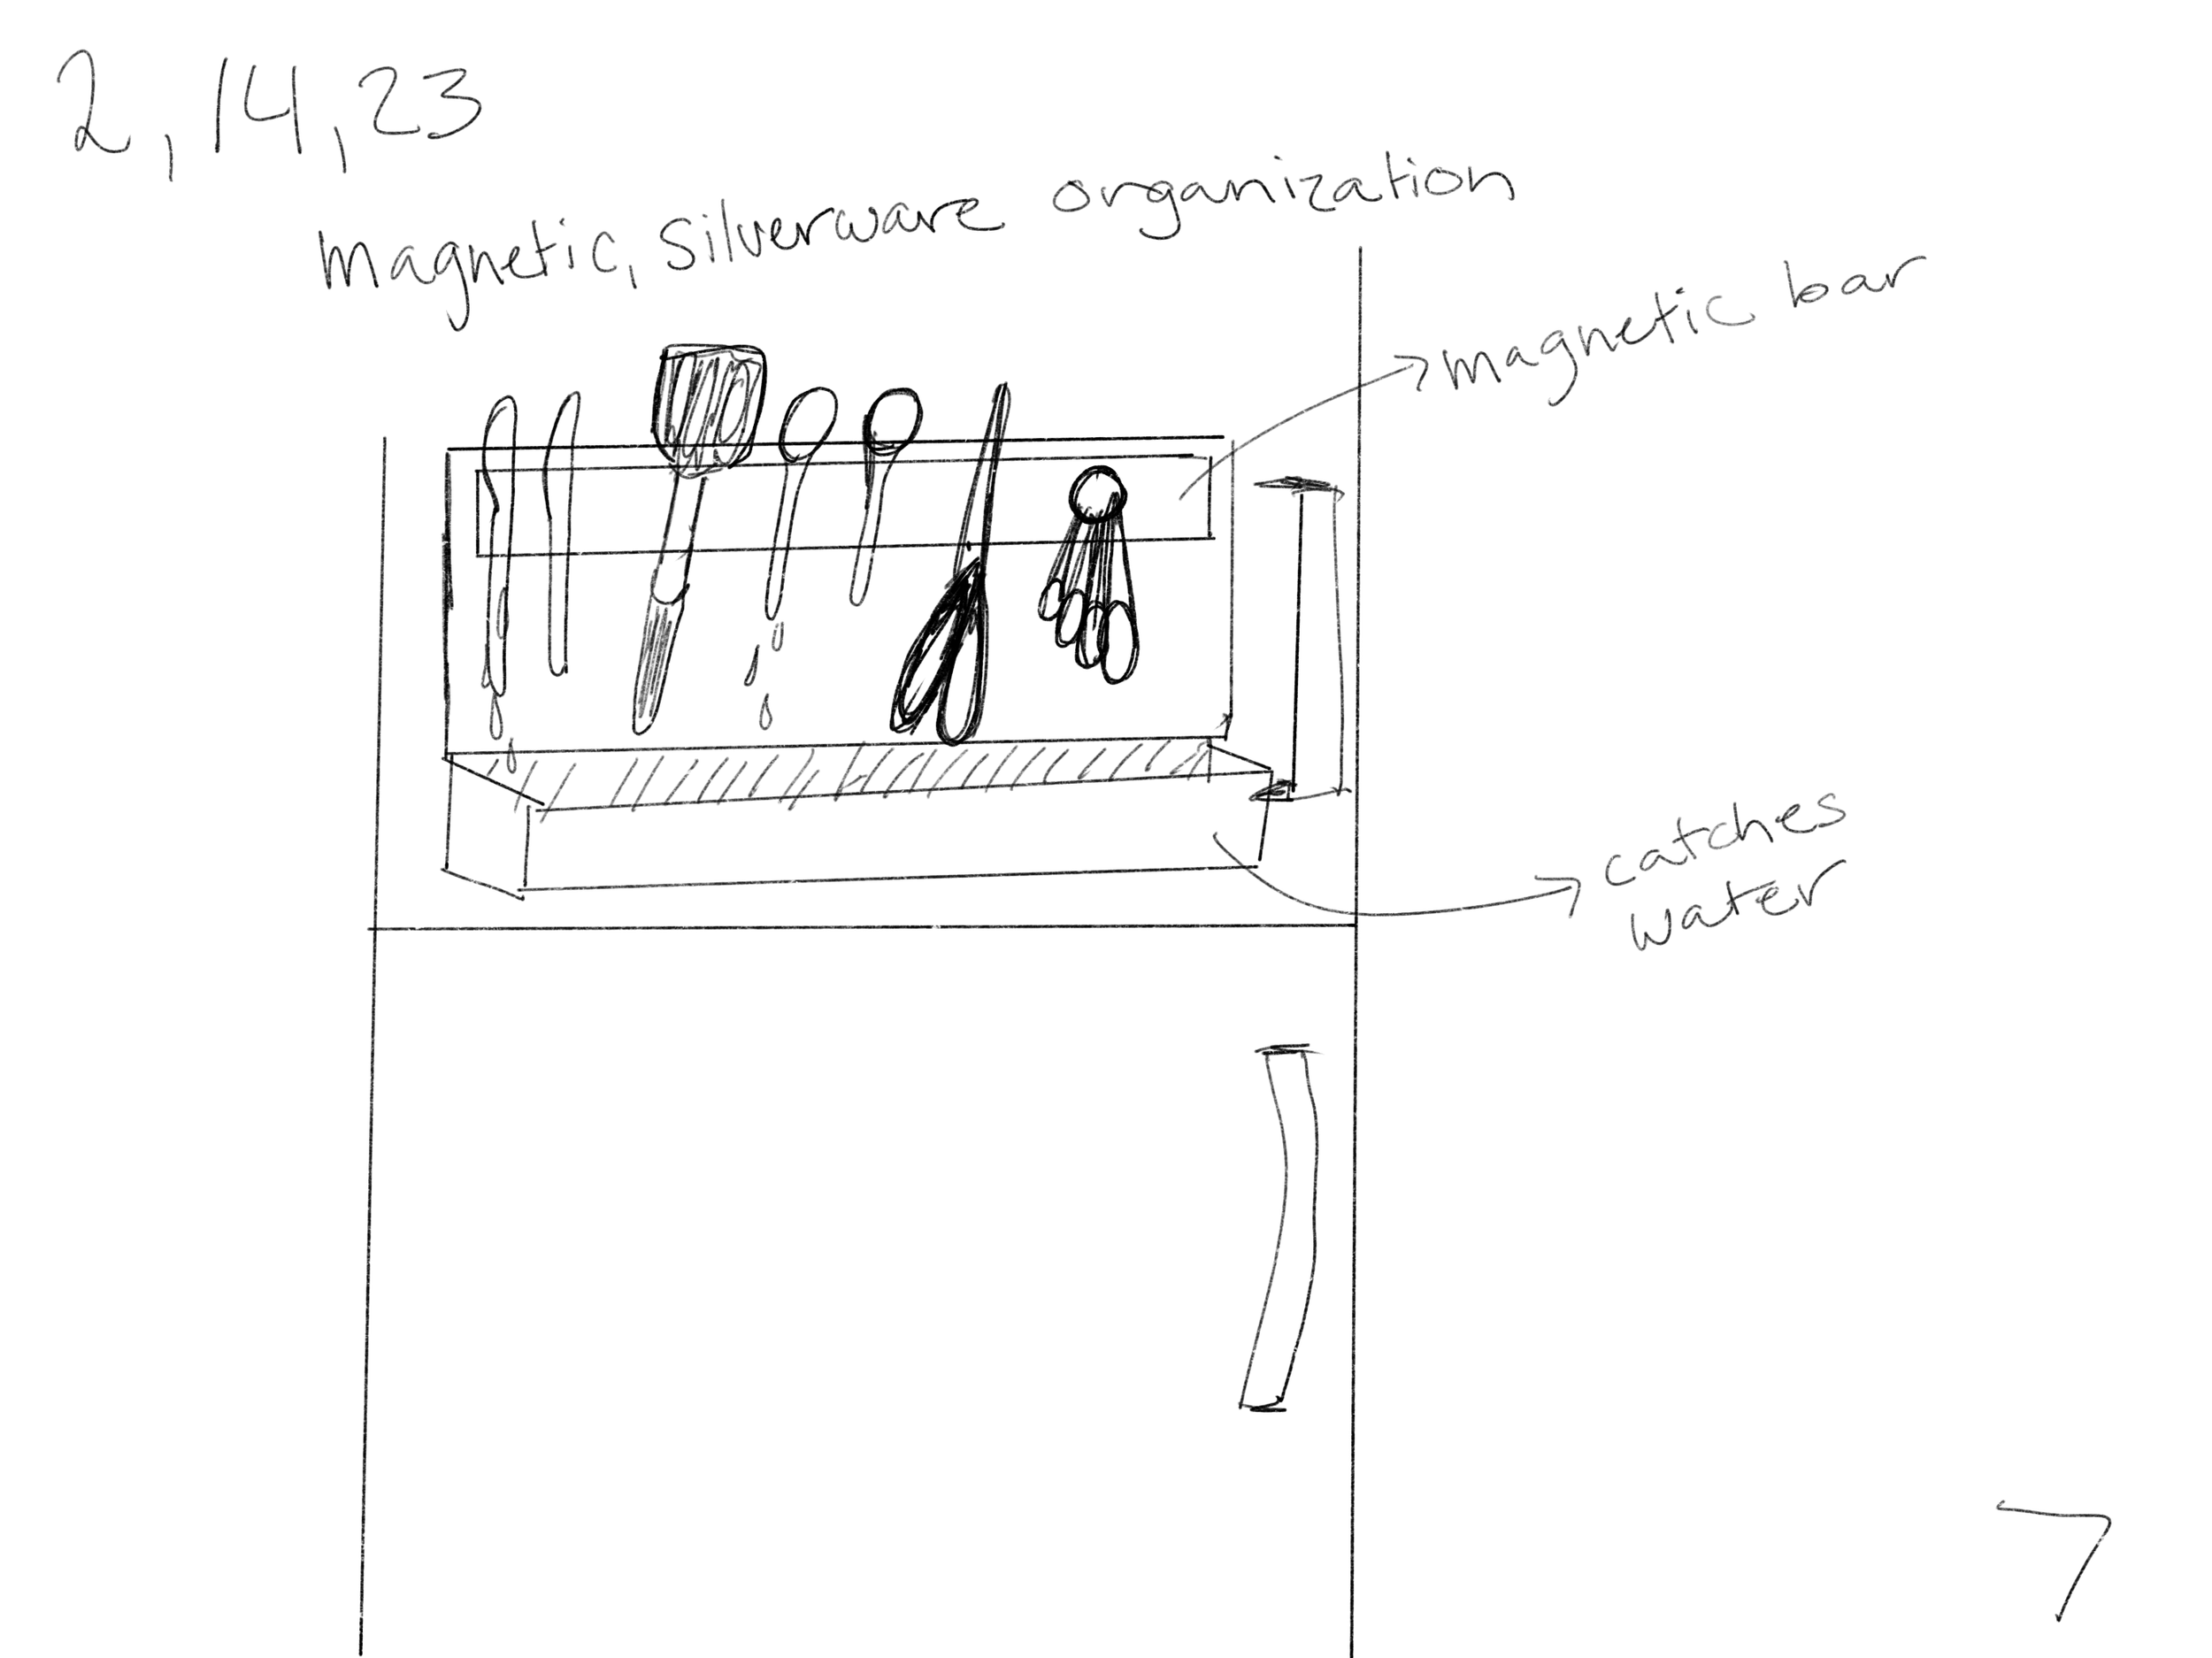
Magnetic utensil holder
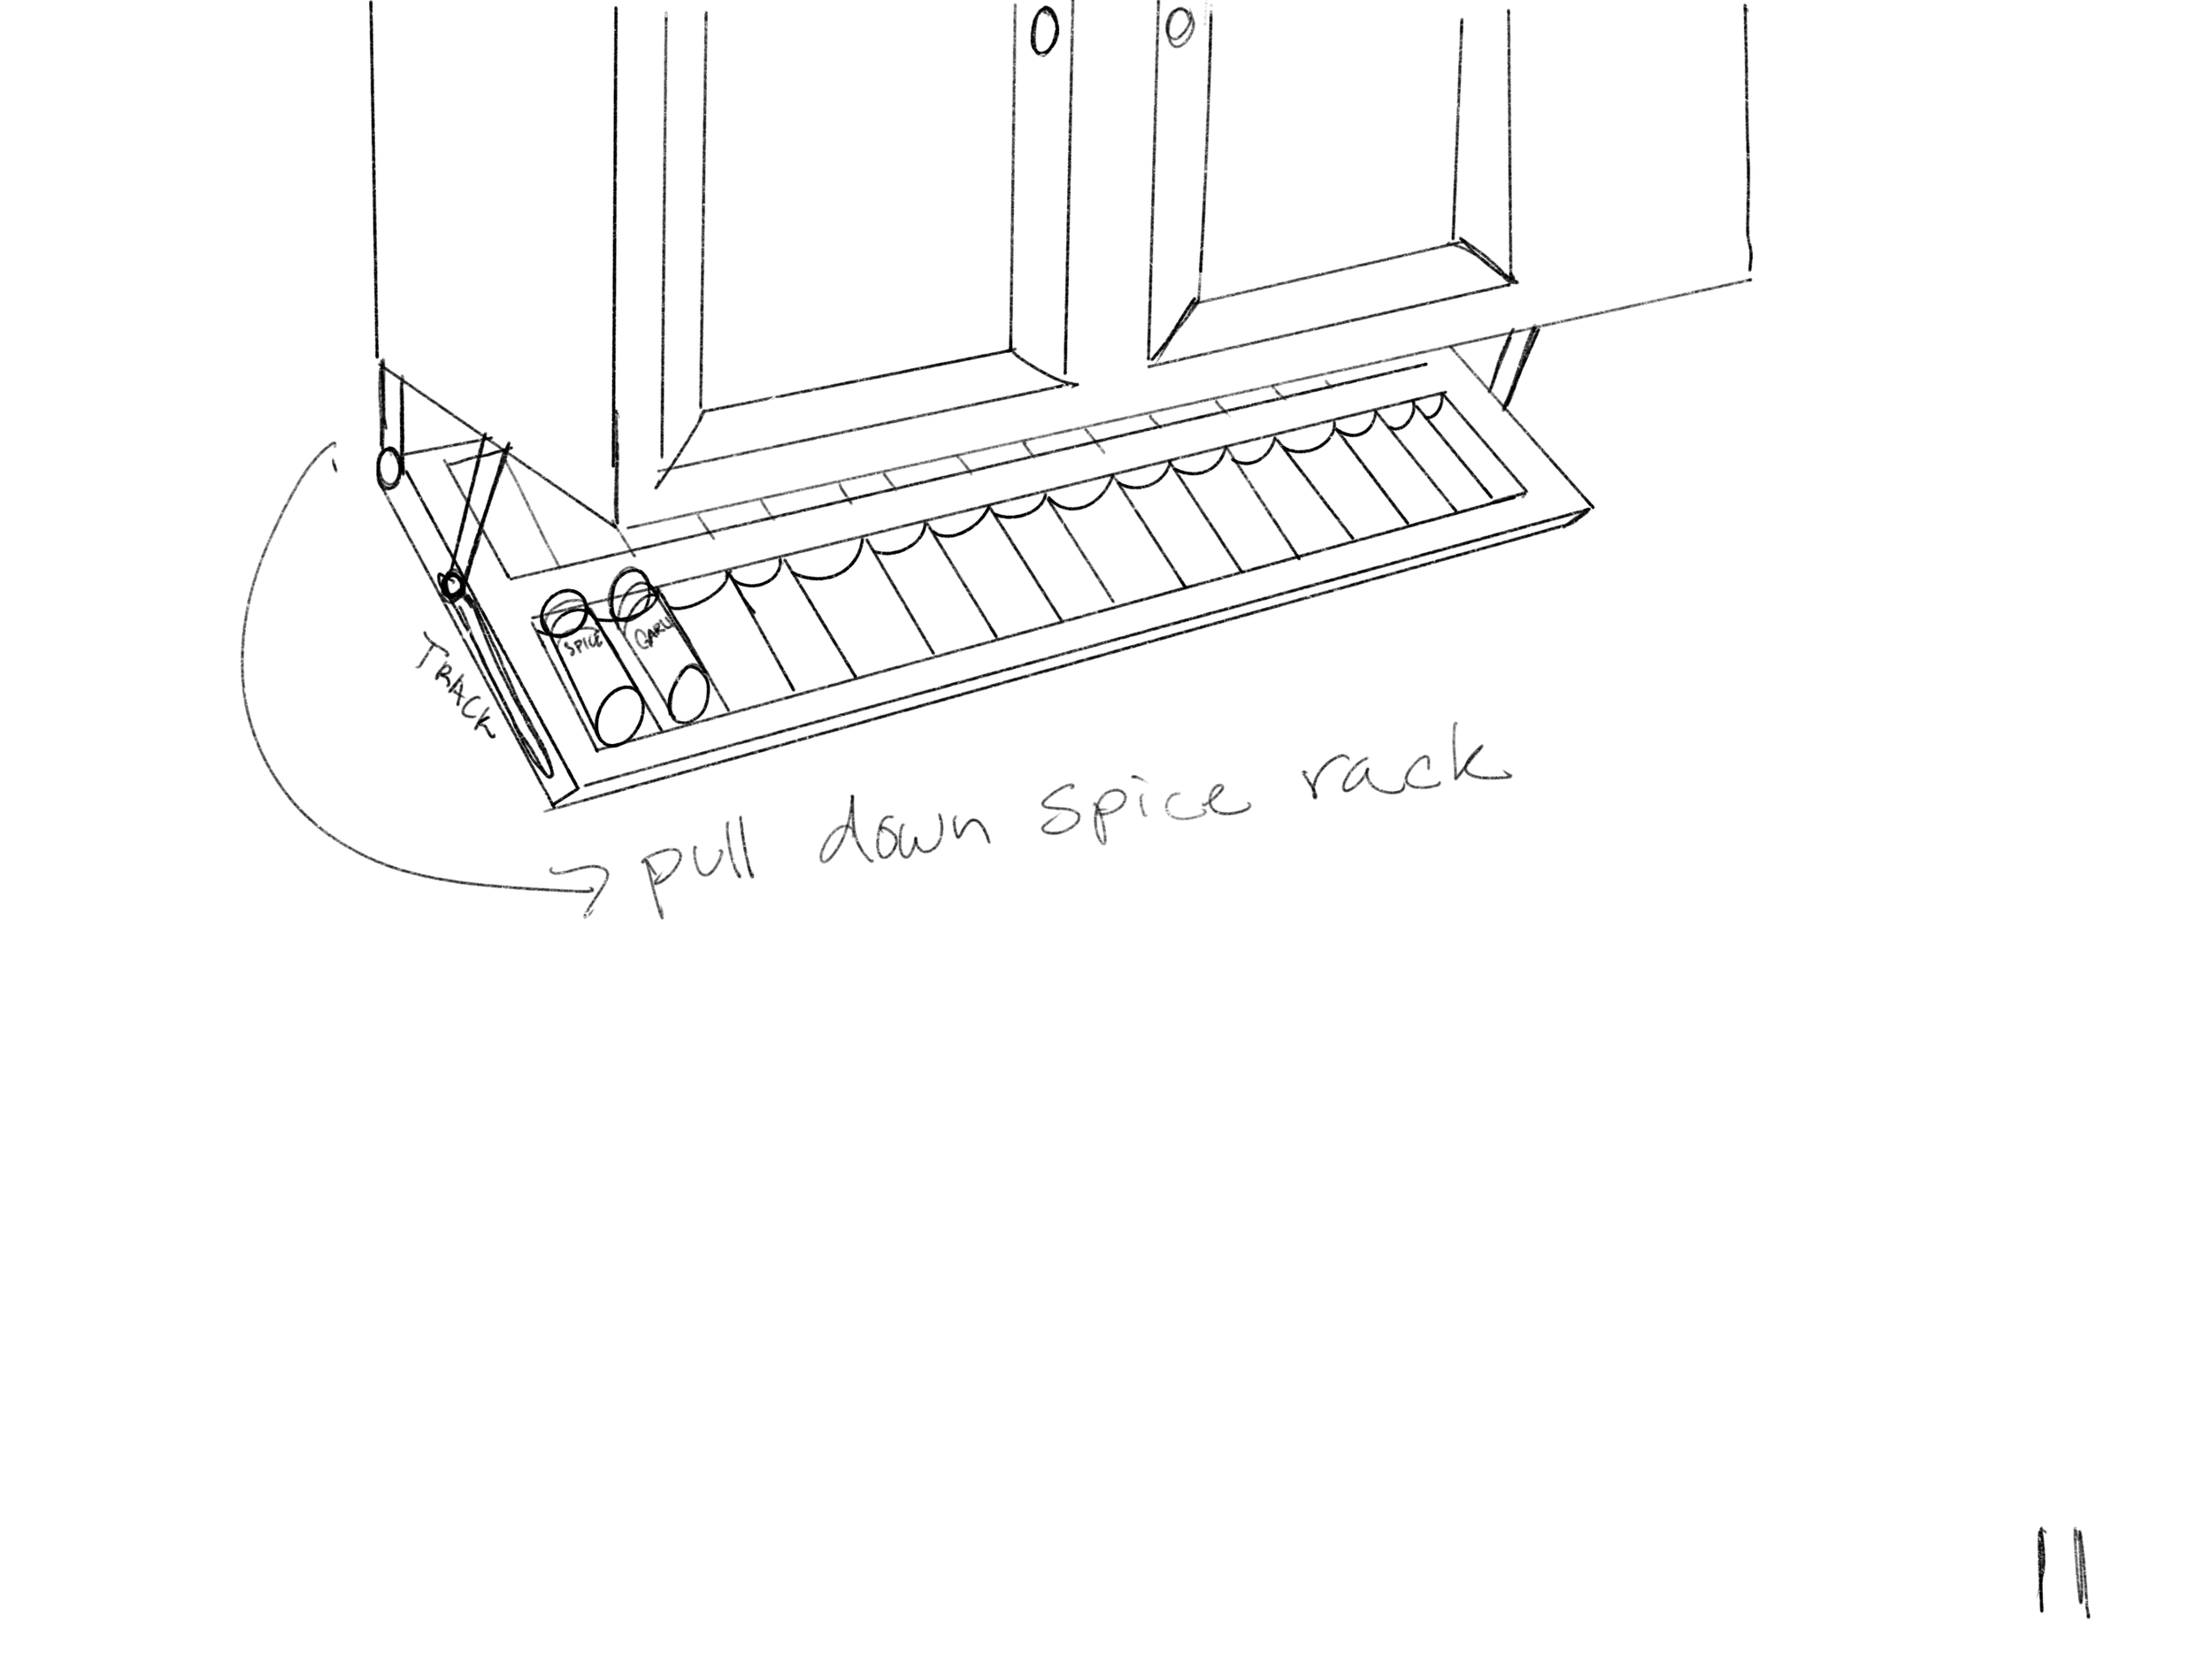
Pull-down under the cabinet spice rack

Bag storage for the car
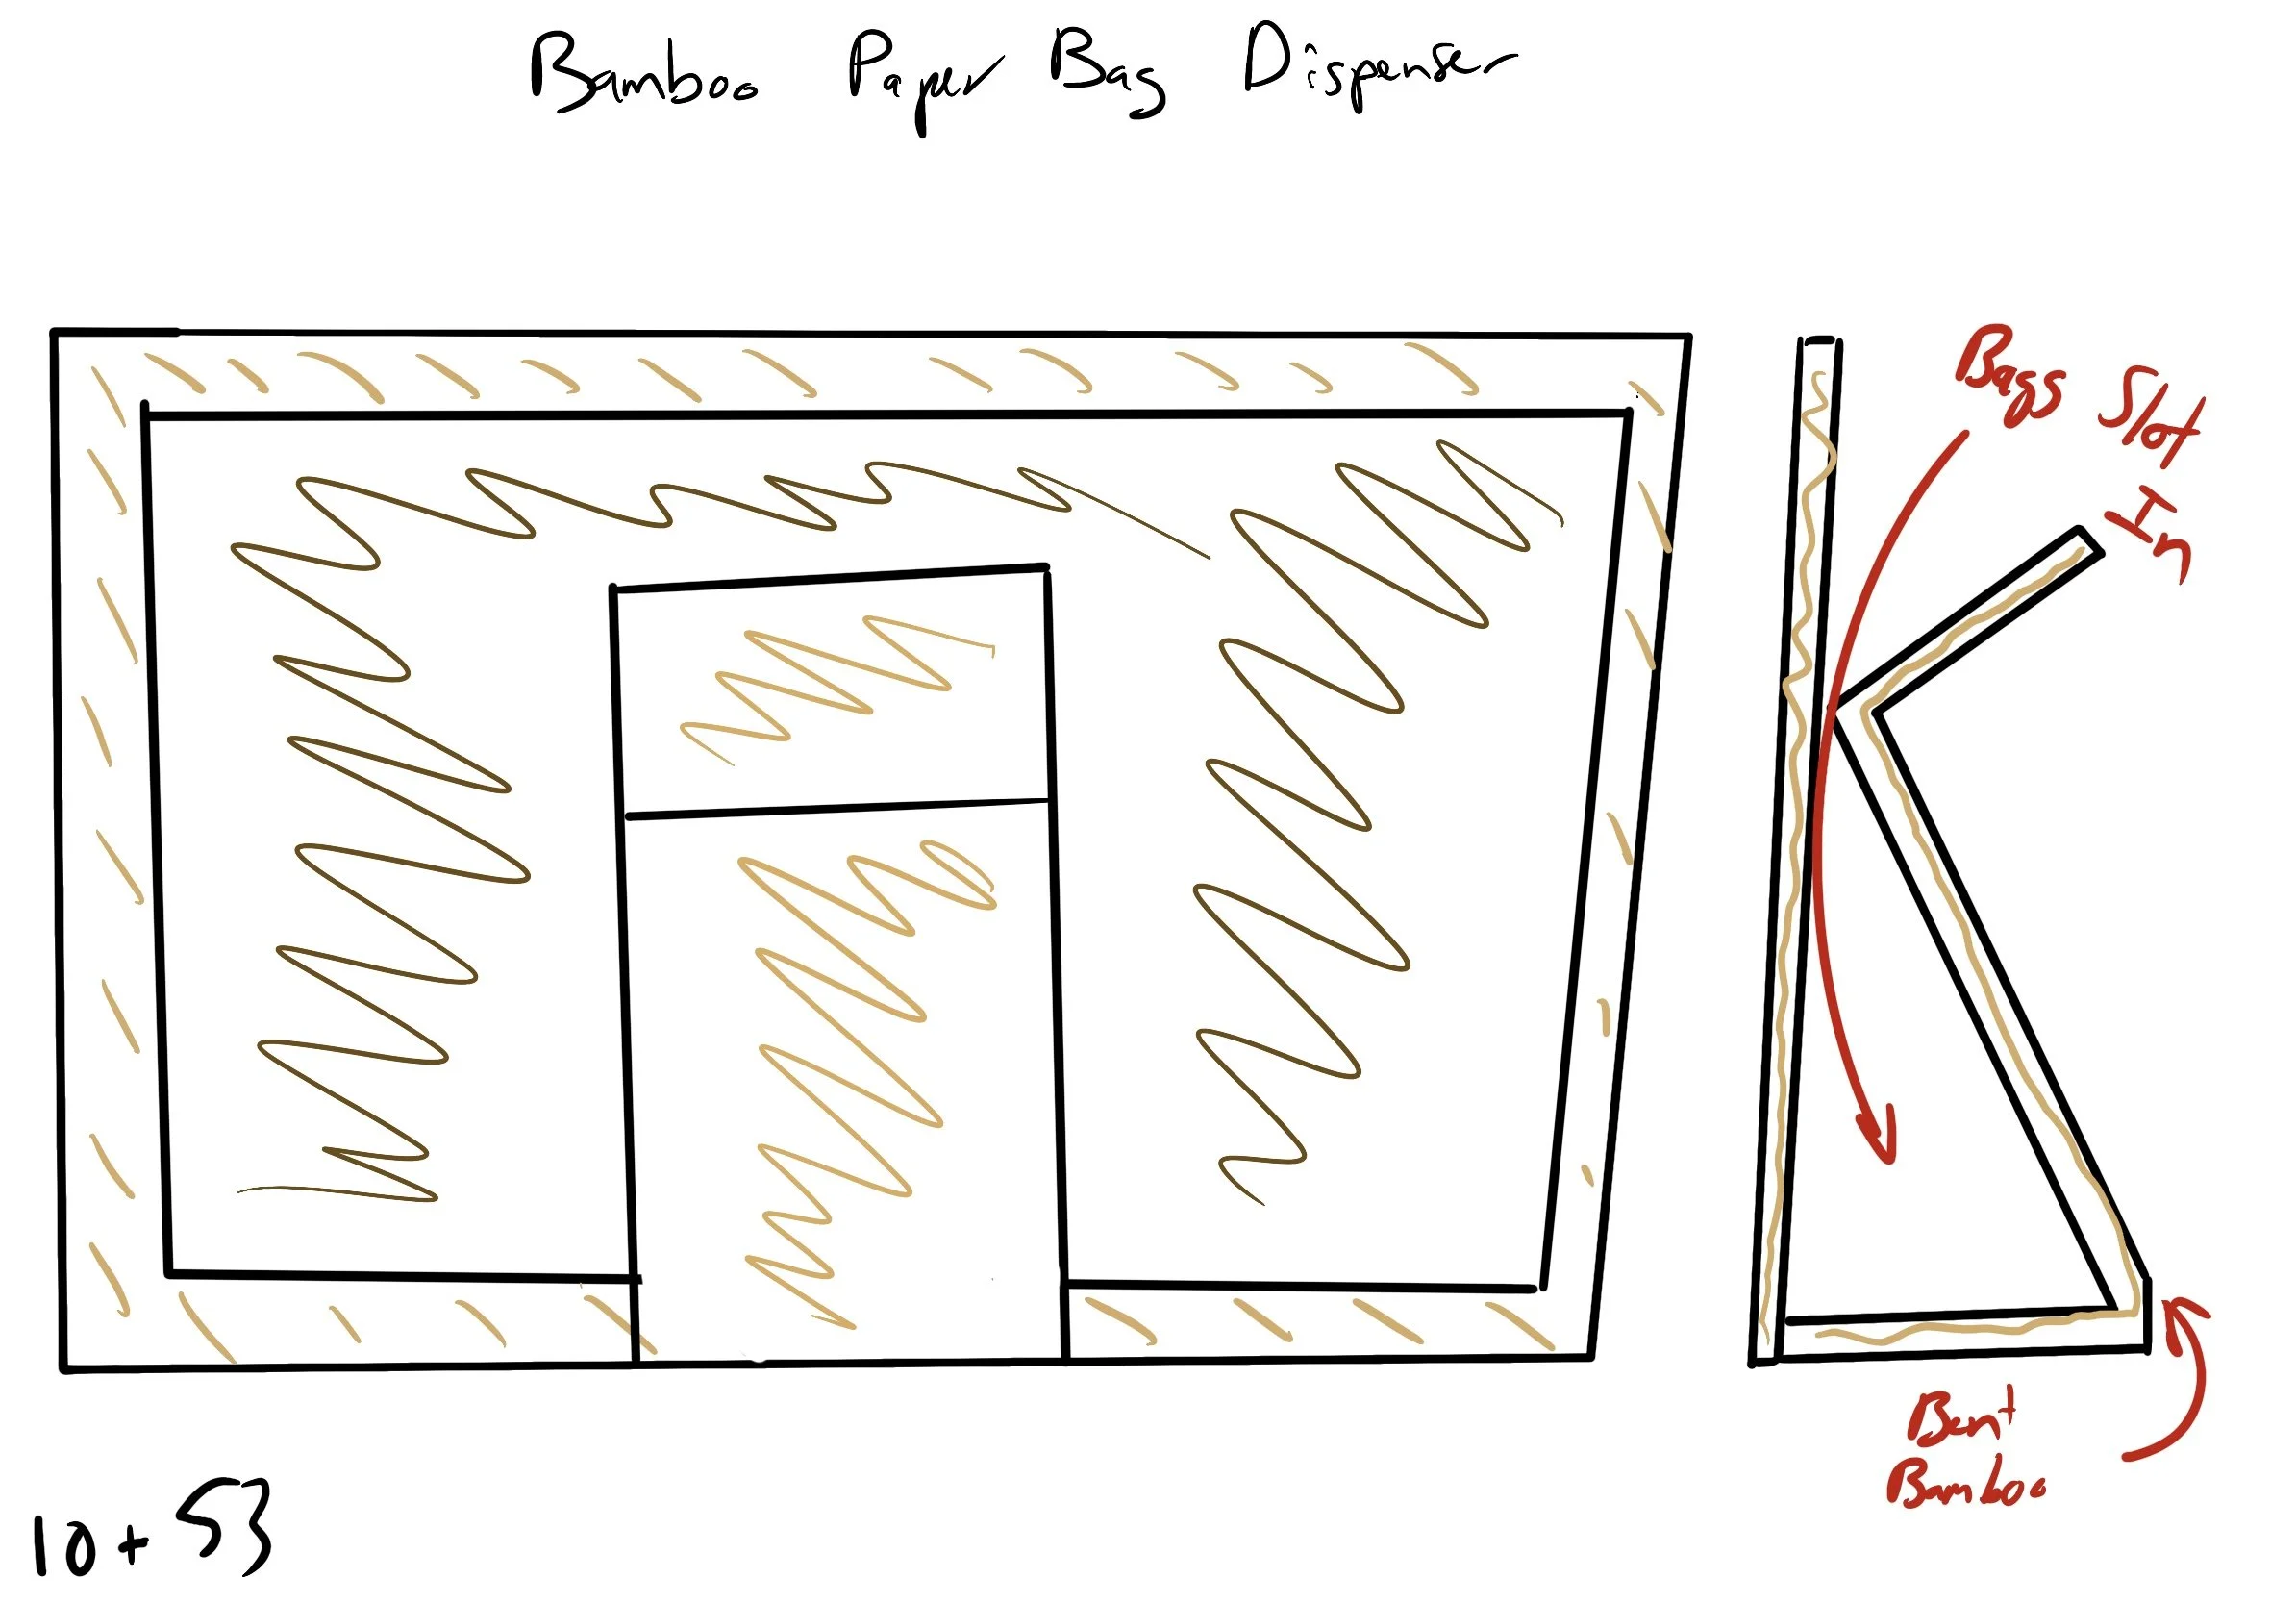
Paper bag storage
Clothing rack inspired drying rack
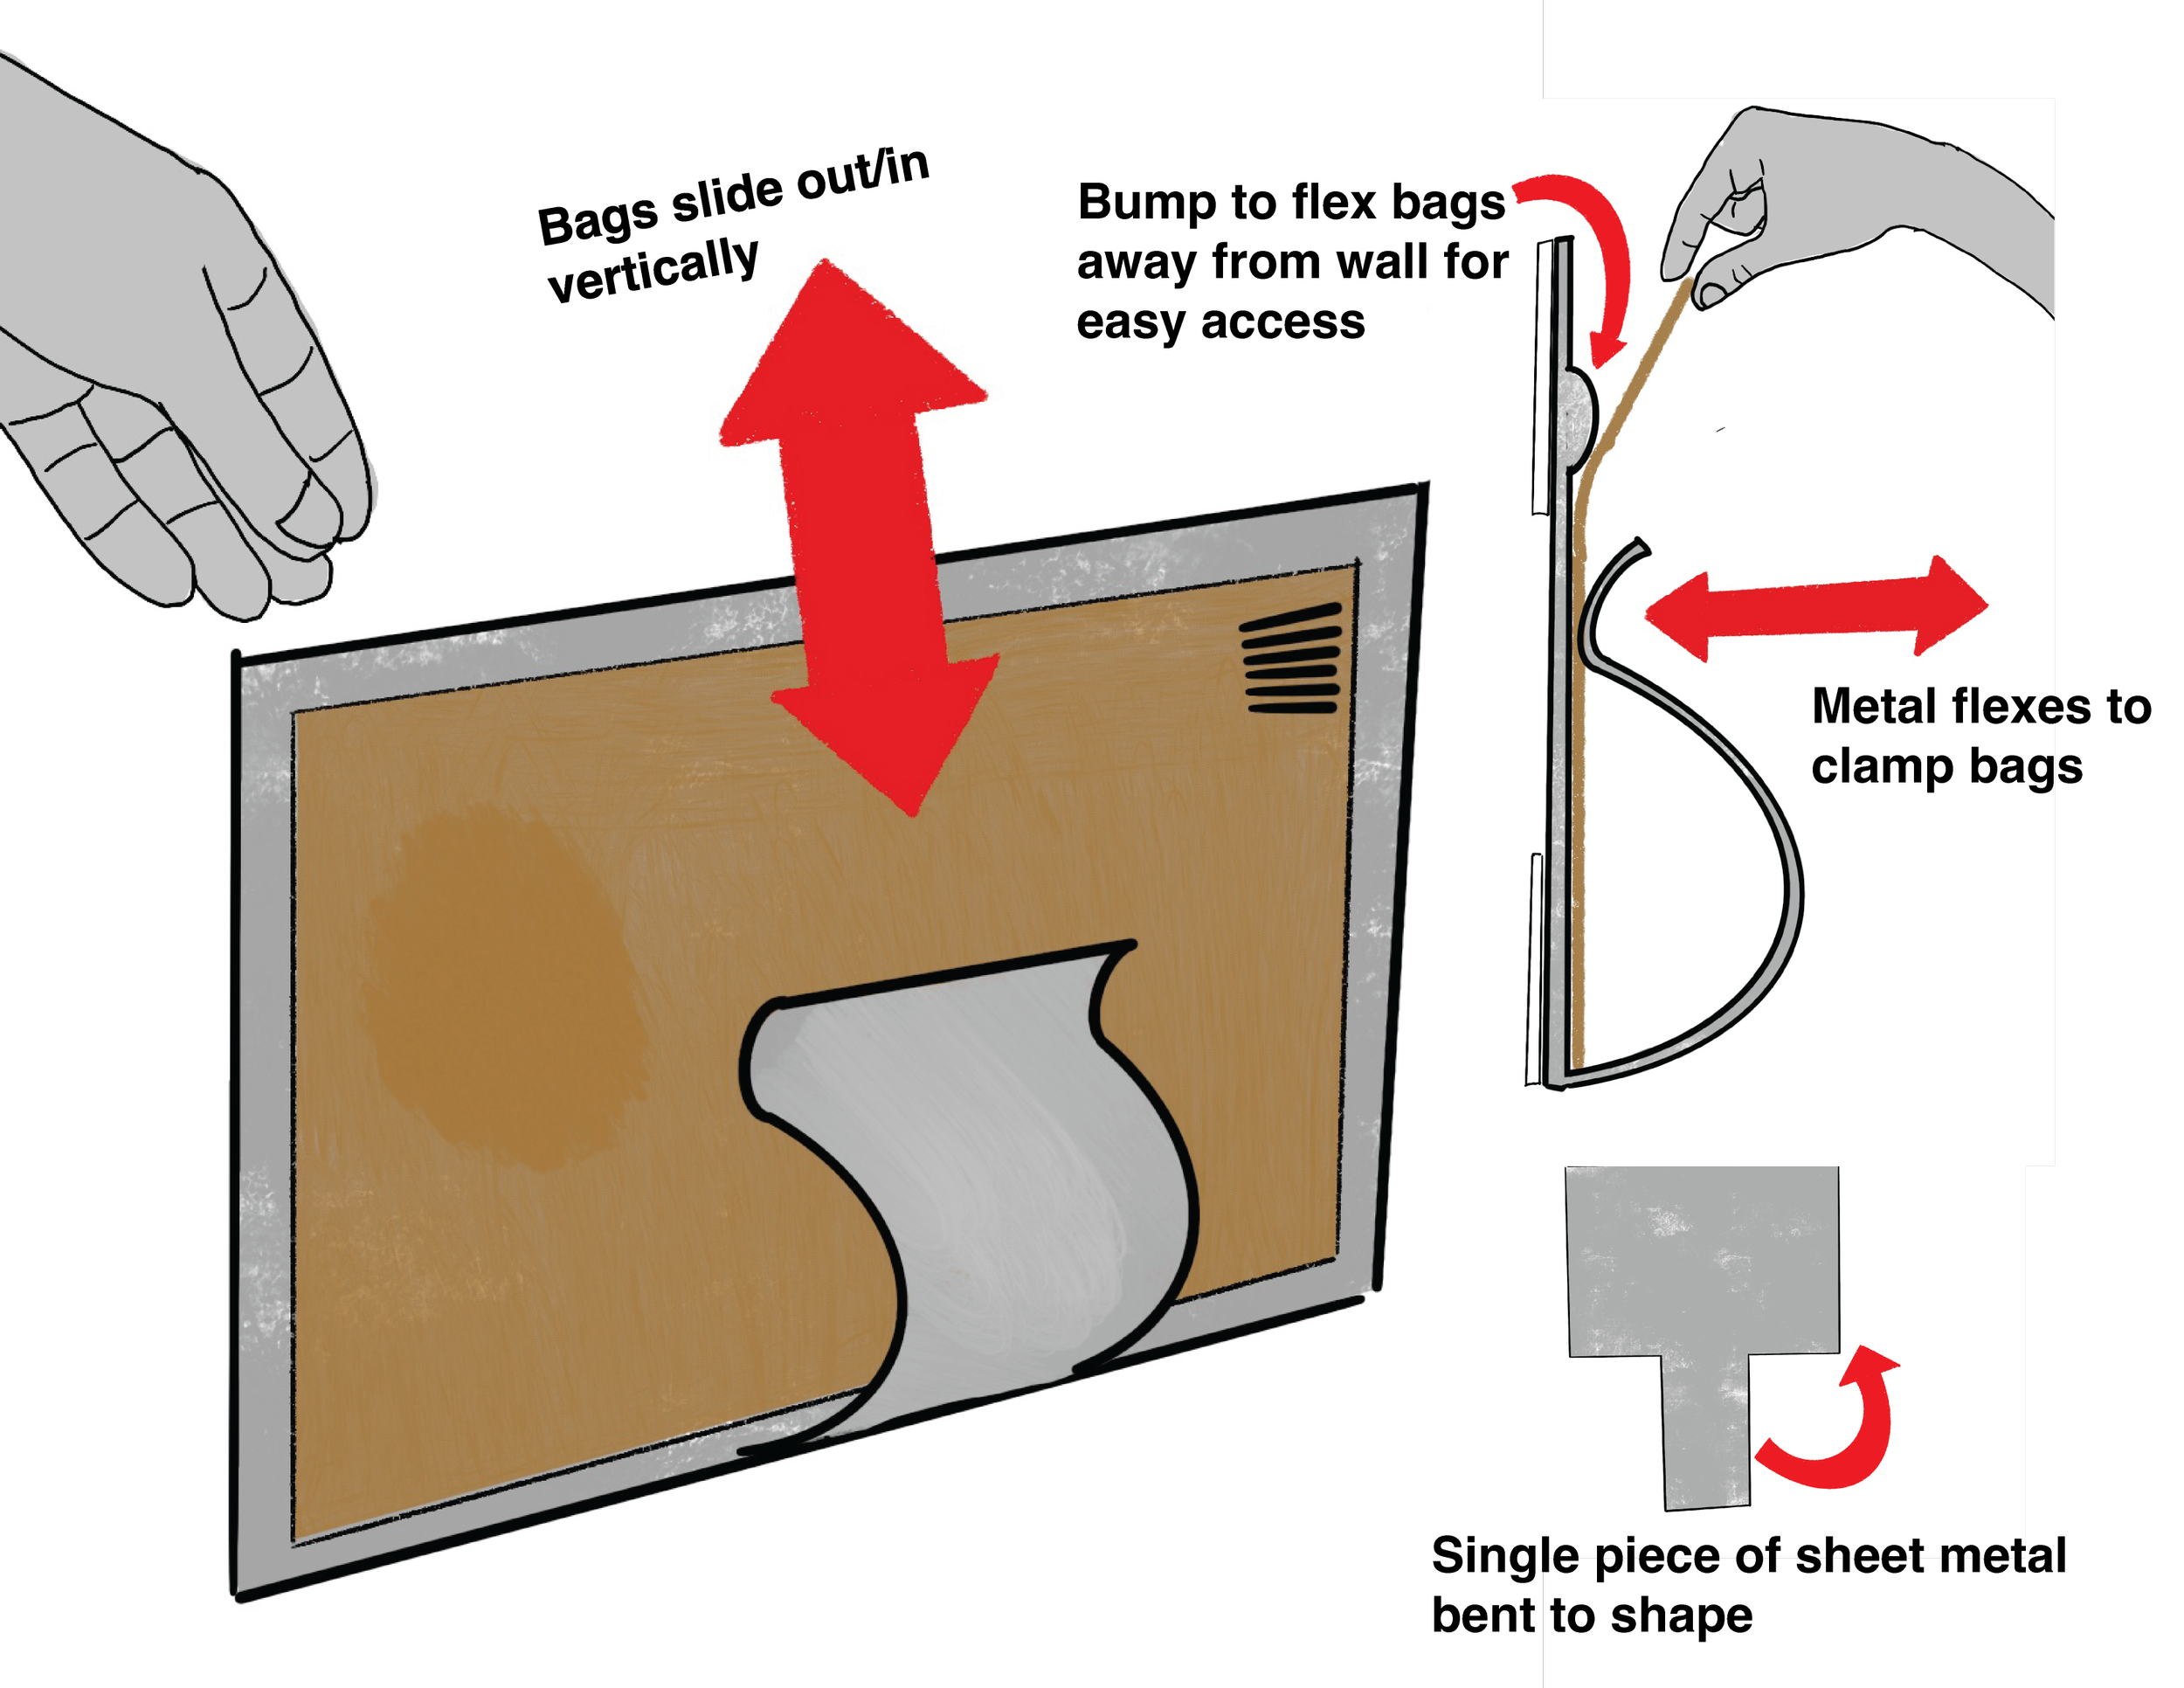
Paper bag storage
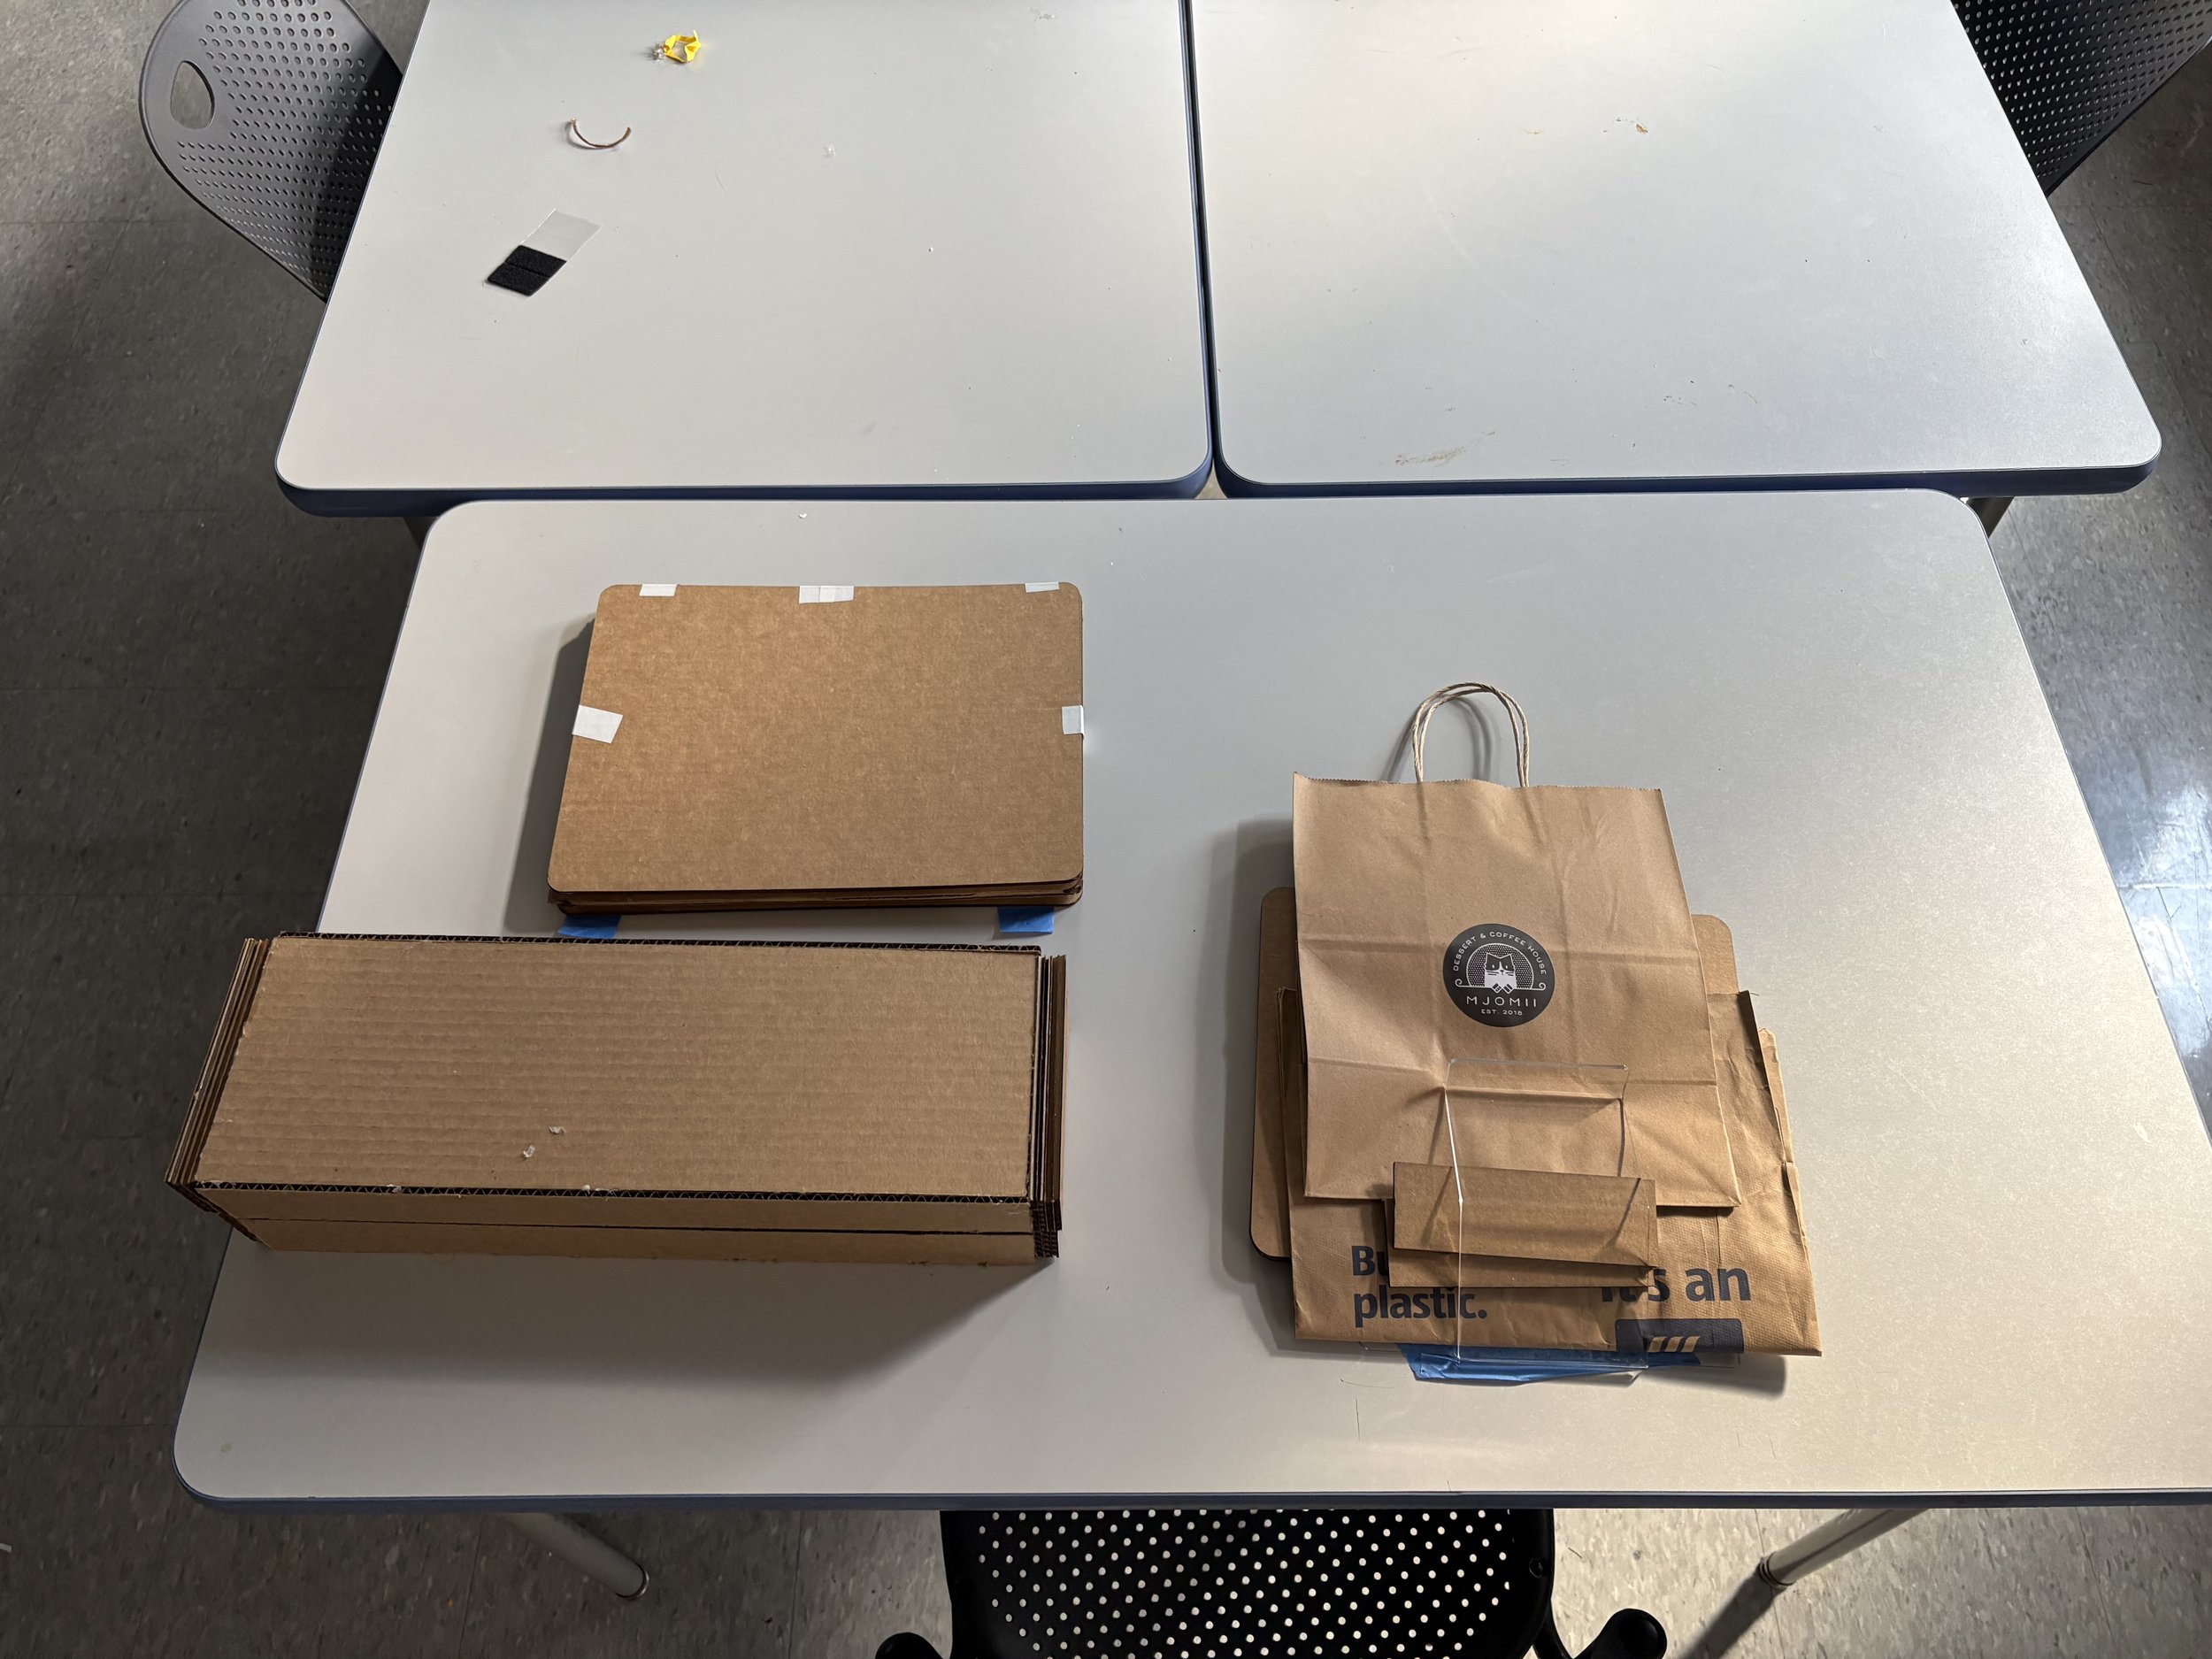
Sketch prototypes of two bag storage items and the spice rack
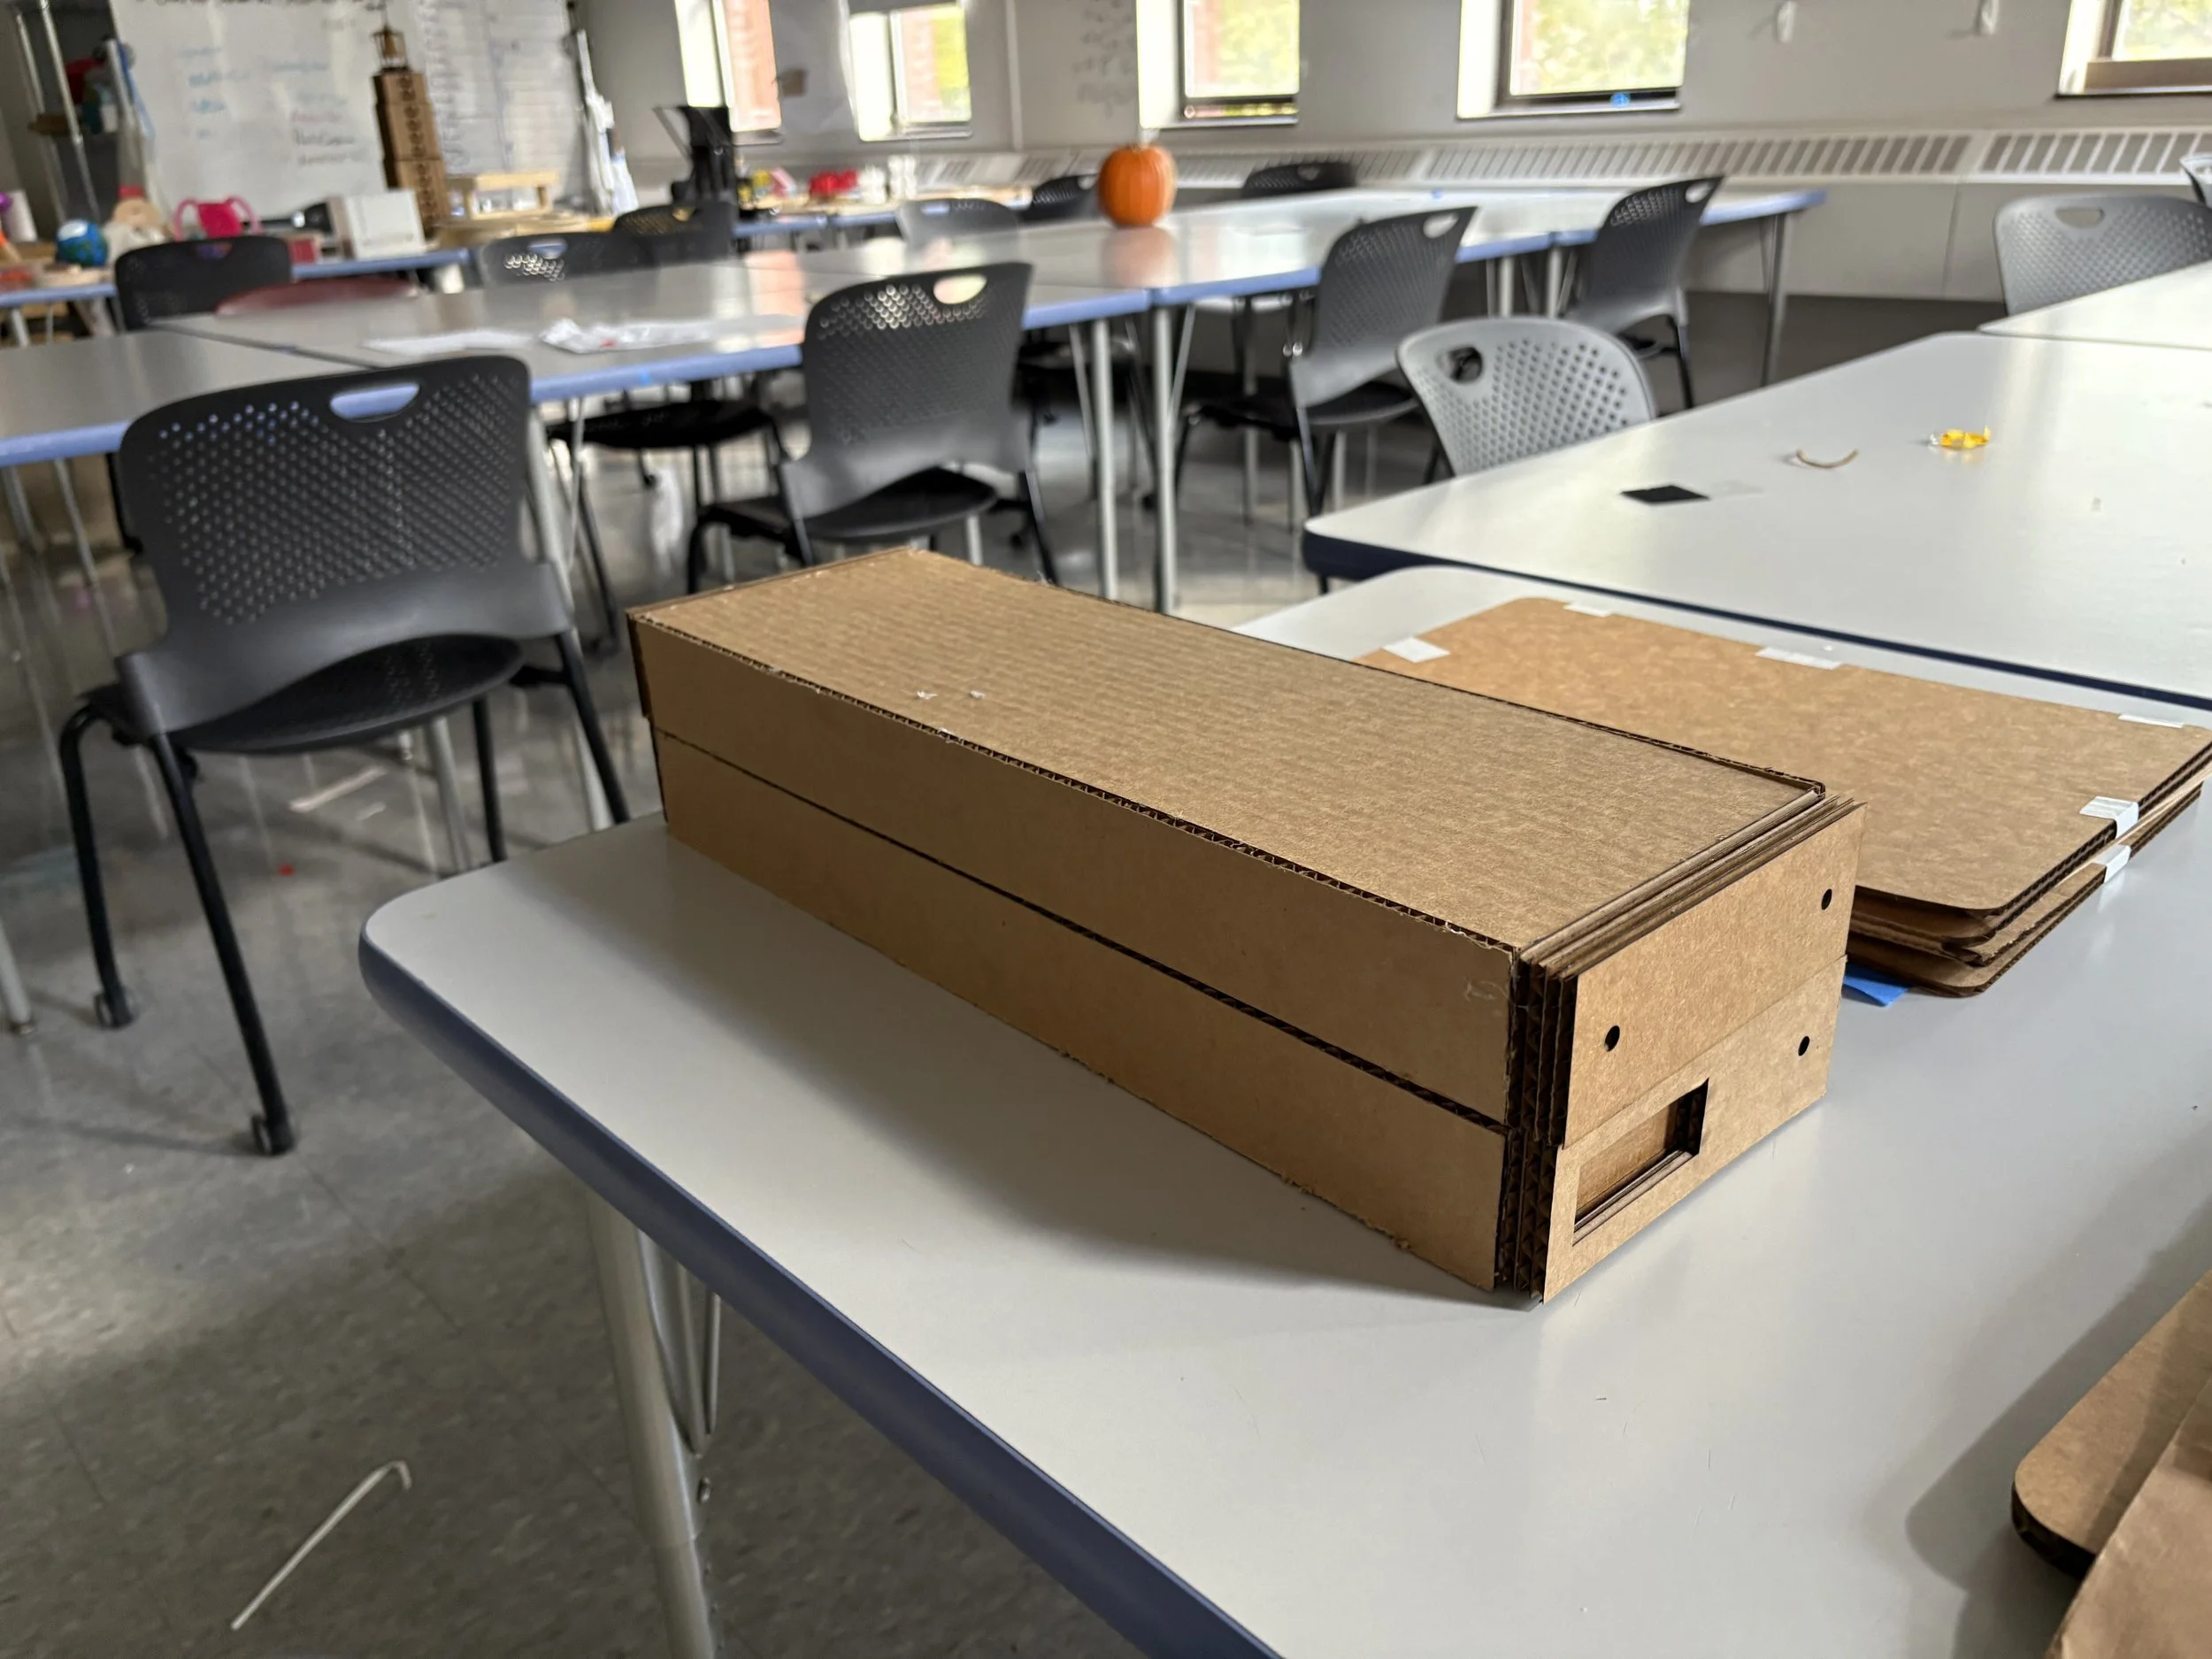
Spice rack from the side
Beginning to Build…
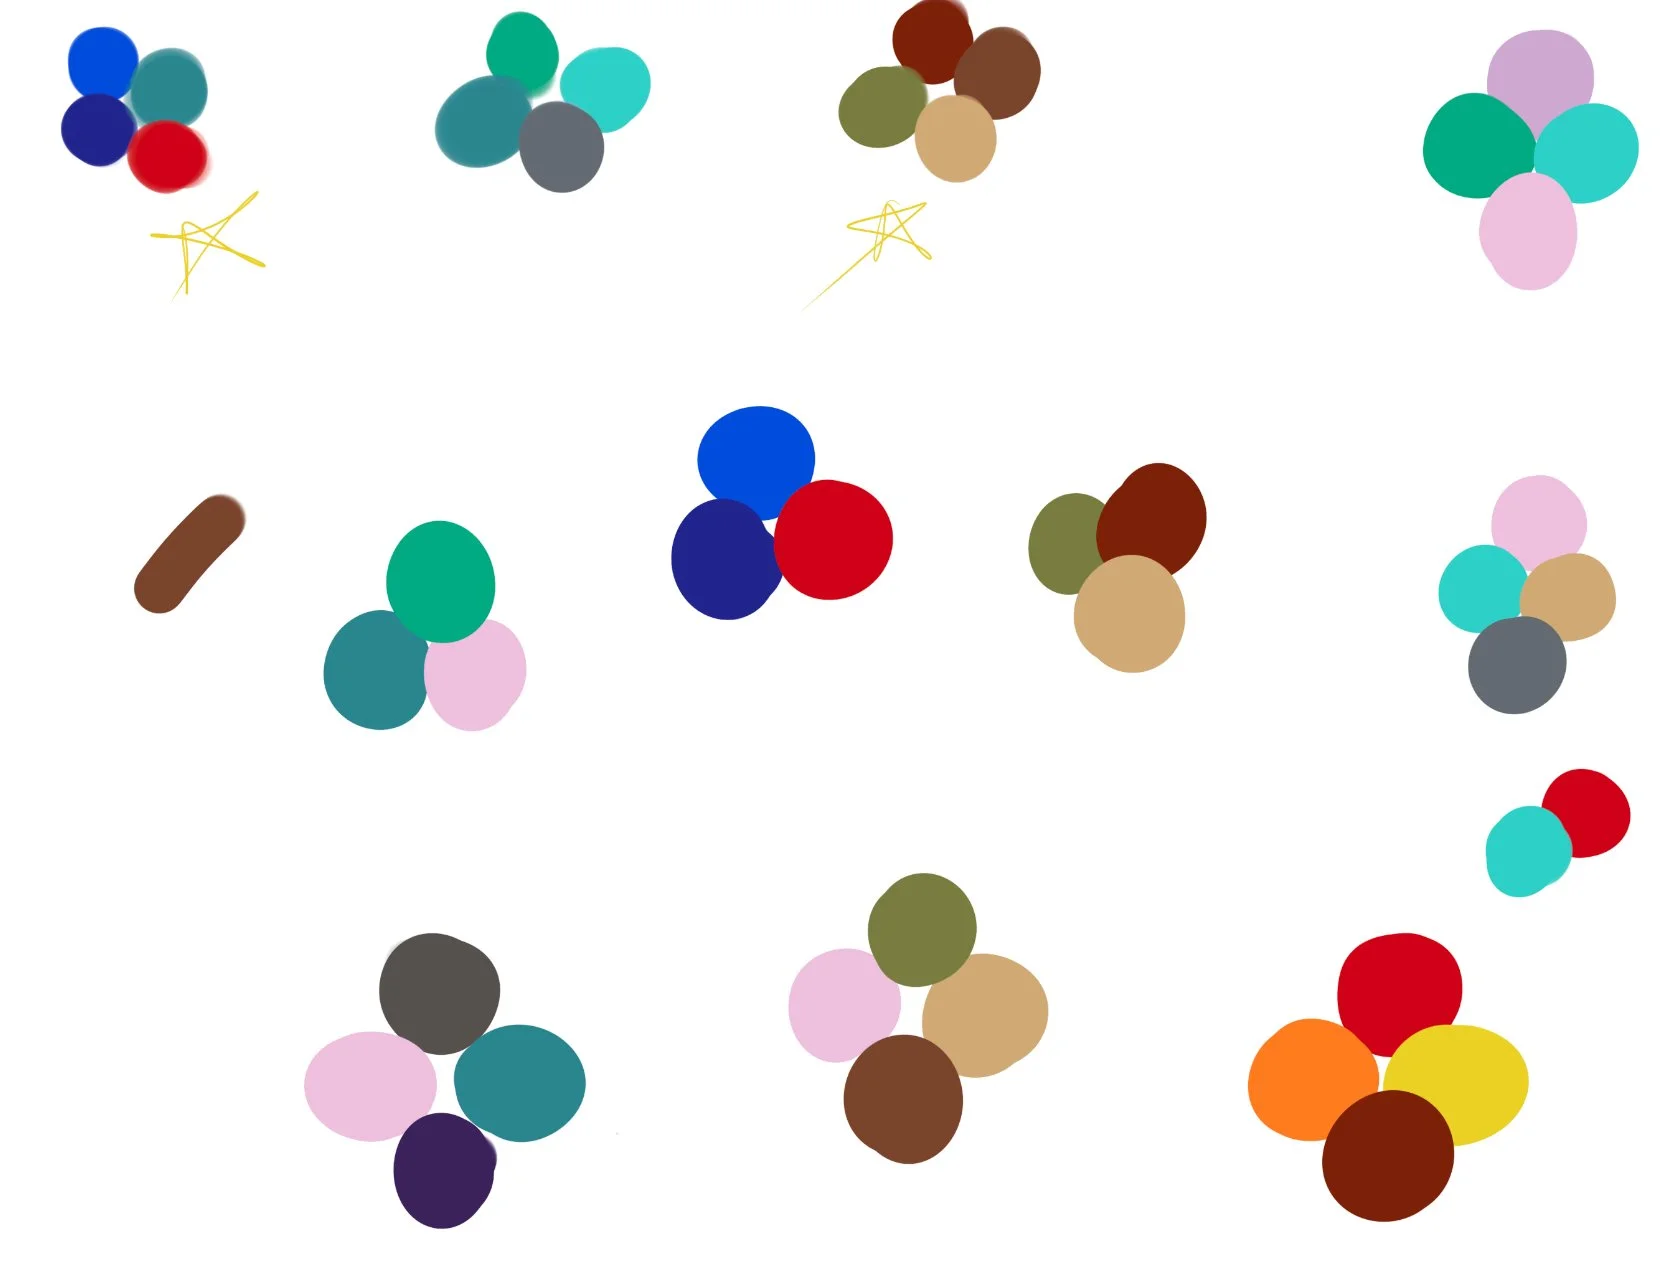
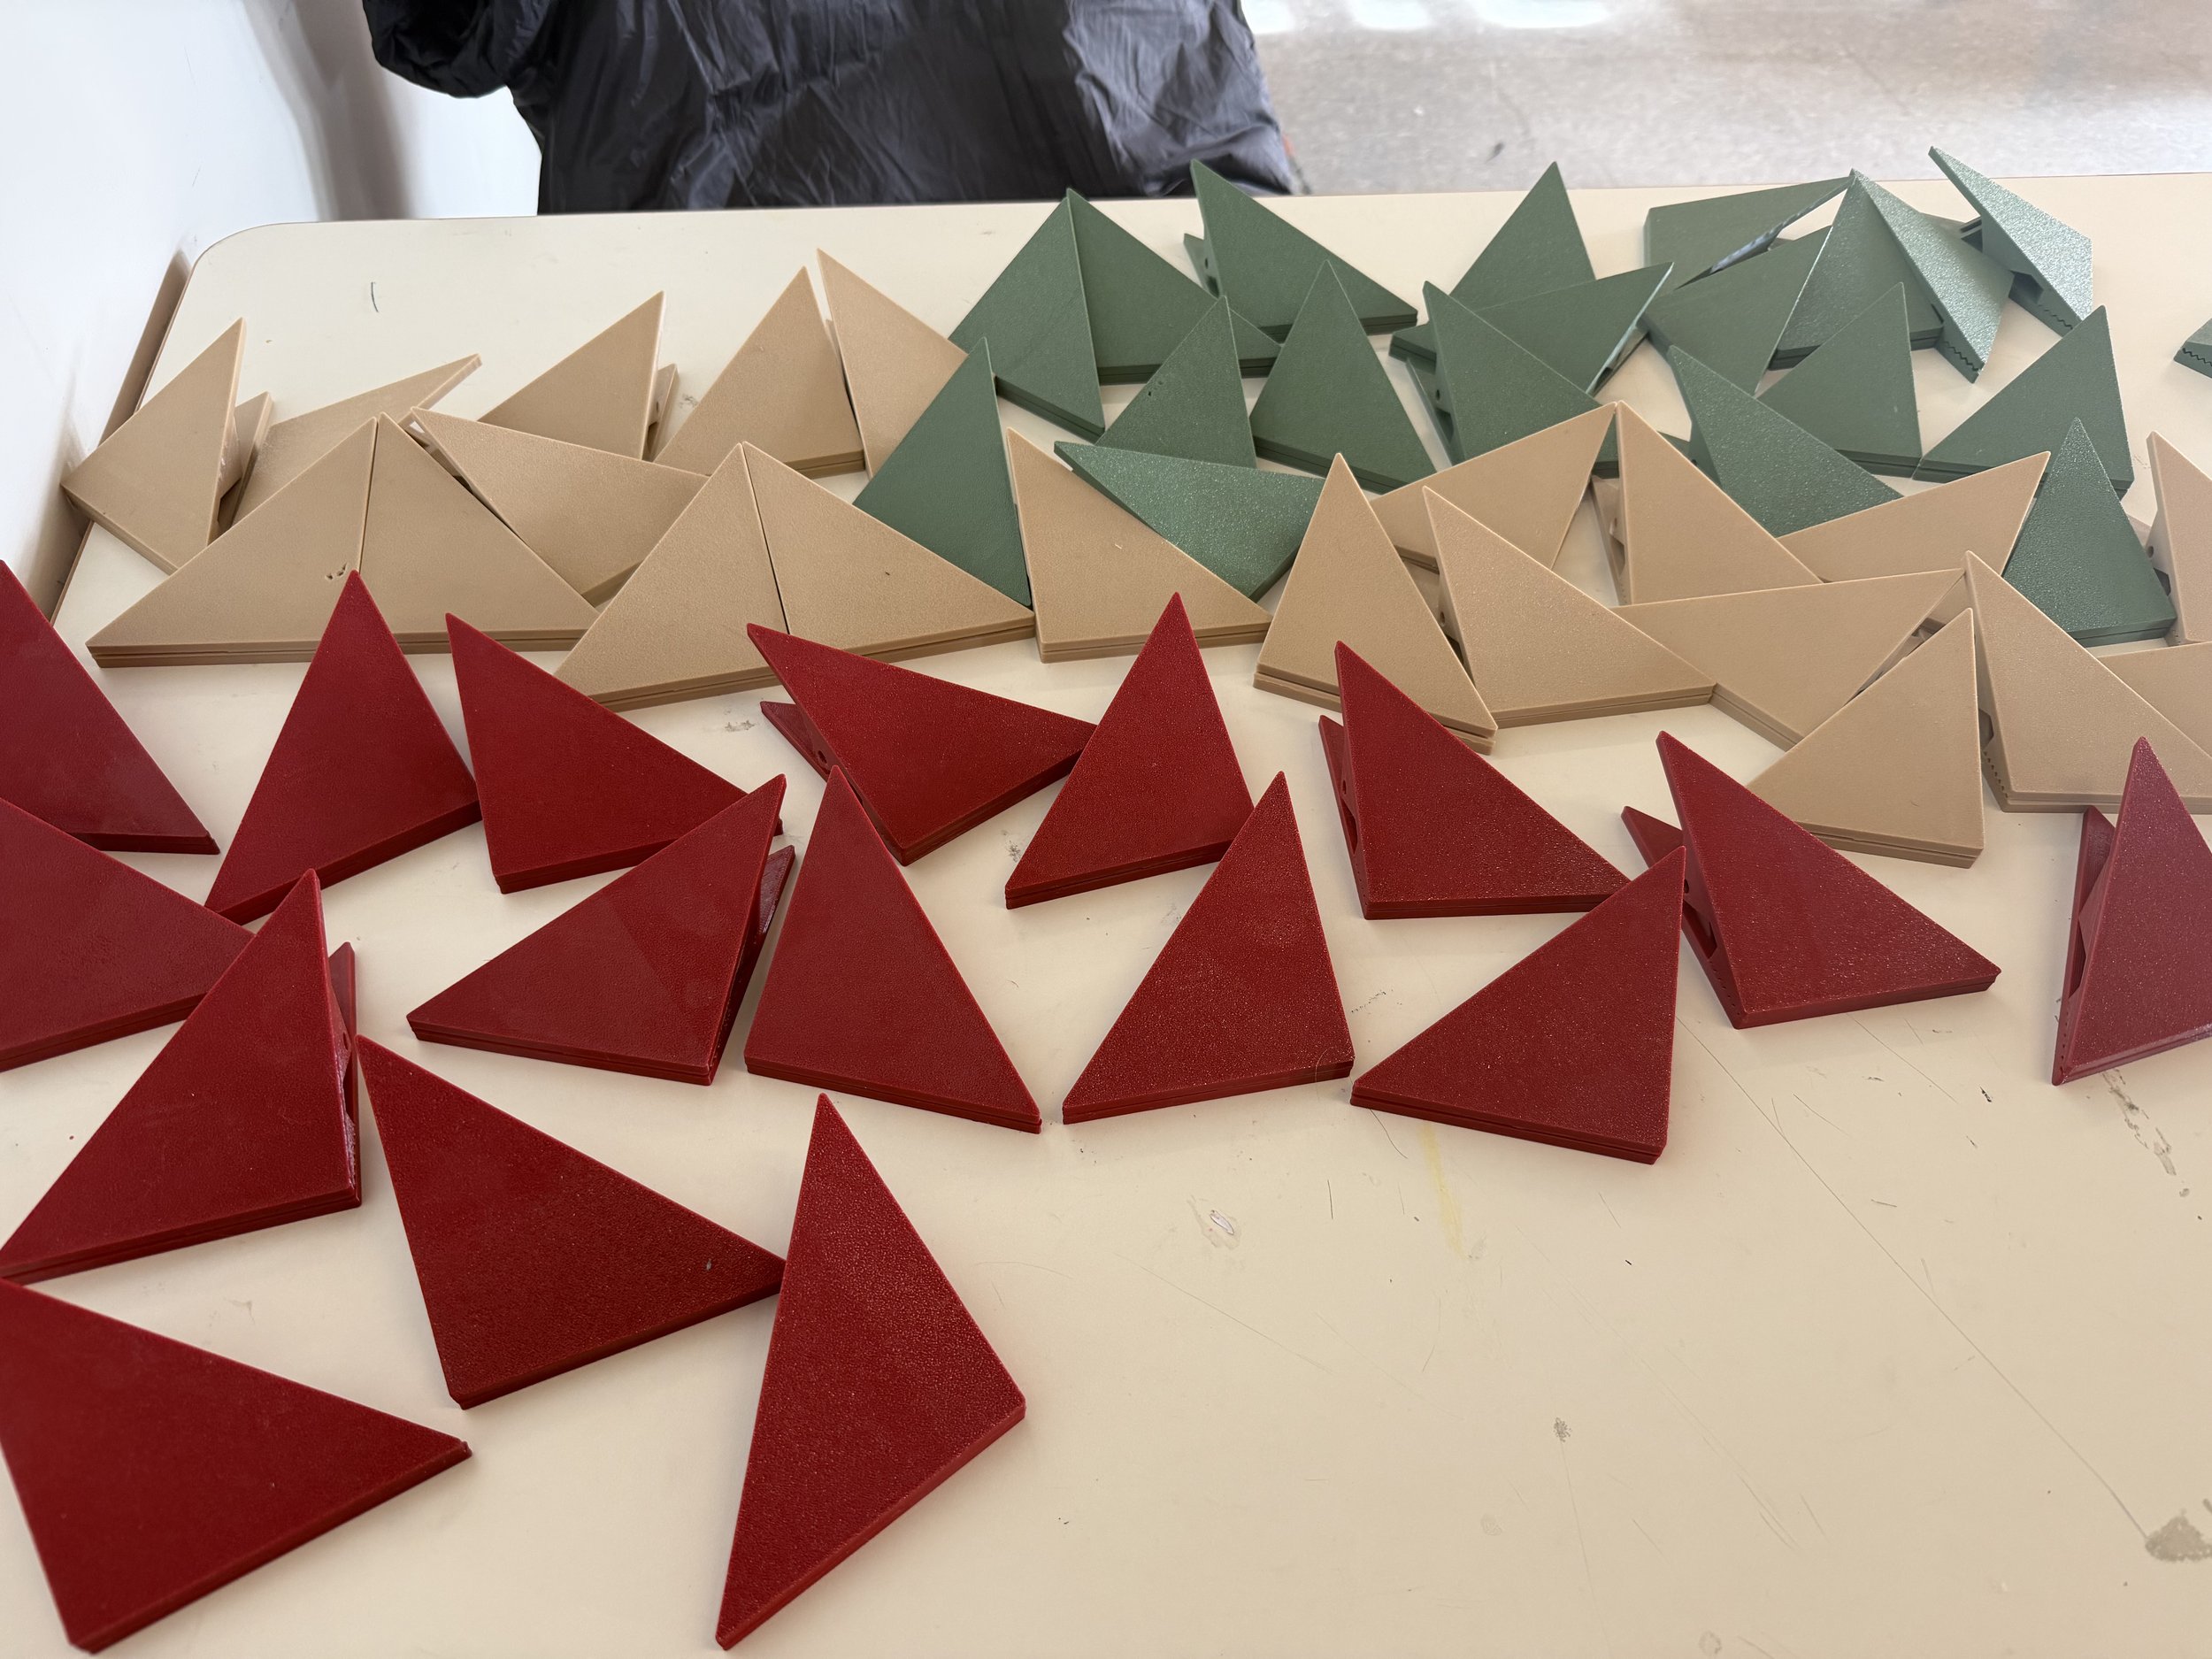
Settling color palettes, finalizing shapes, and deciding on style
My Production Process
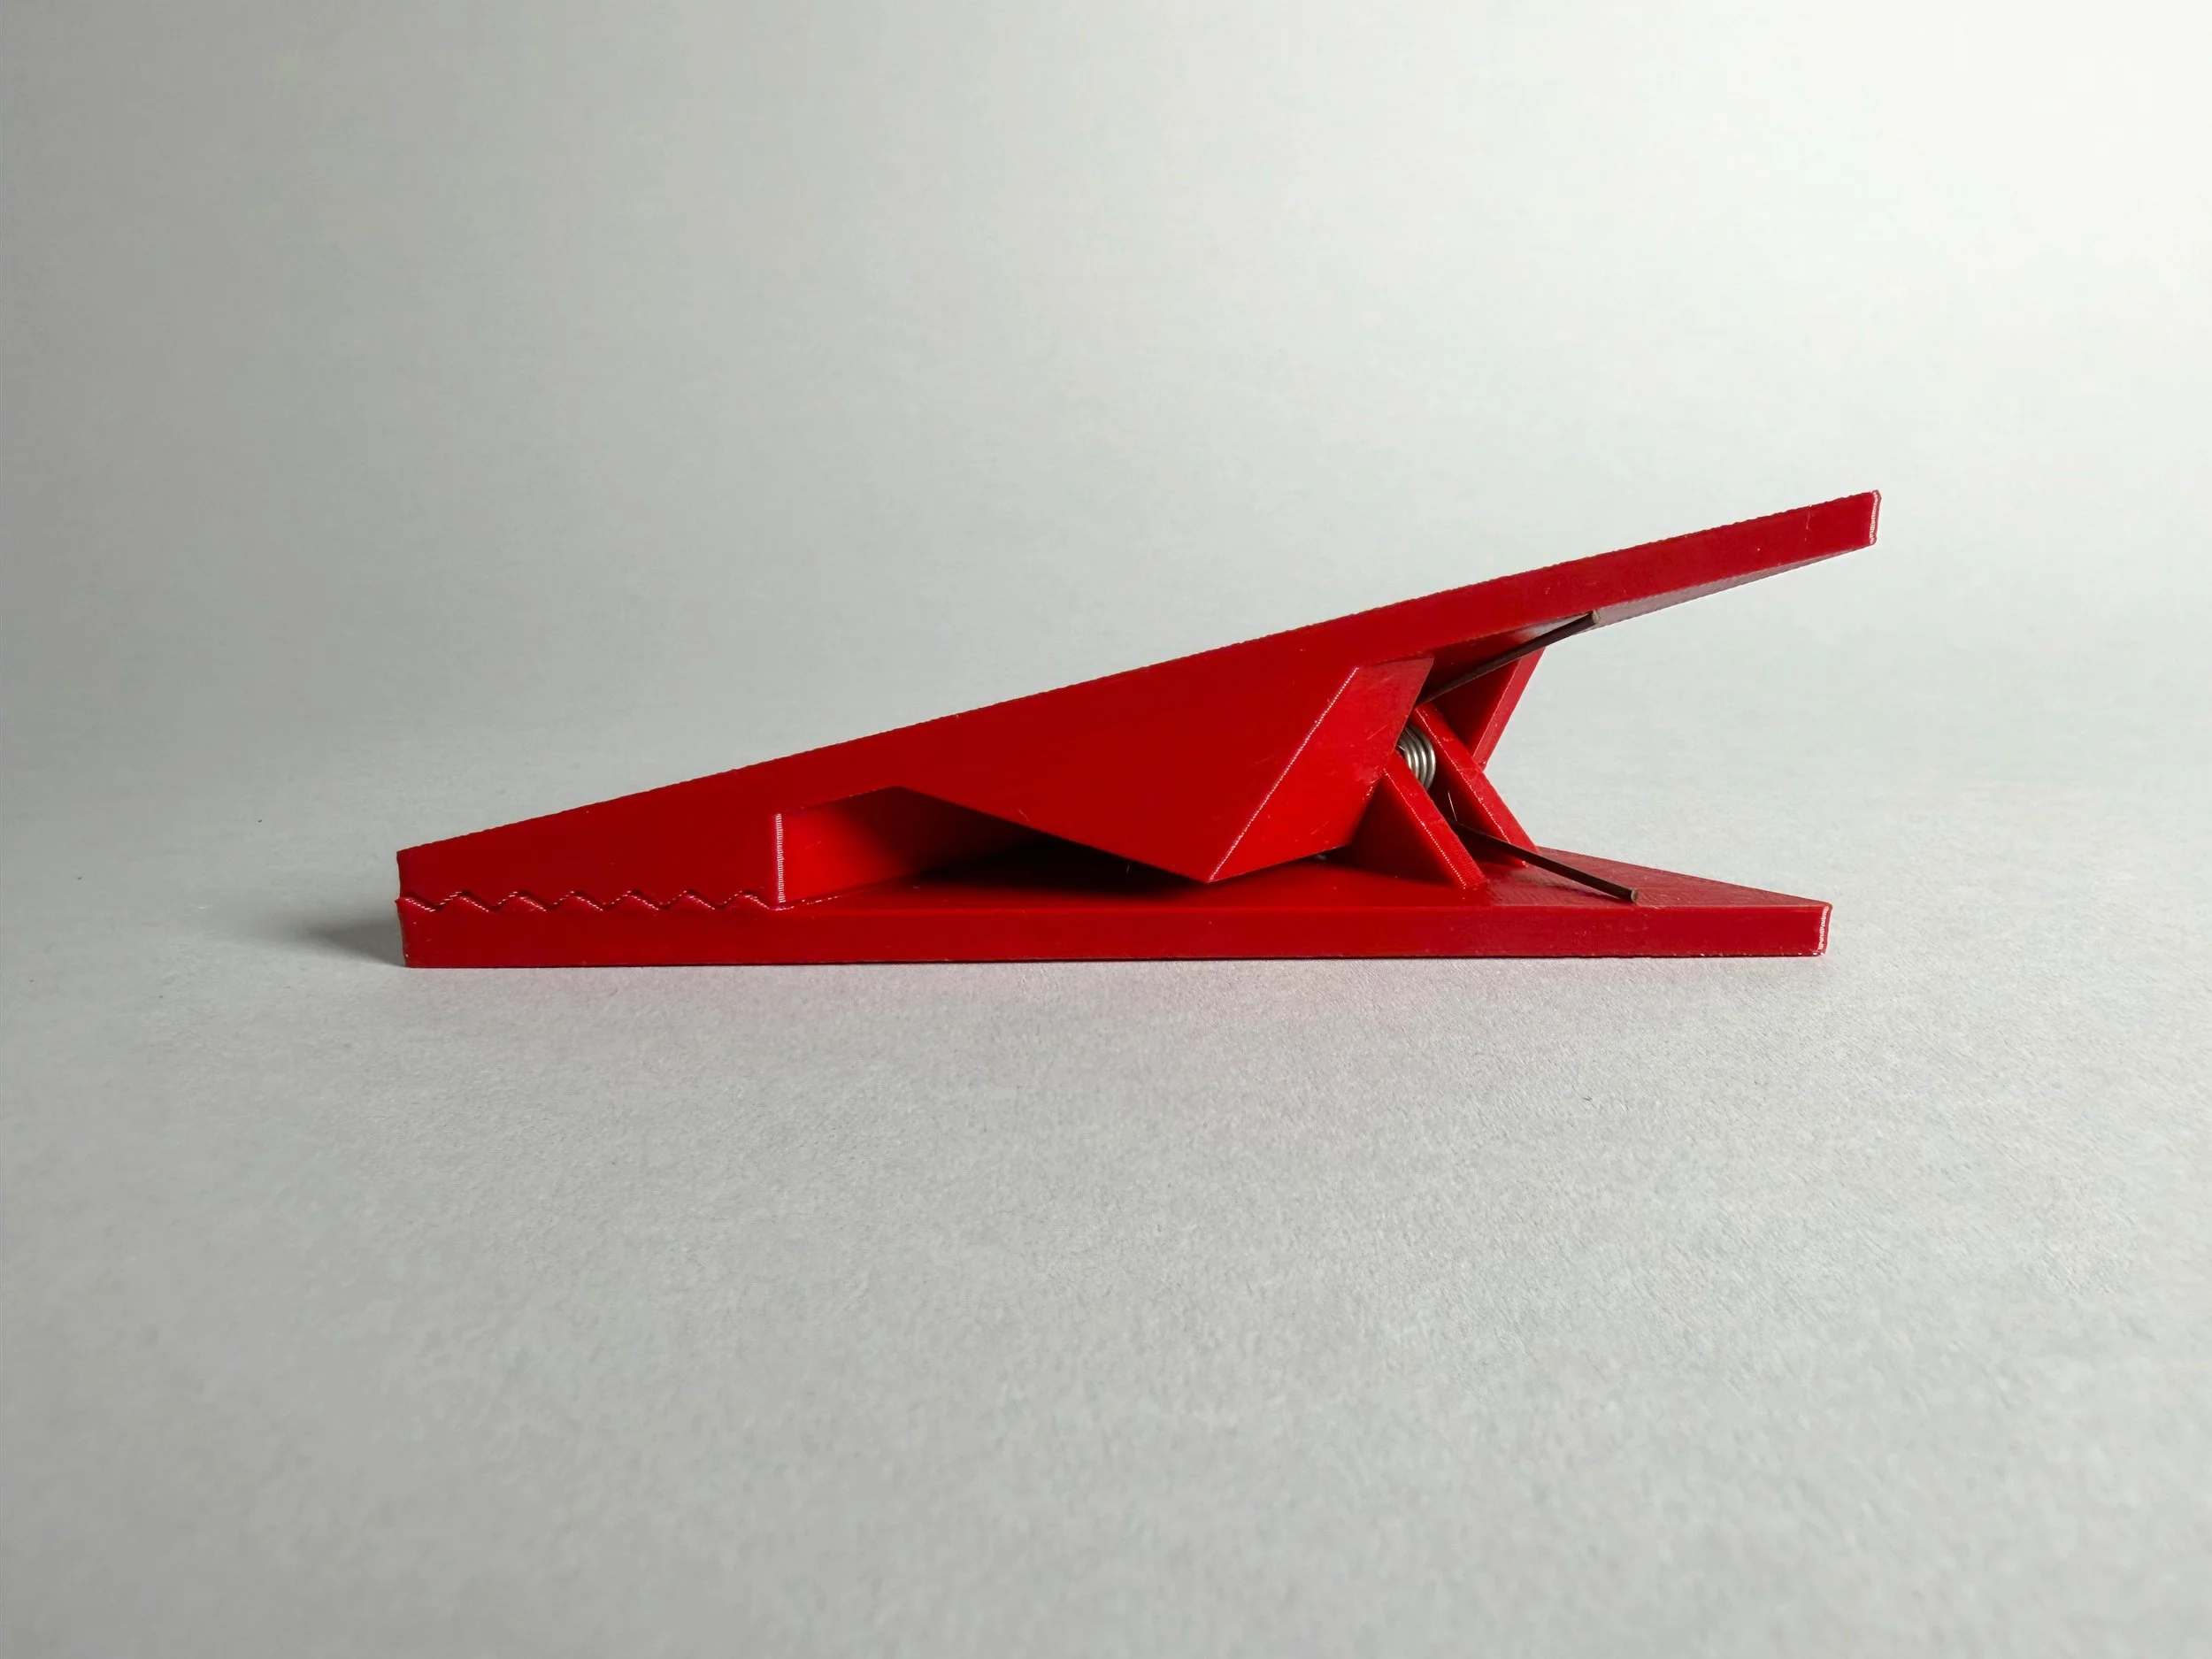
Will’s chip clip production
Will went through several stages of 3D printing and testing different chip clip forms. He ended up printing 60 clips and assembling them with a spring and bar inside for durability and perfect tension for holding anything you might need.
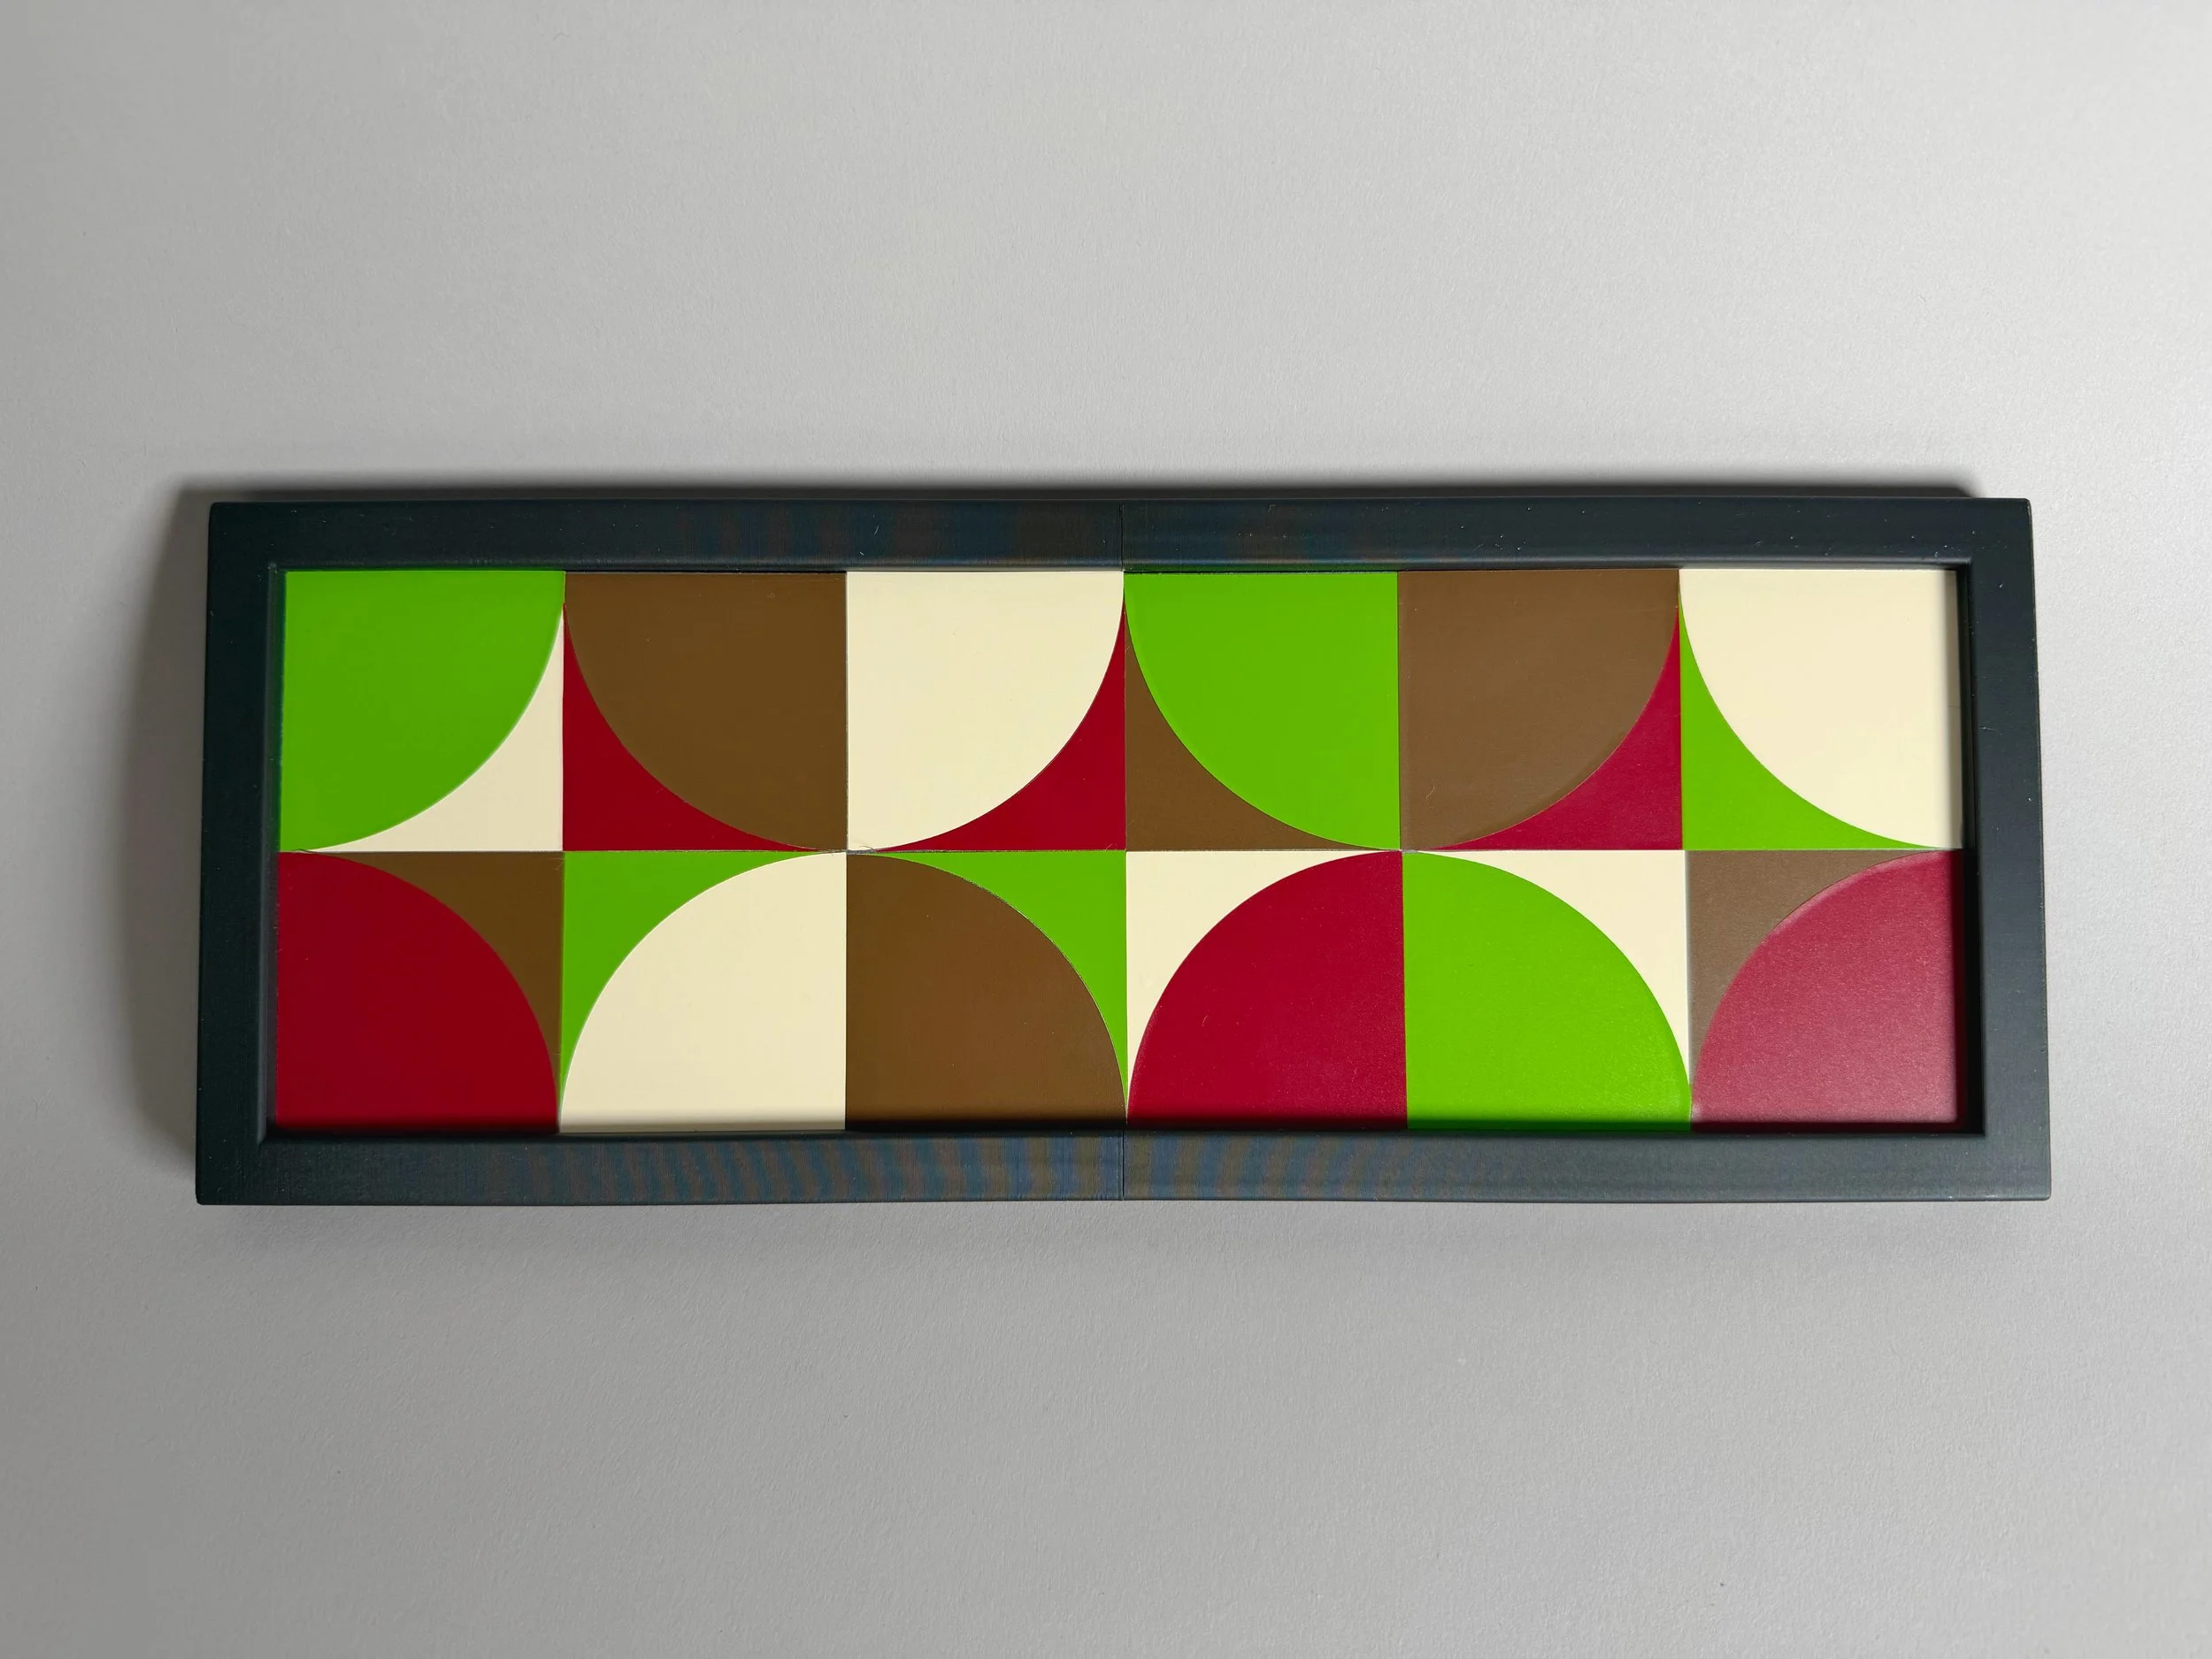
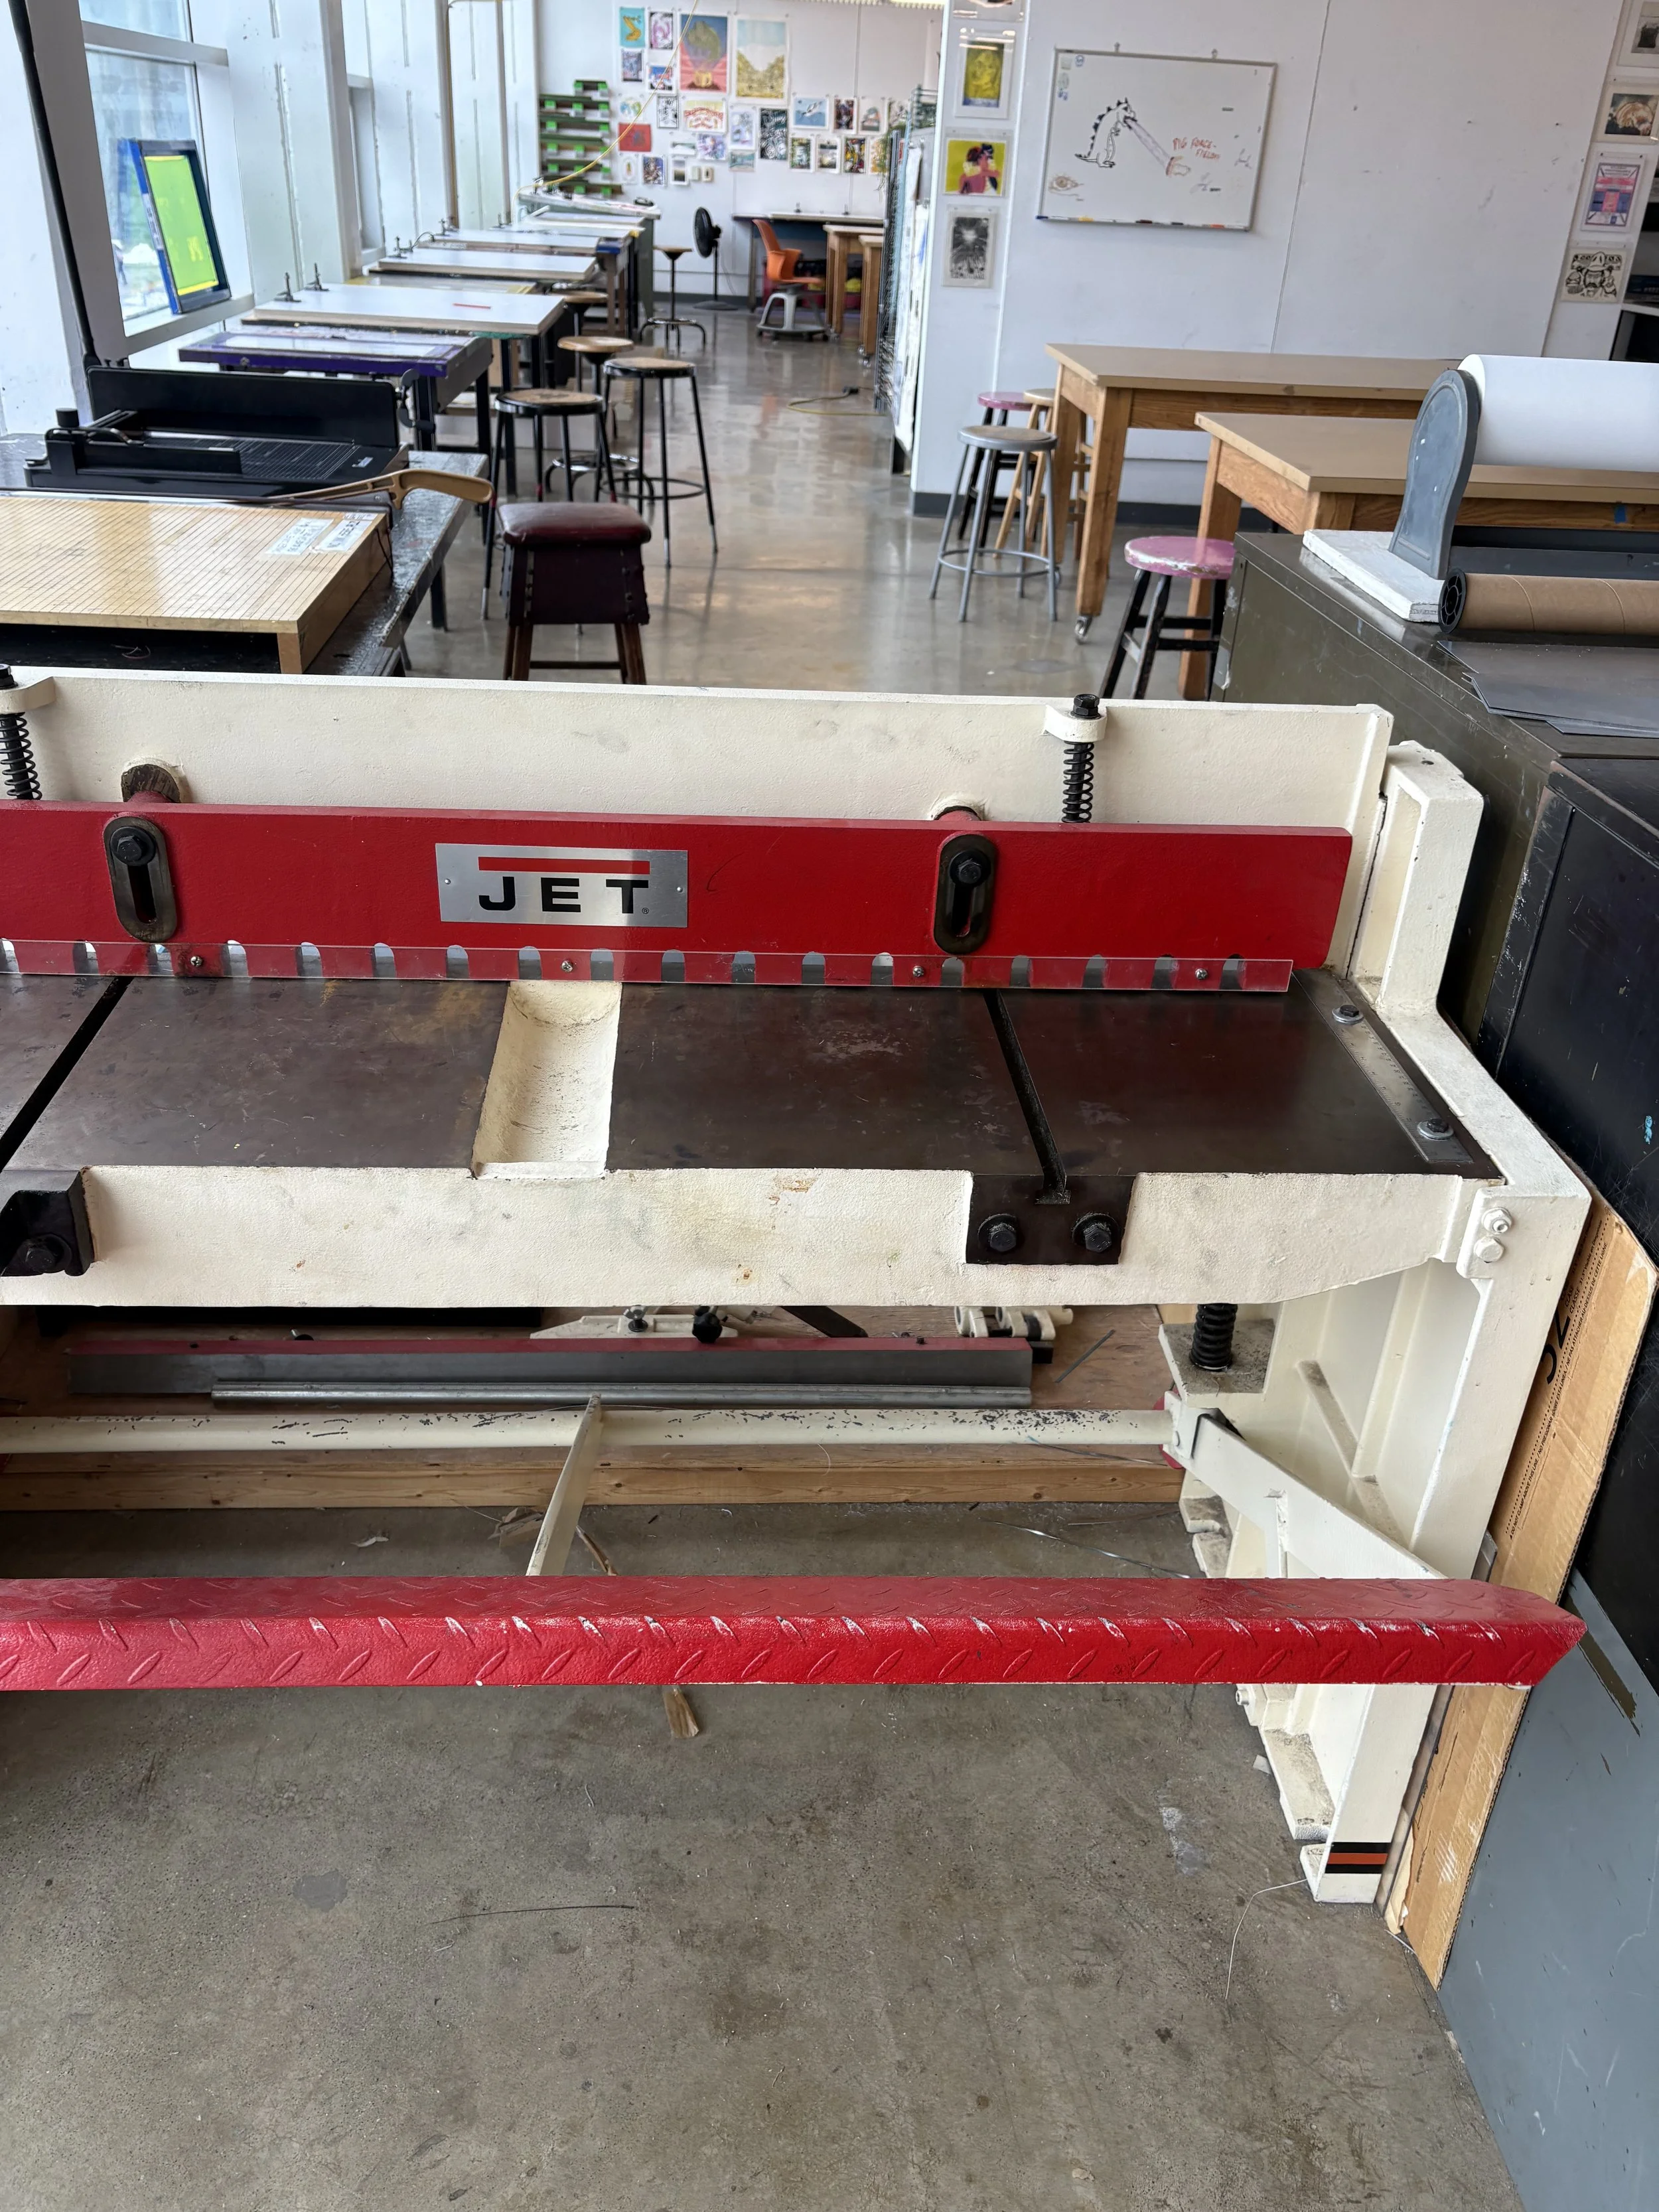
I first cut out 10 pieces of steel on a metal cutter, so they were each 4” by 12”.
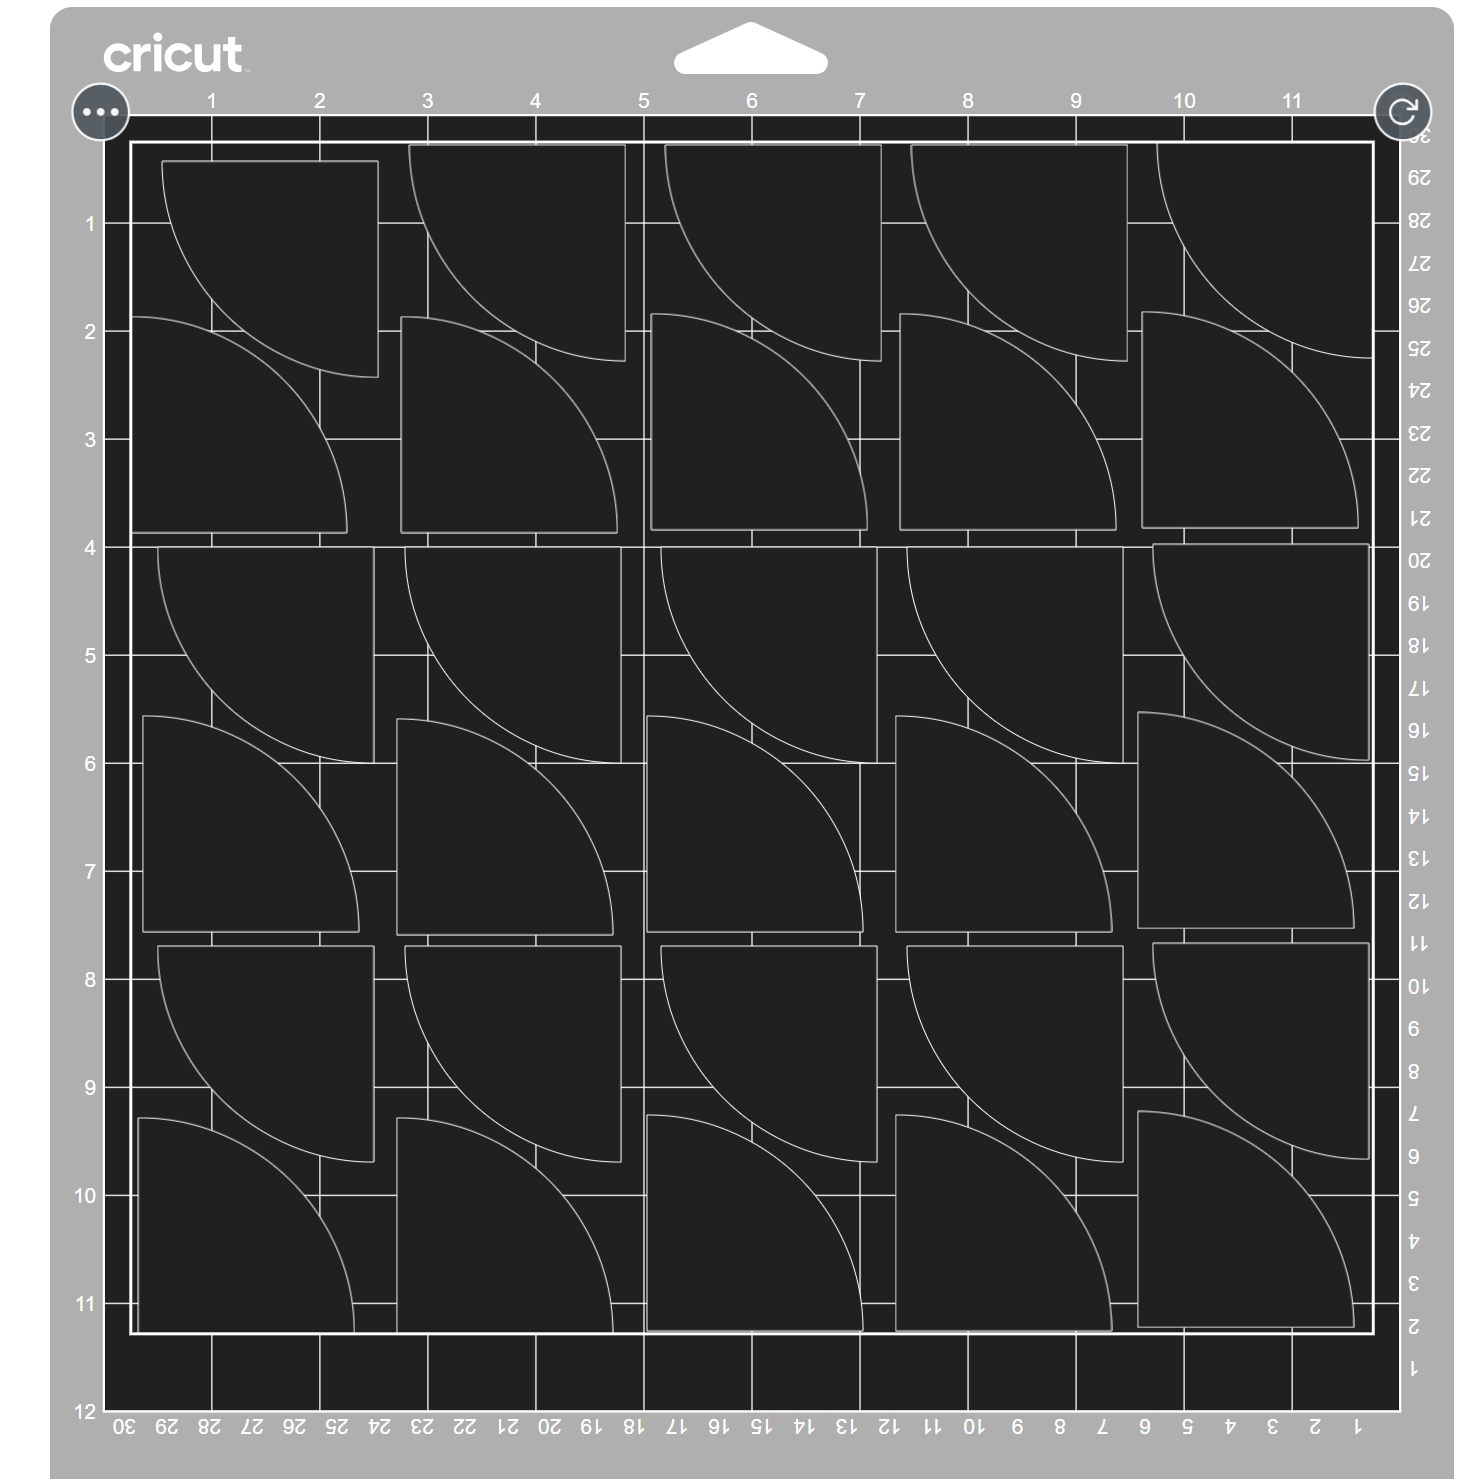
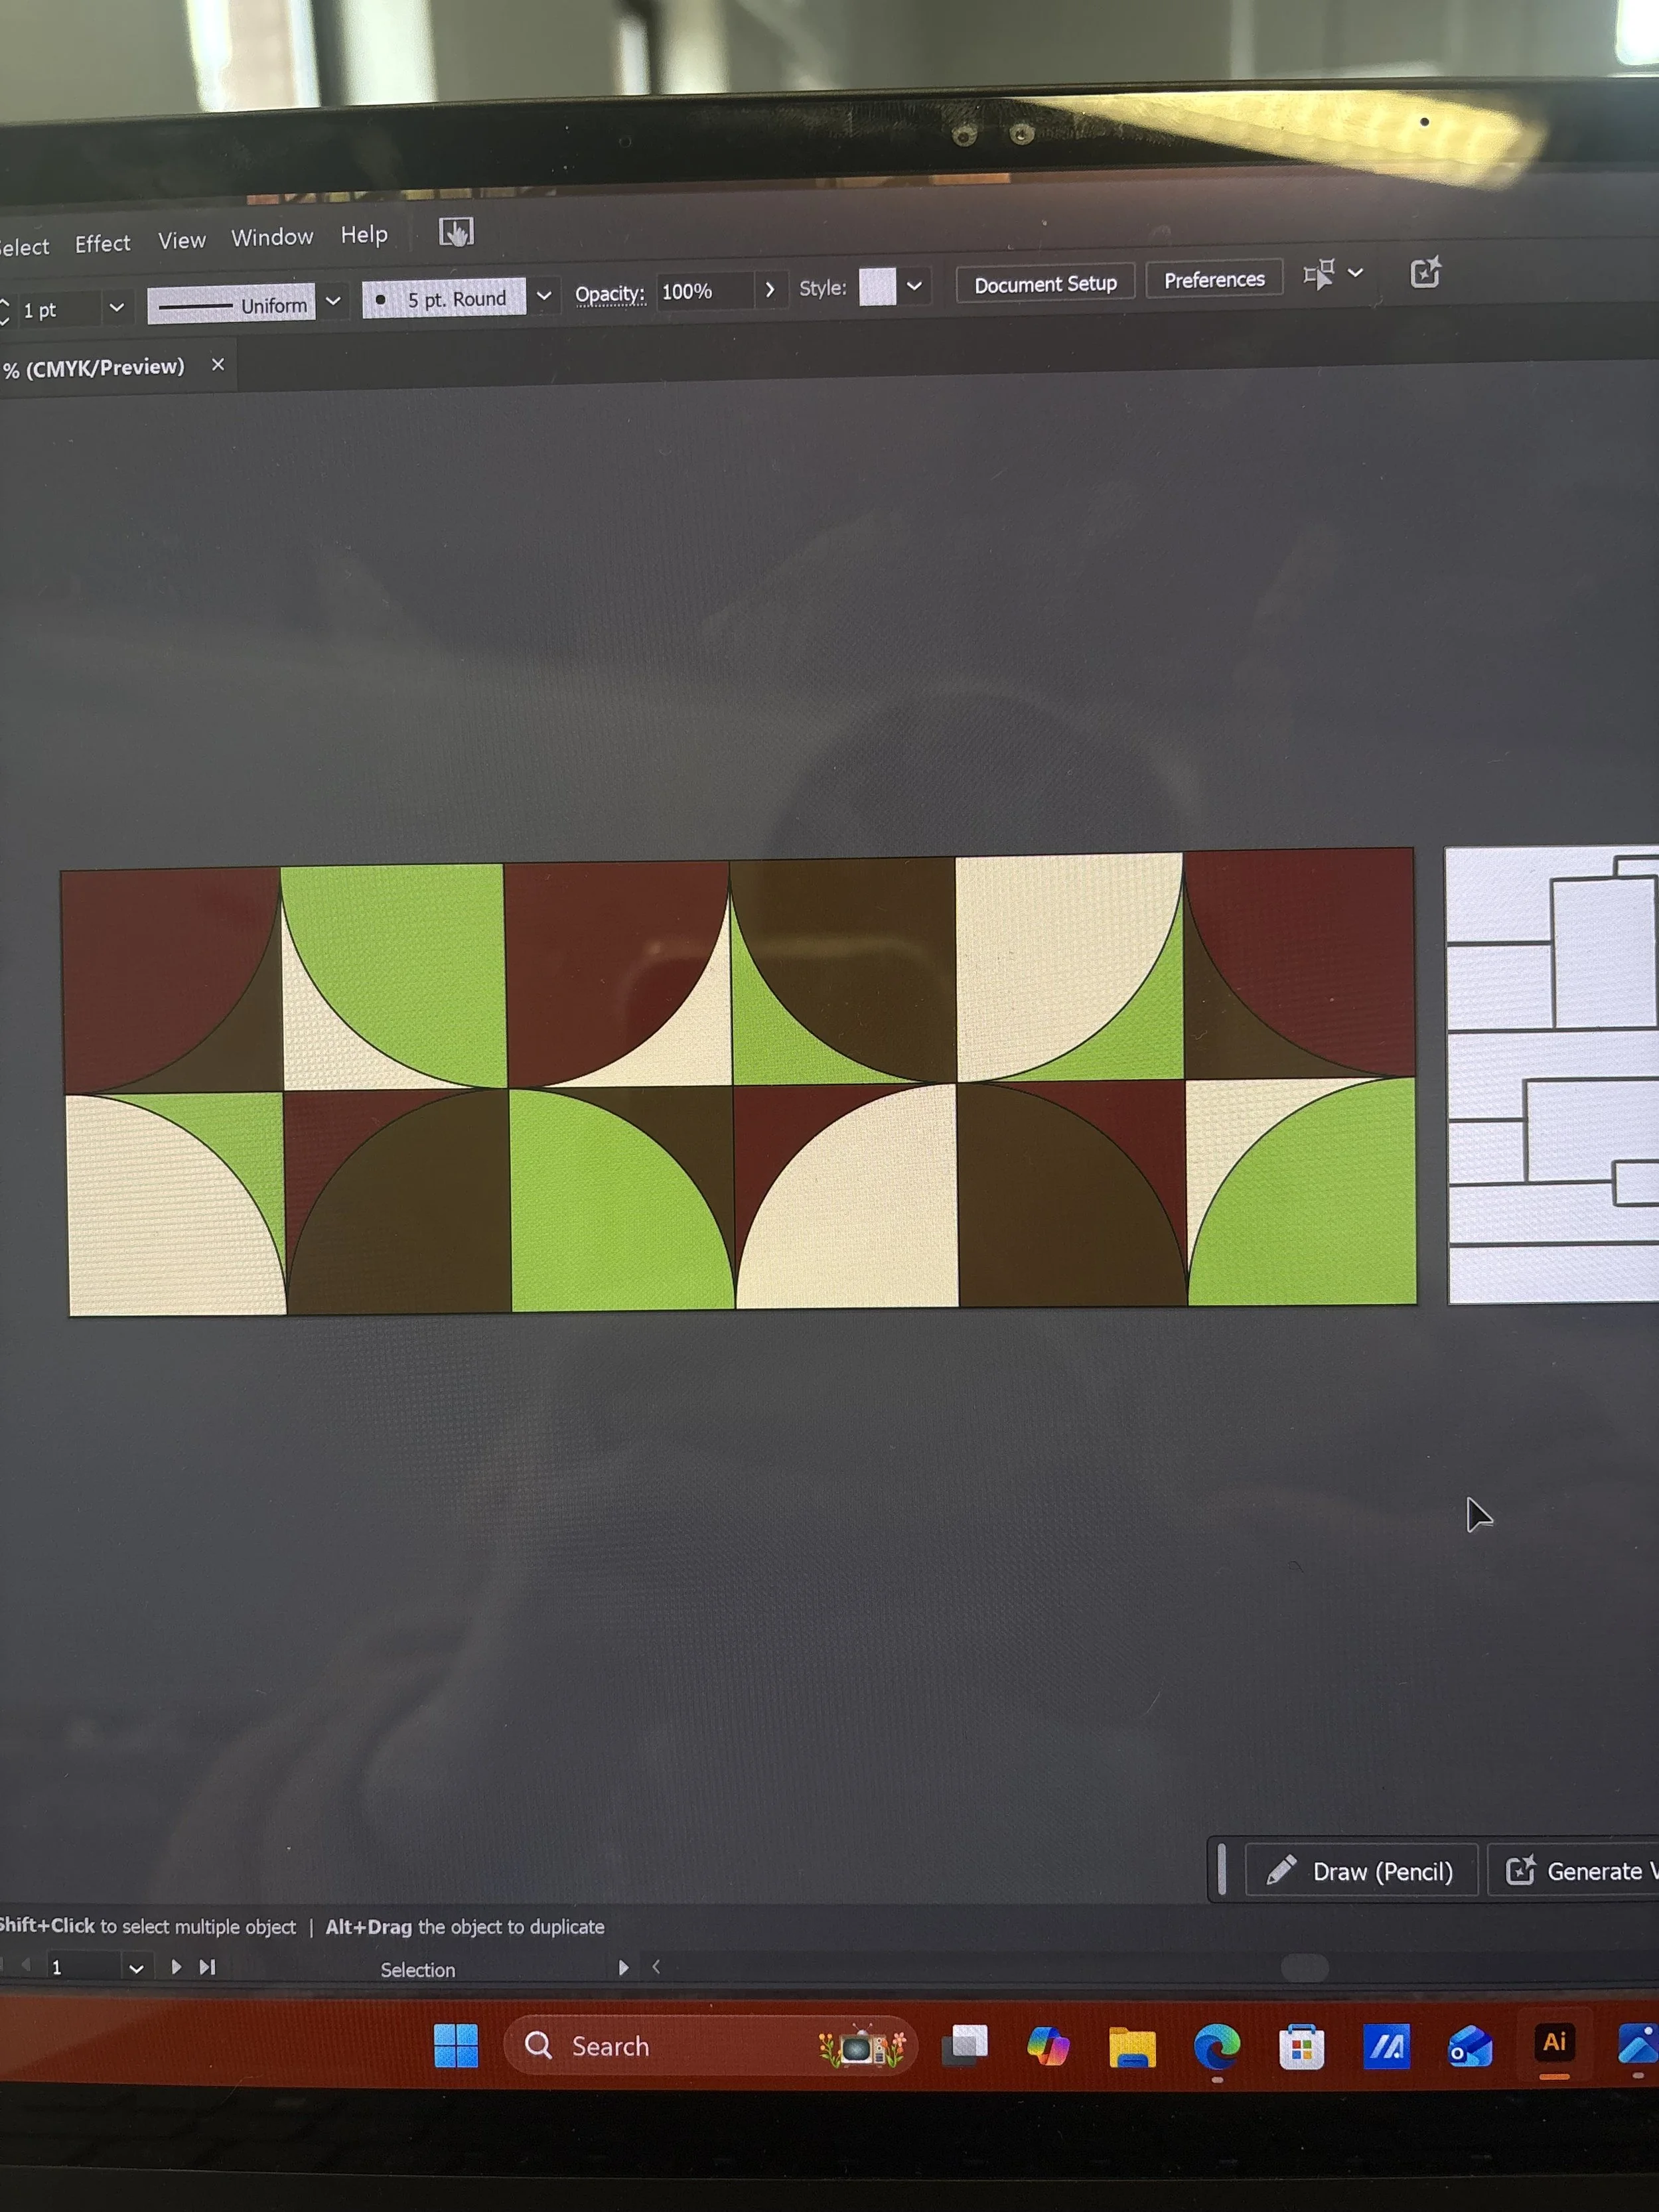
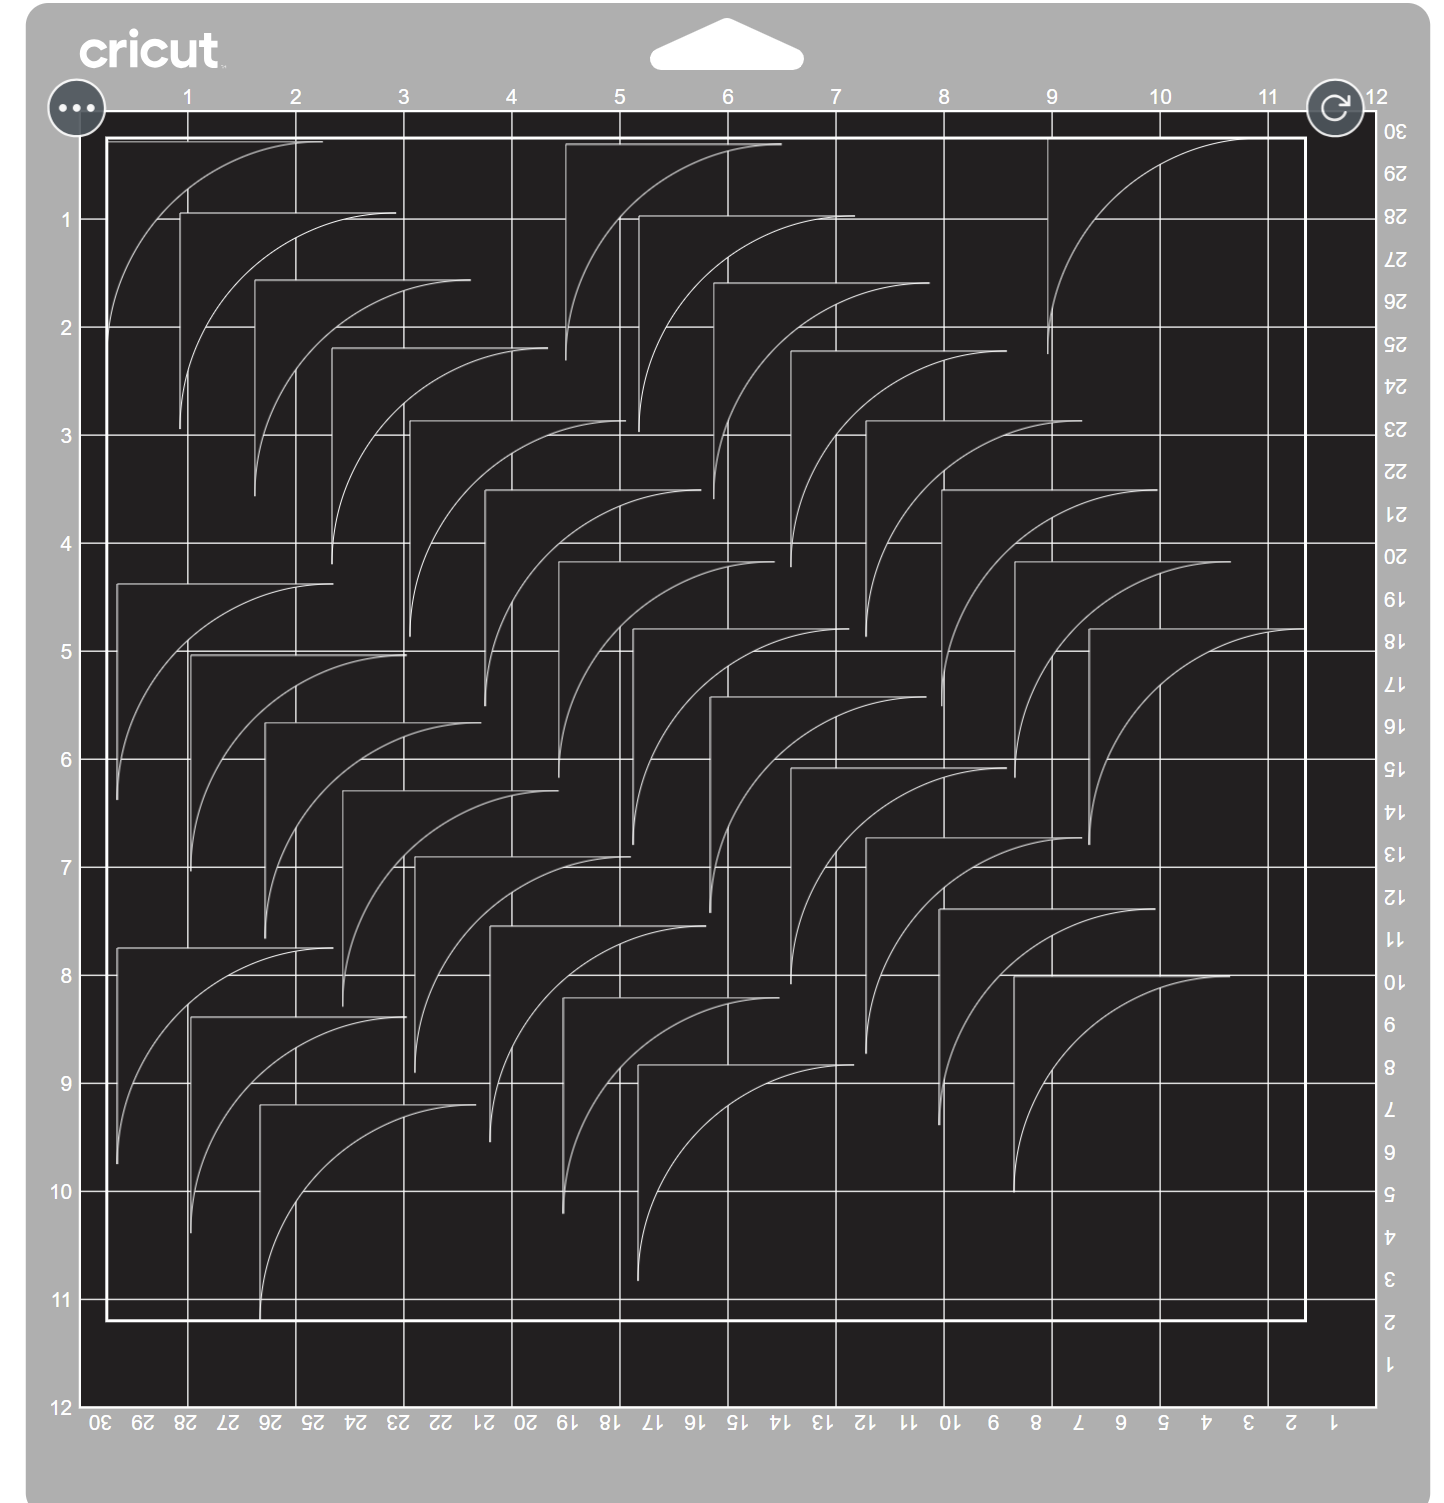
The actual pattern on the backplate is made of vinyl cut on the Cricut. These are examples of what each sheet looked like with the stickers.
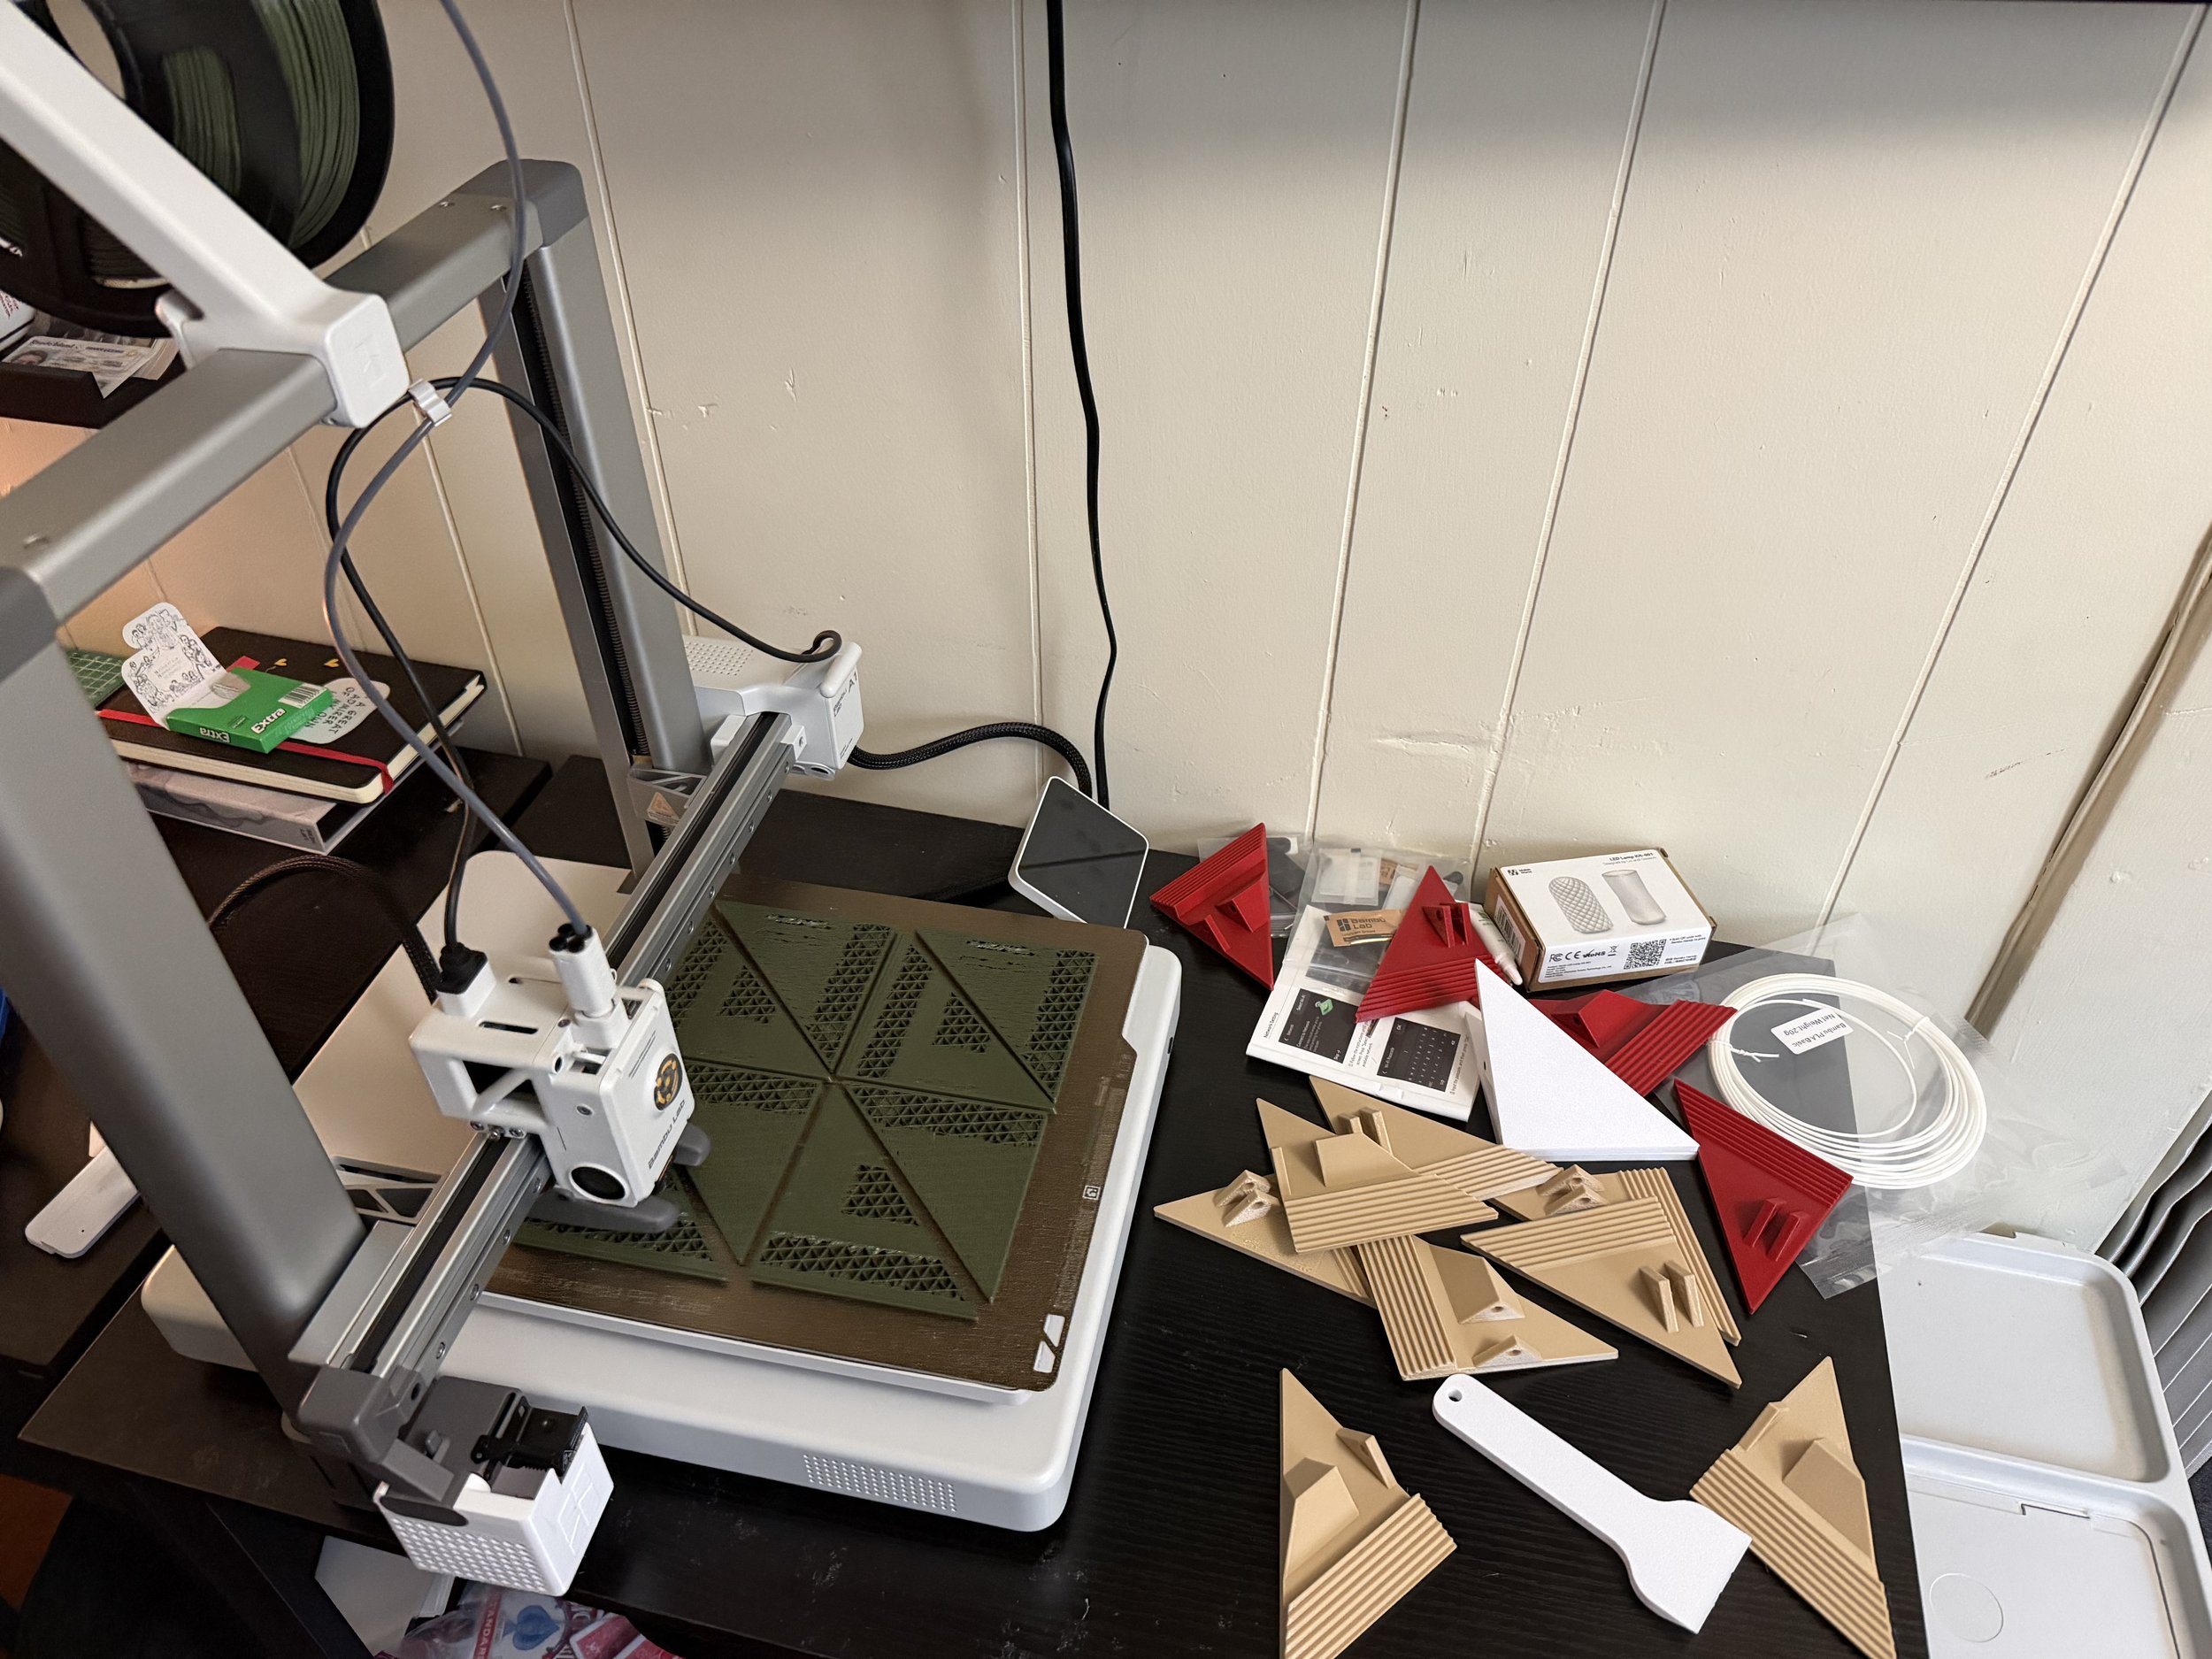
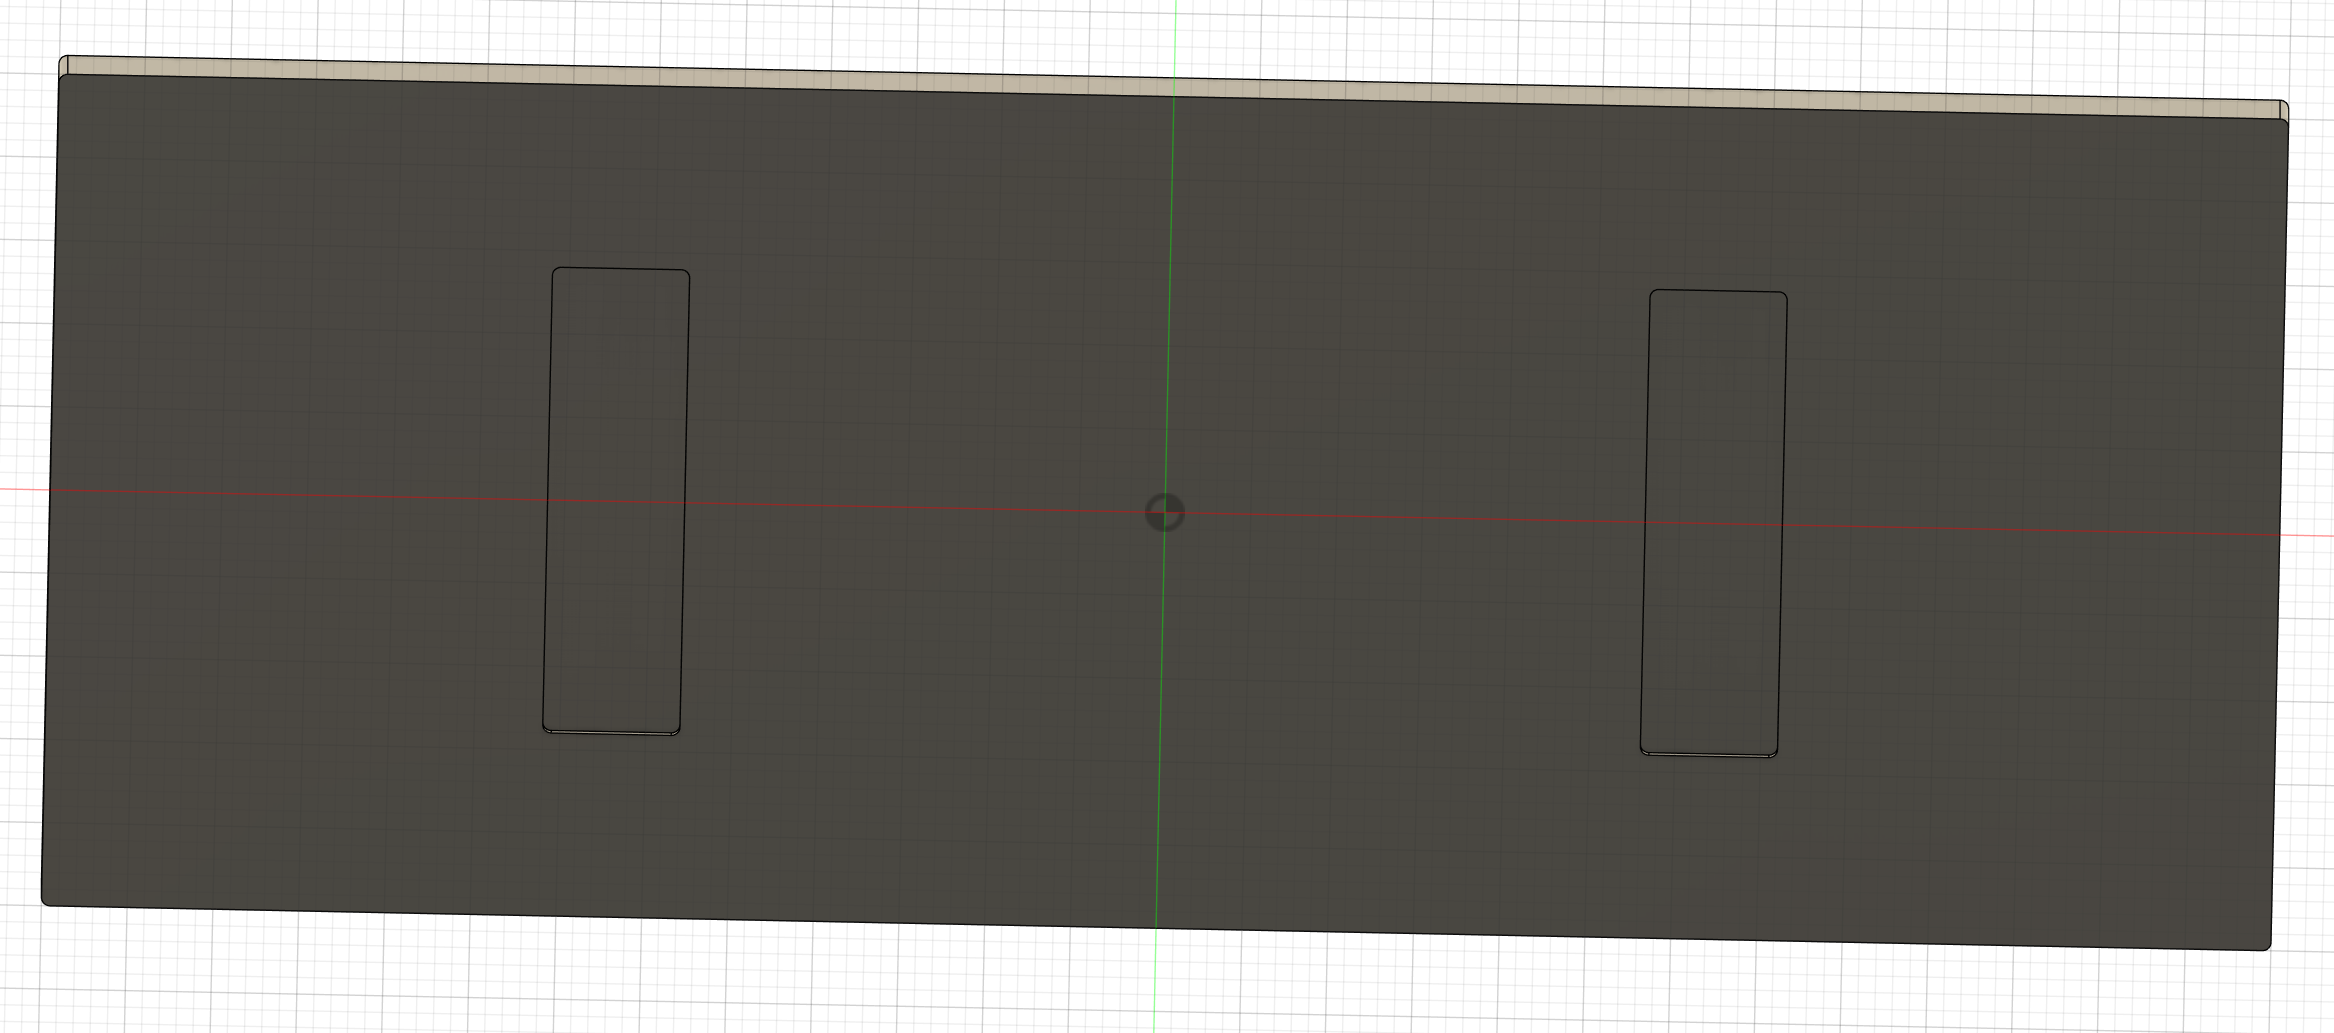
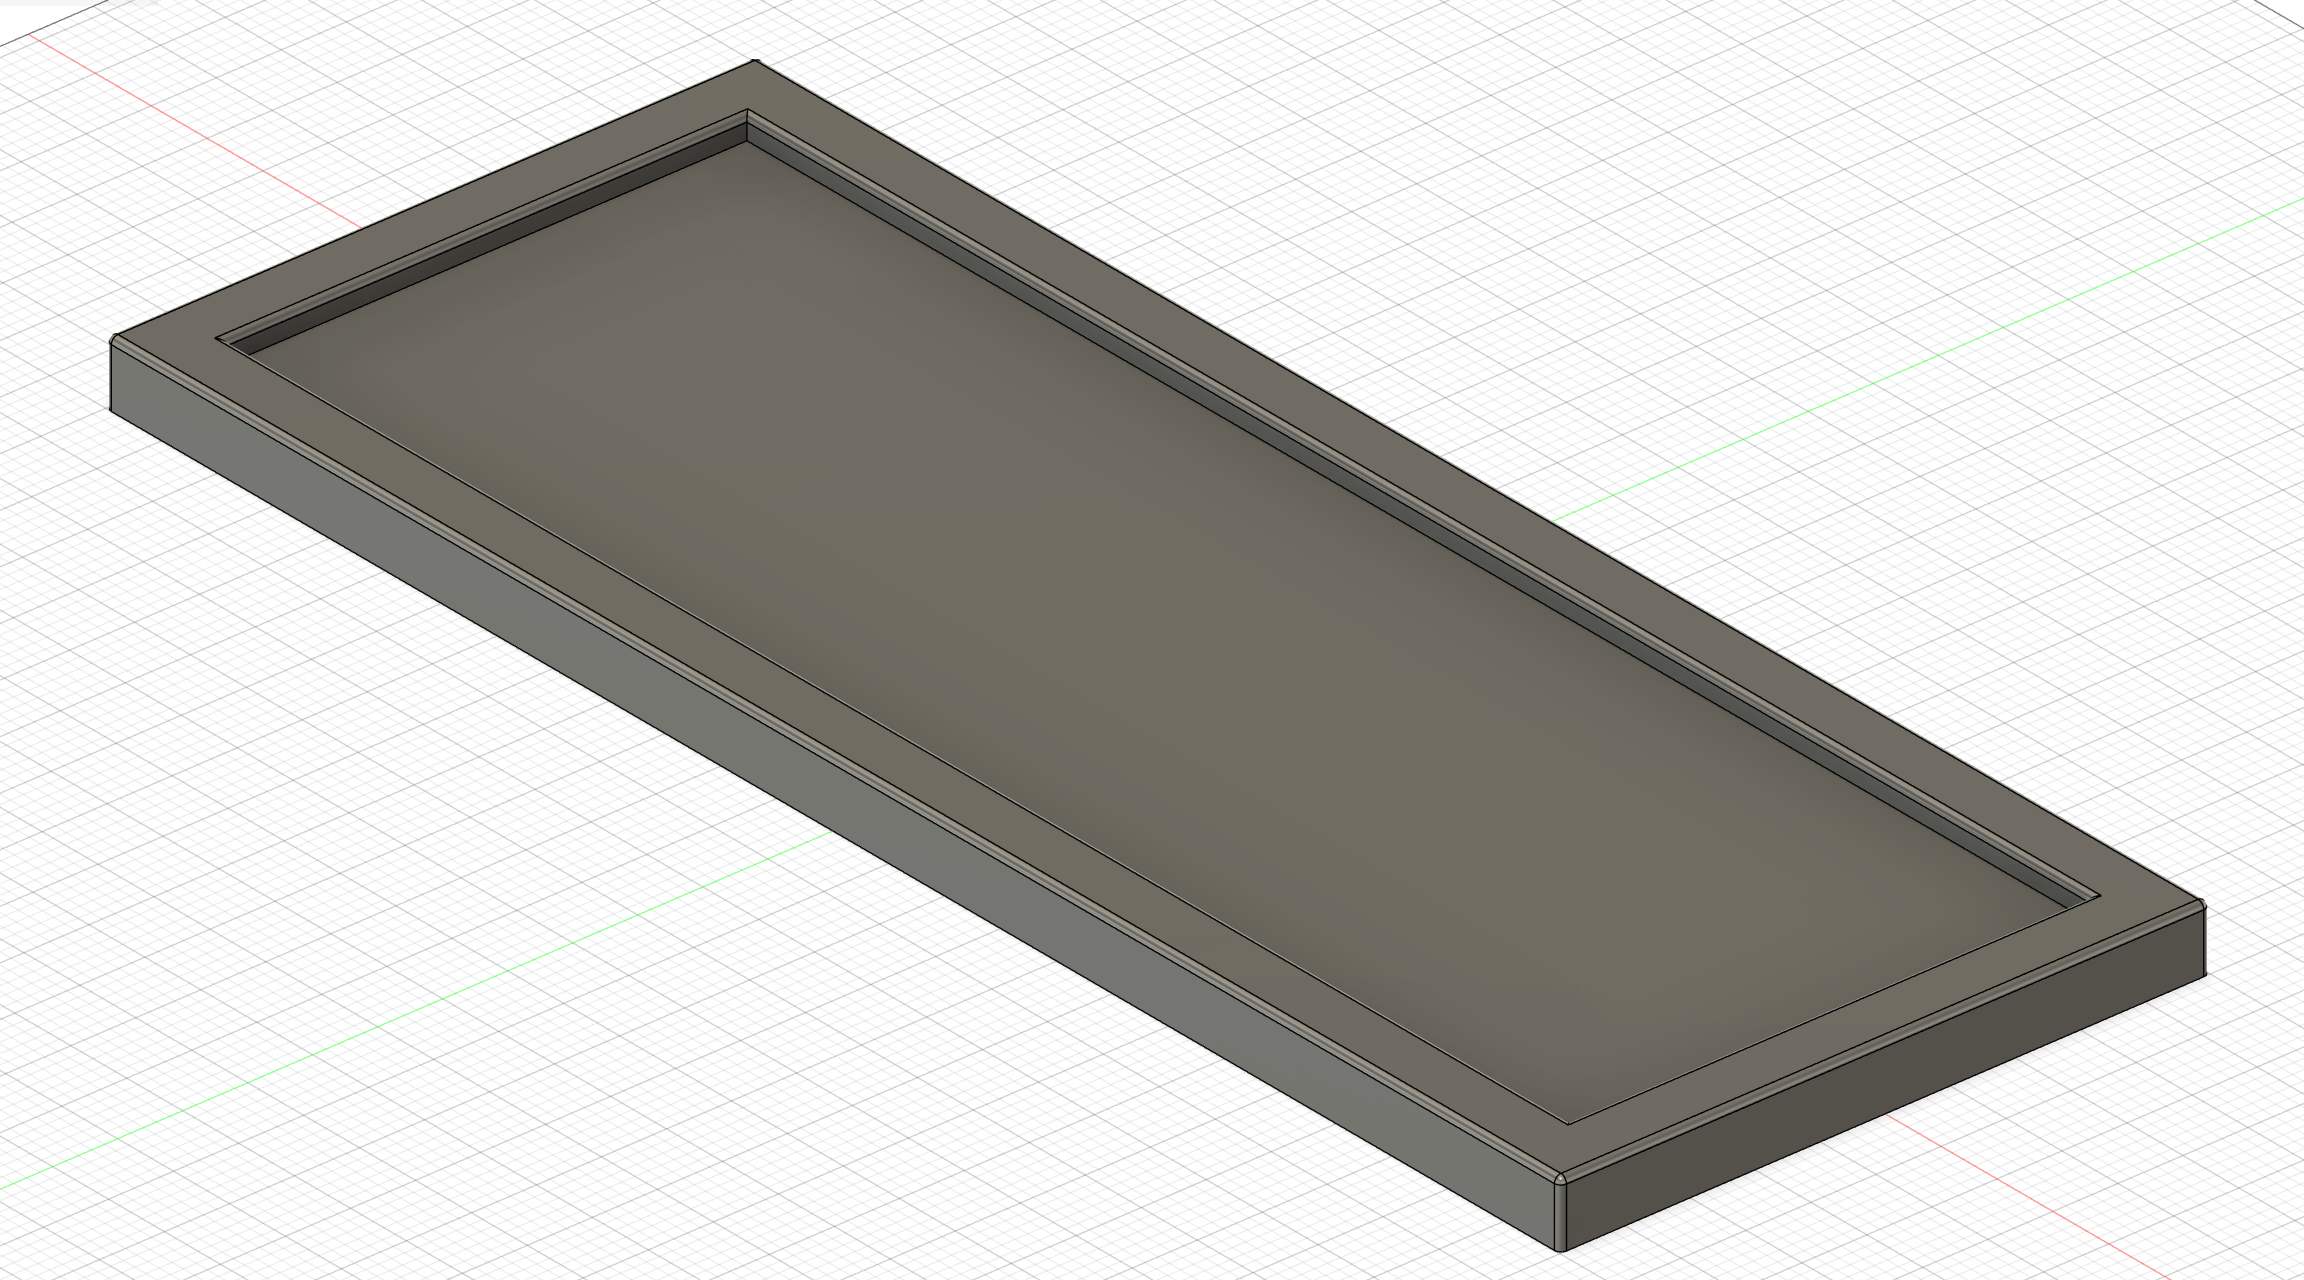
I also printed the 10 frames out of recycled PETG, with spots for the metal sheet and command strips to fit in perfectly.
Final Steps of Production

Vinyl sticker sheets
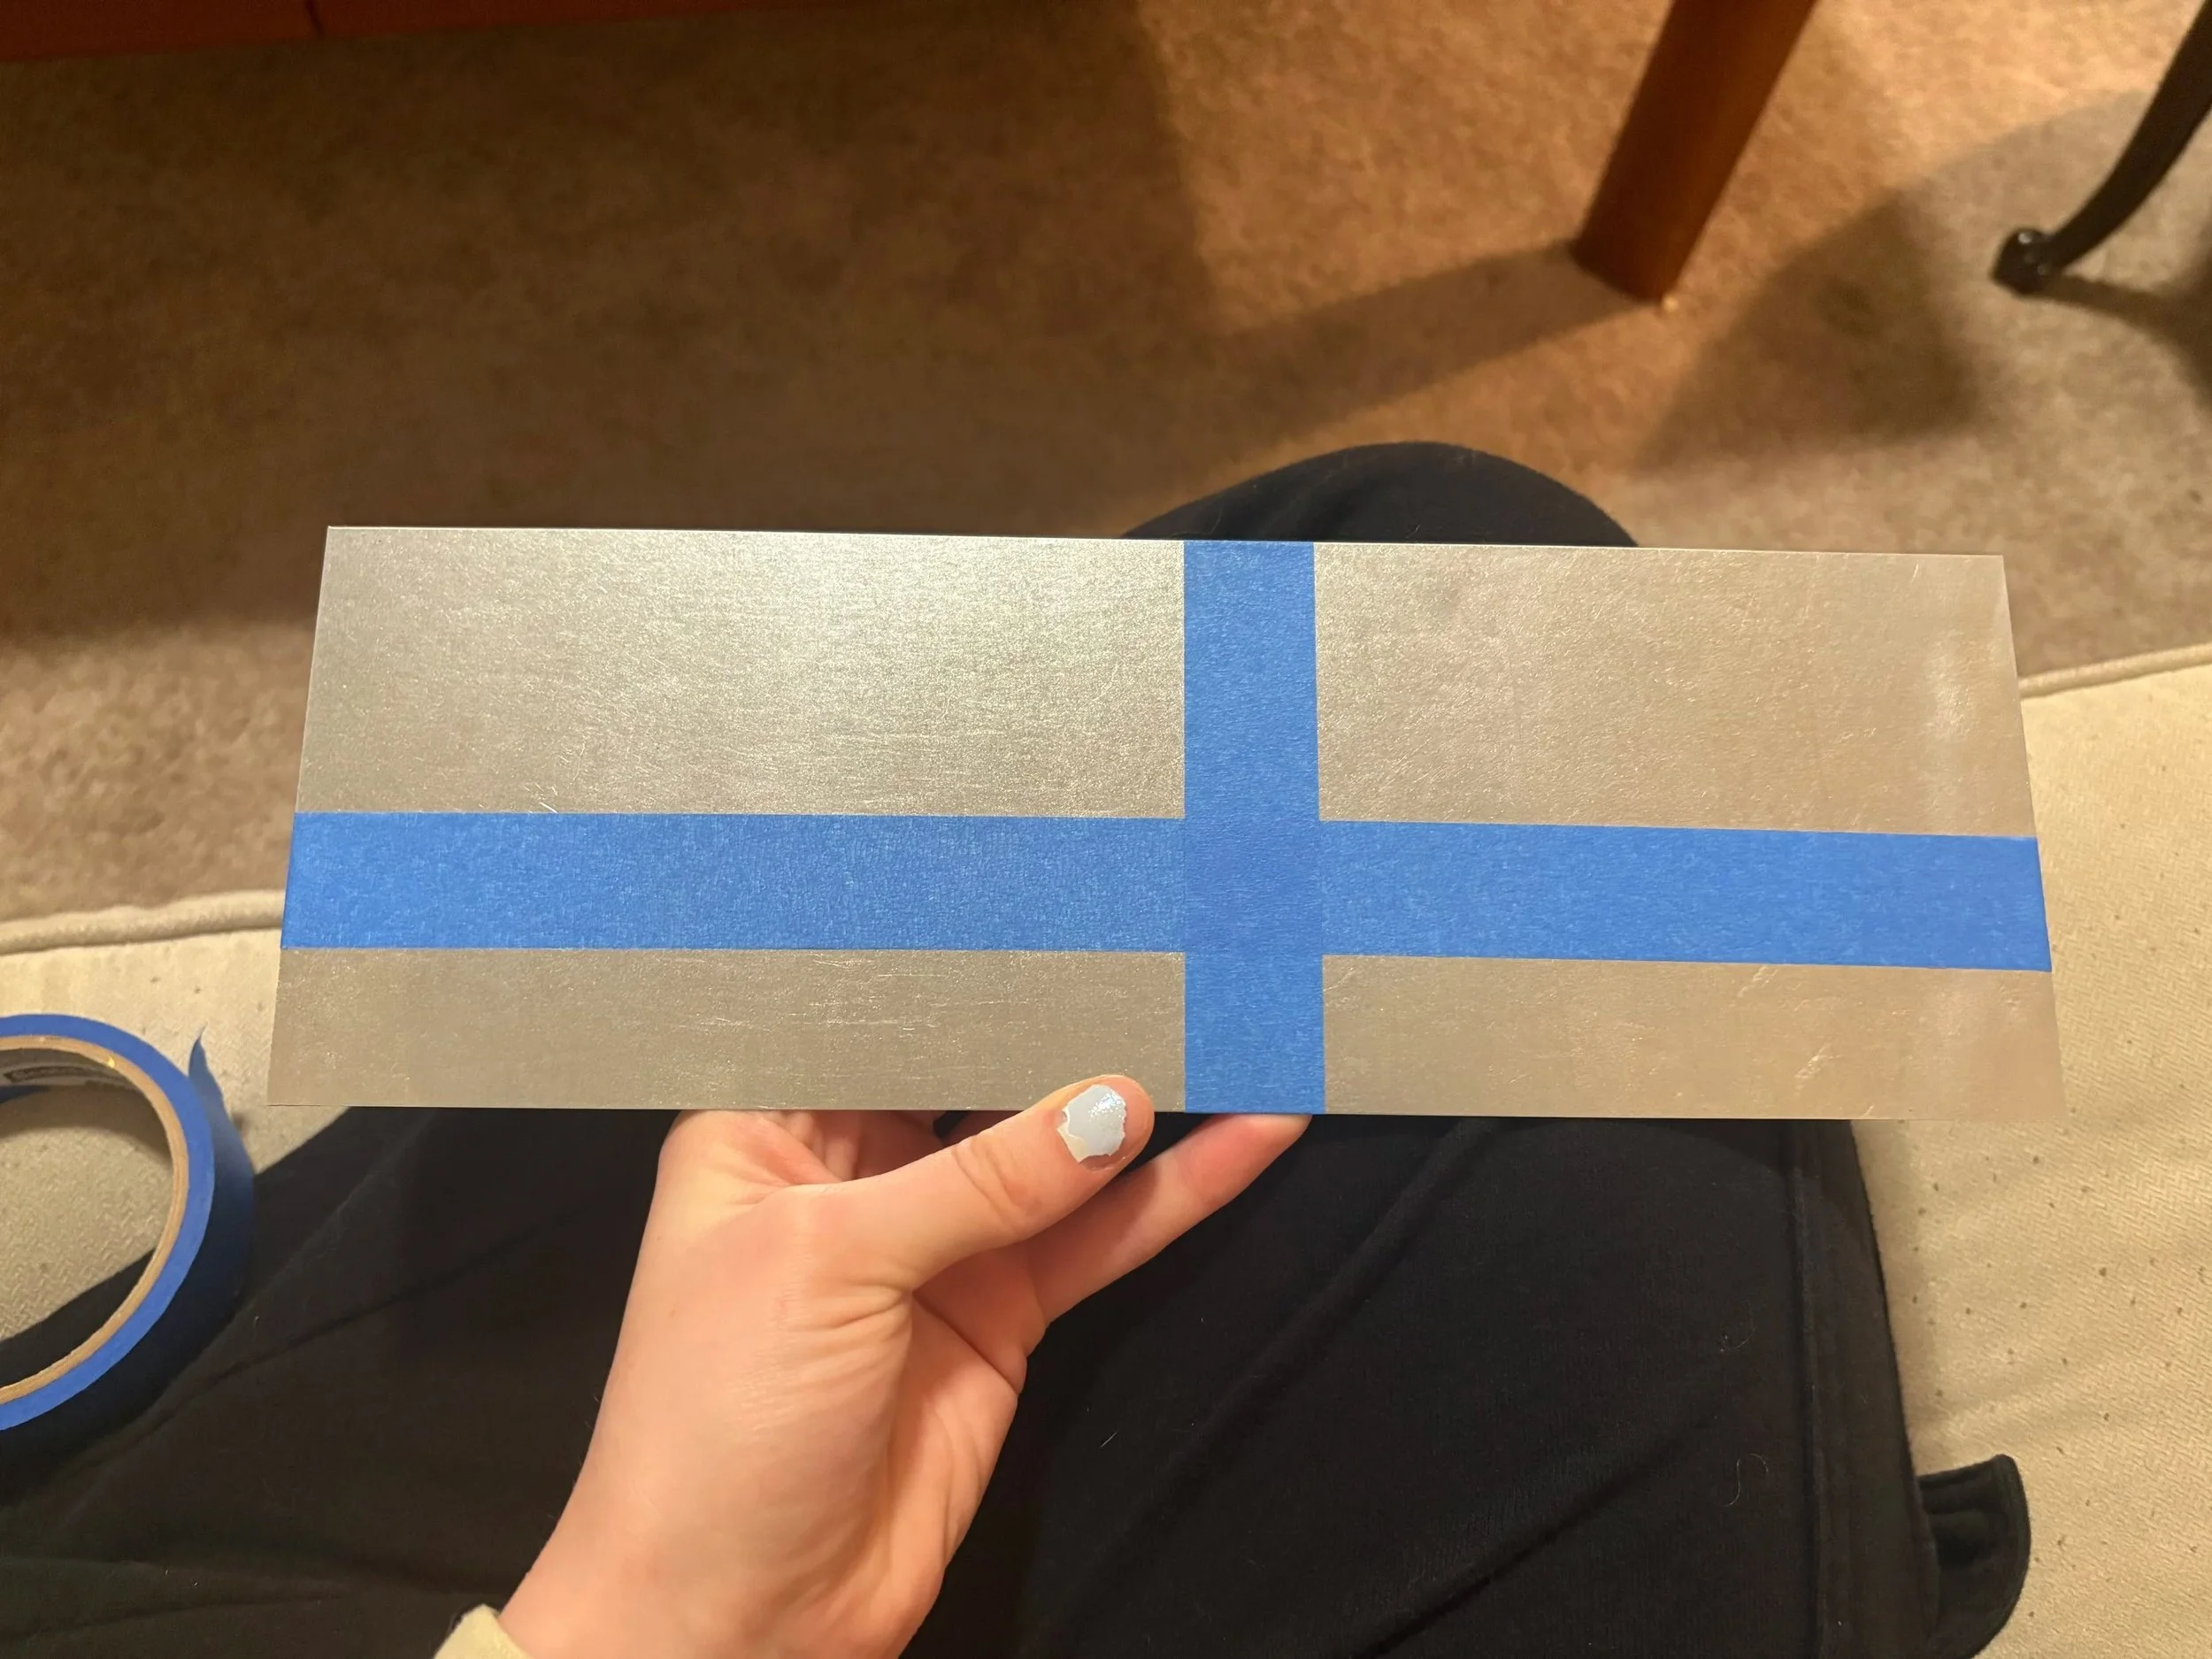
Step one of application: map the spacing with painter's tape.
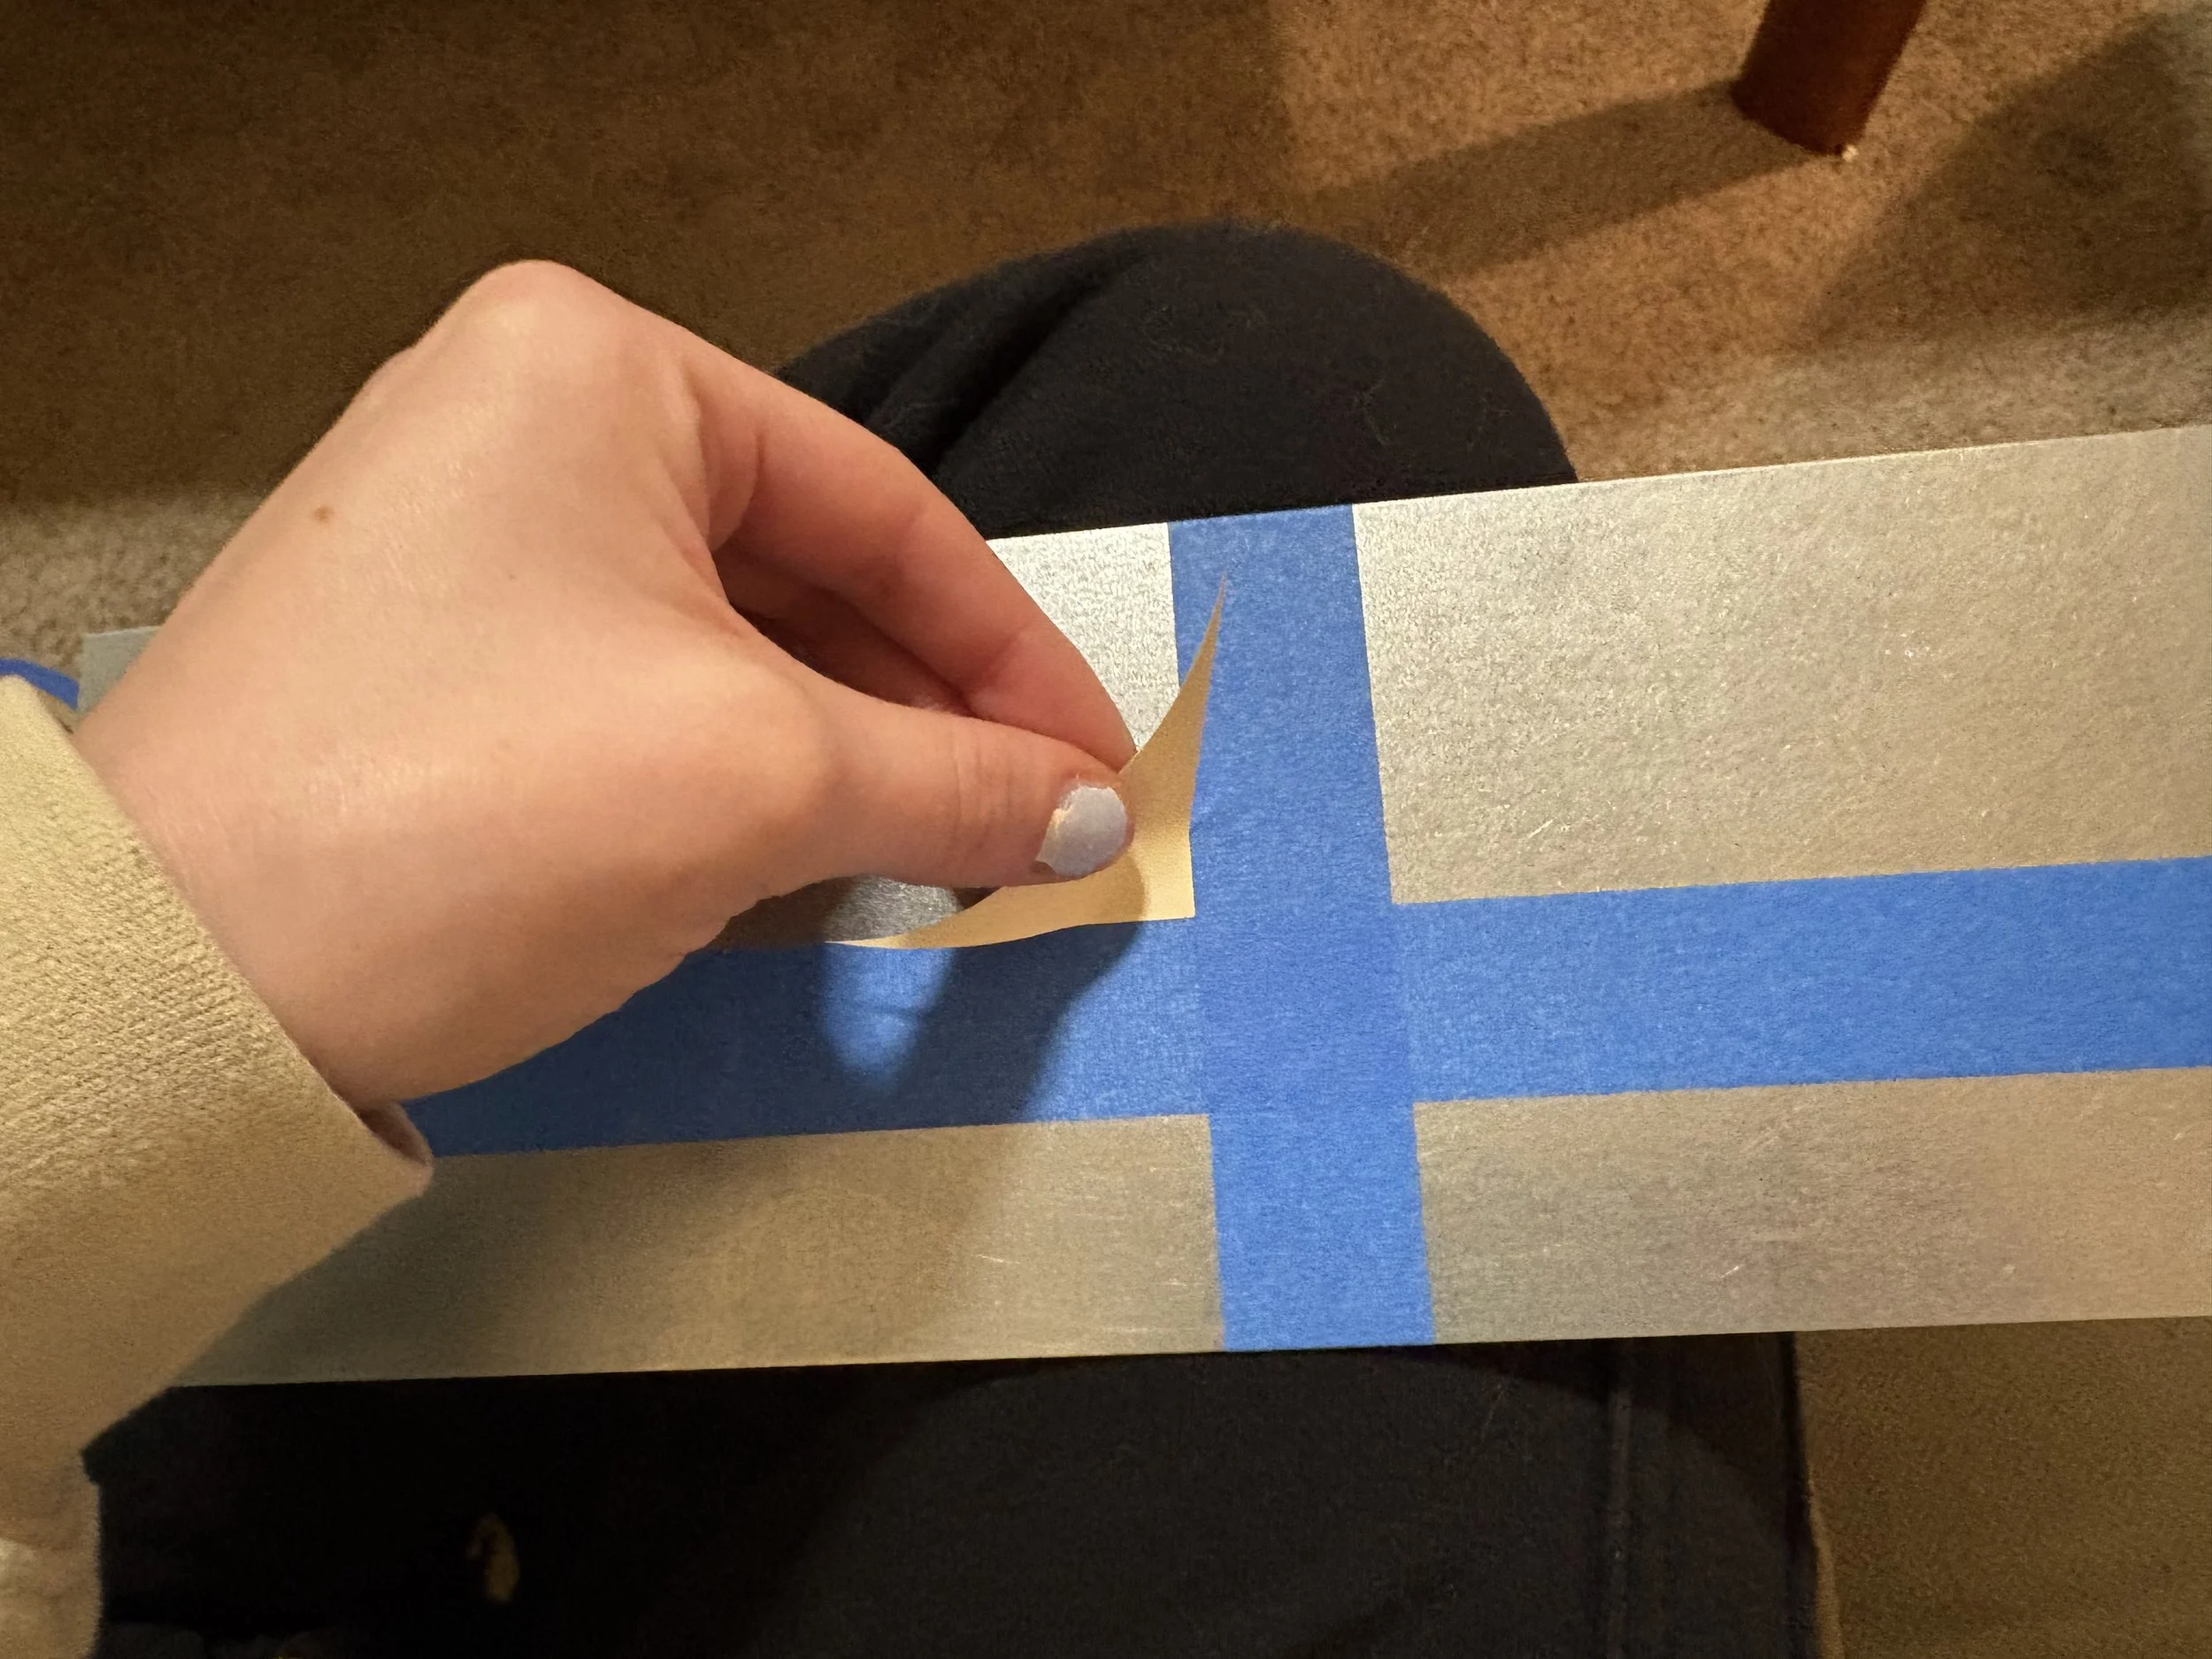
Step two of application: align the straight edge of the sticker with the jig.
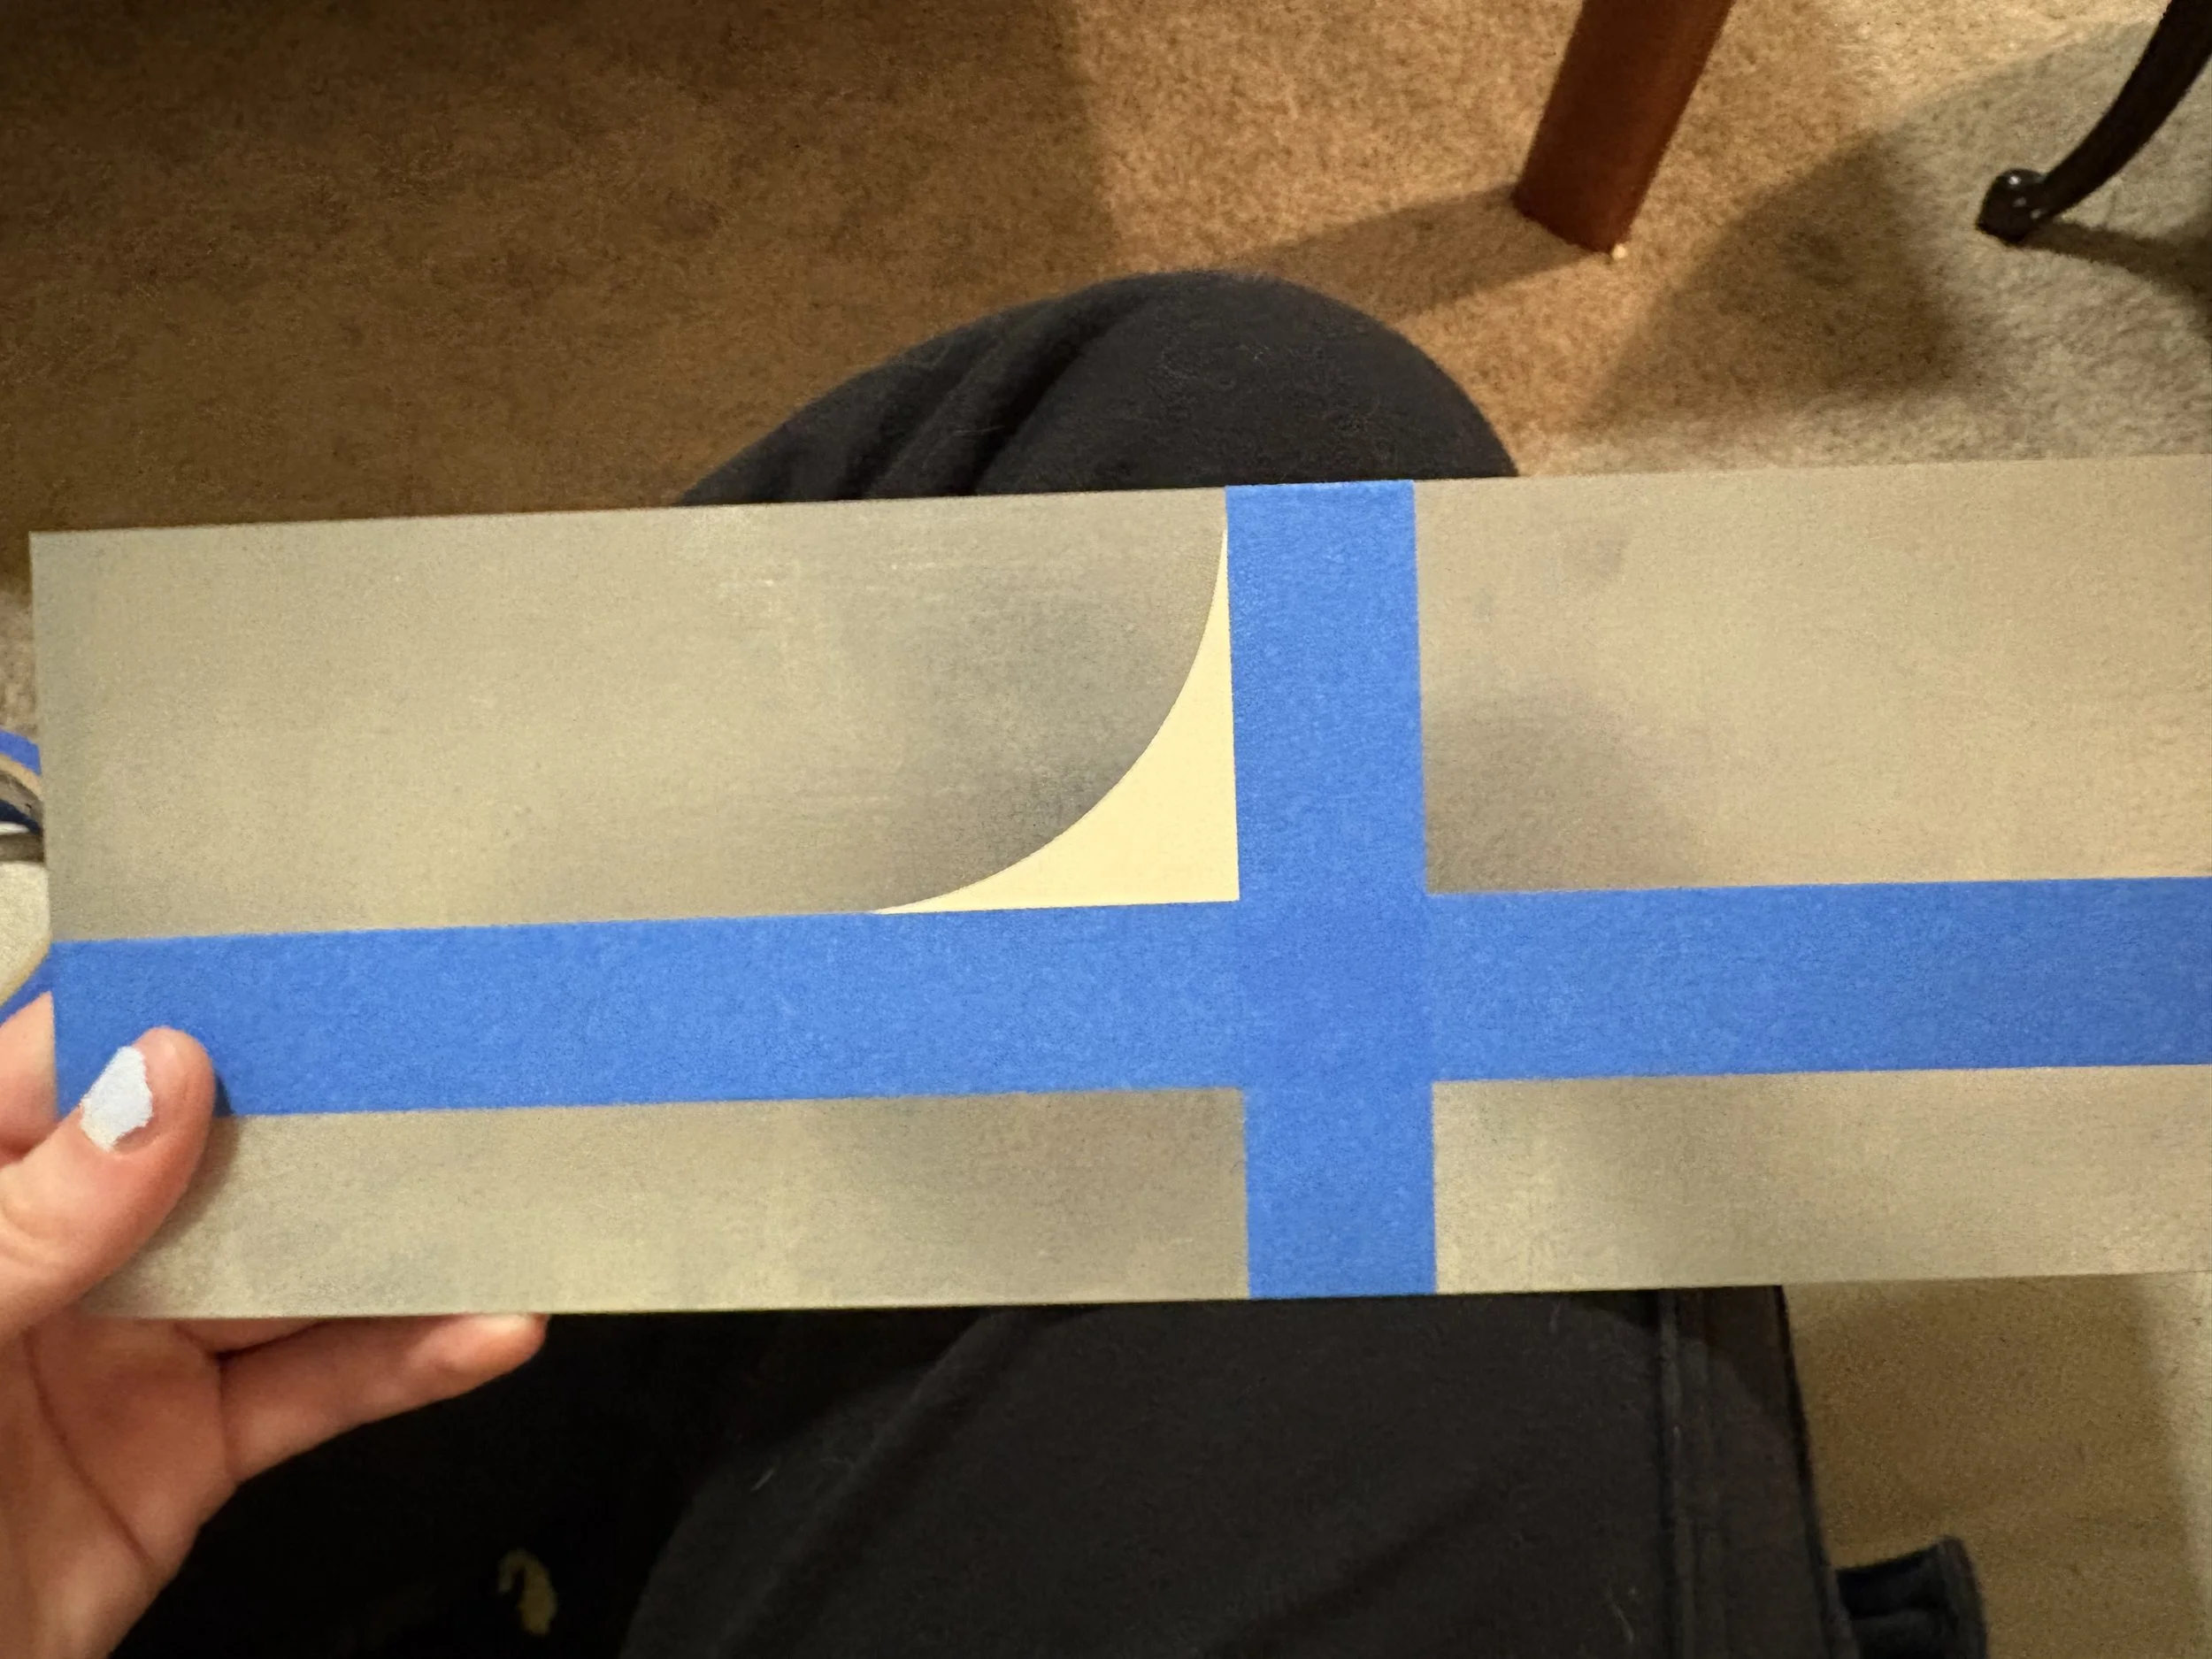
Step three of application: paste the sticker, avoiding bubbles, creases, and stretching.
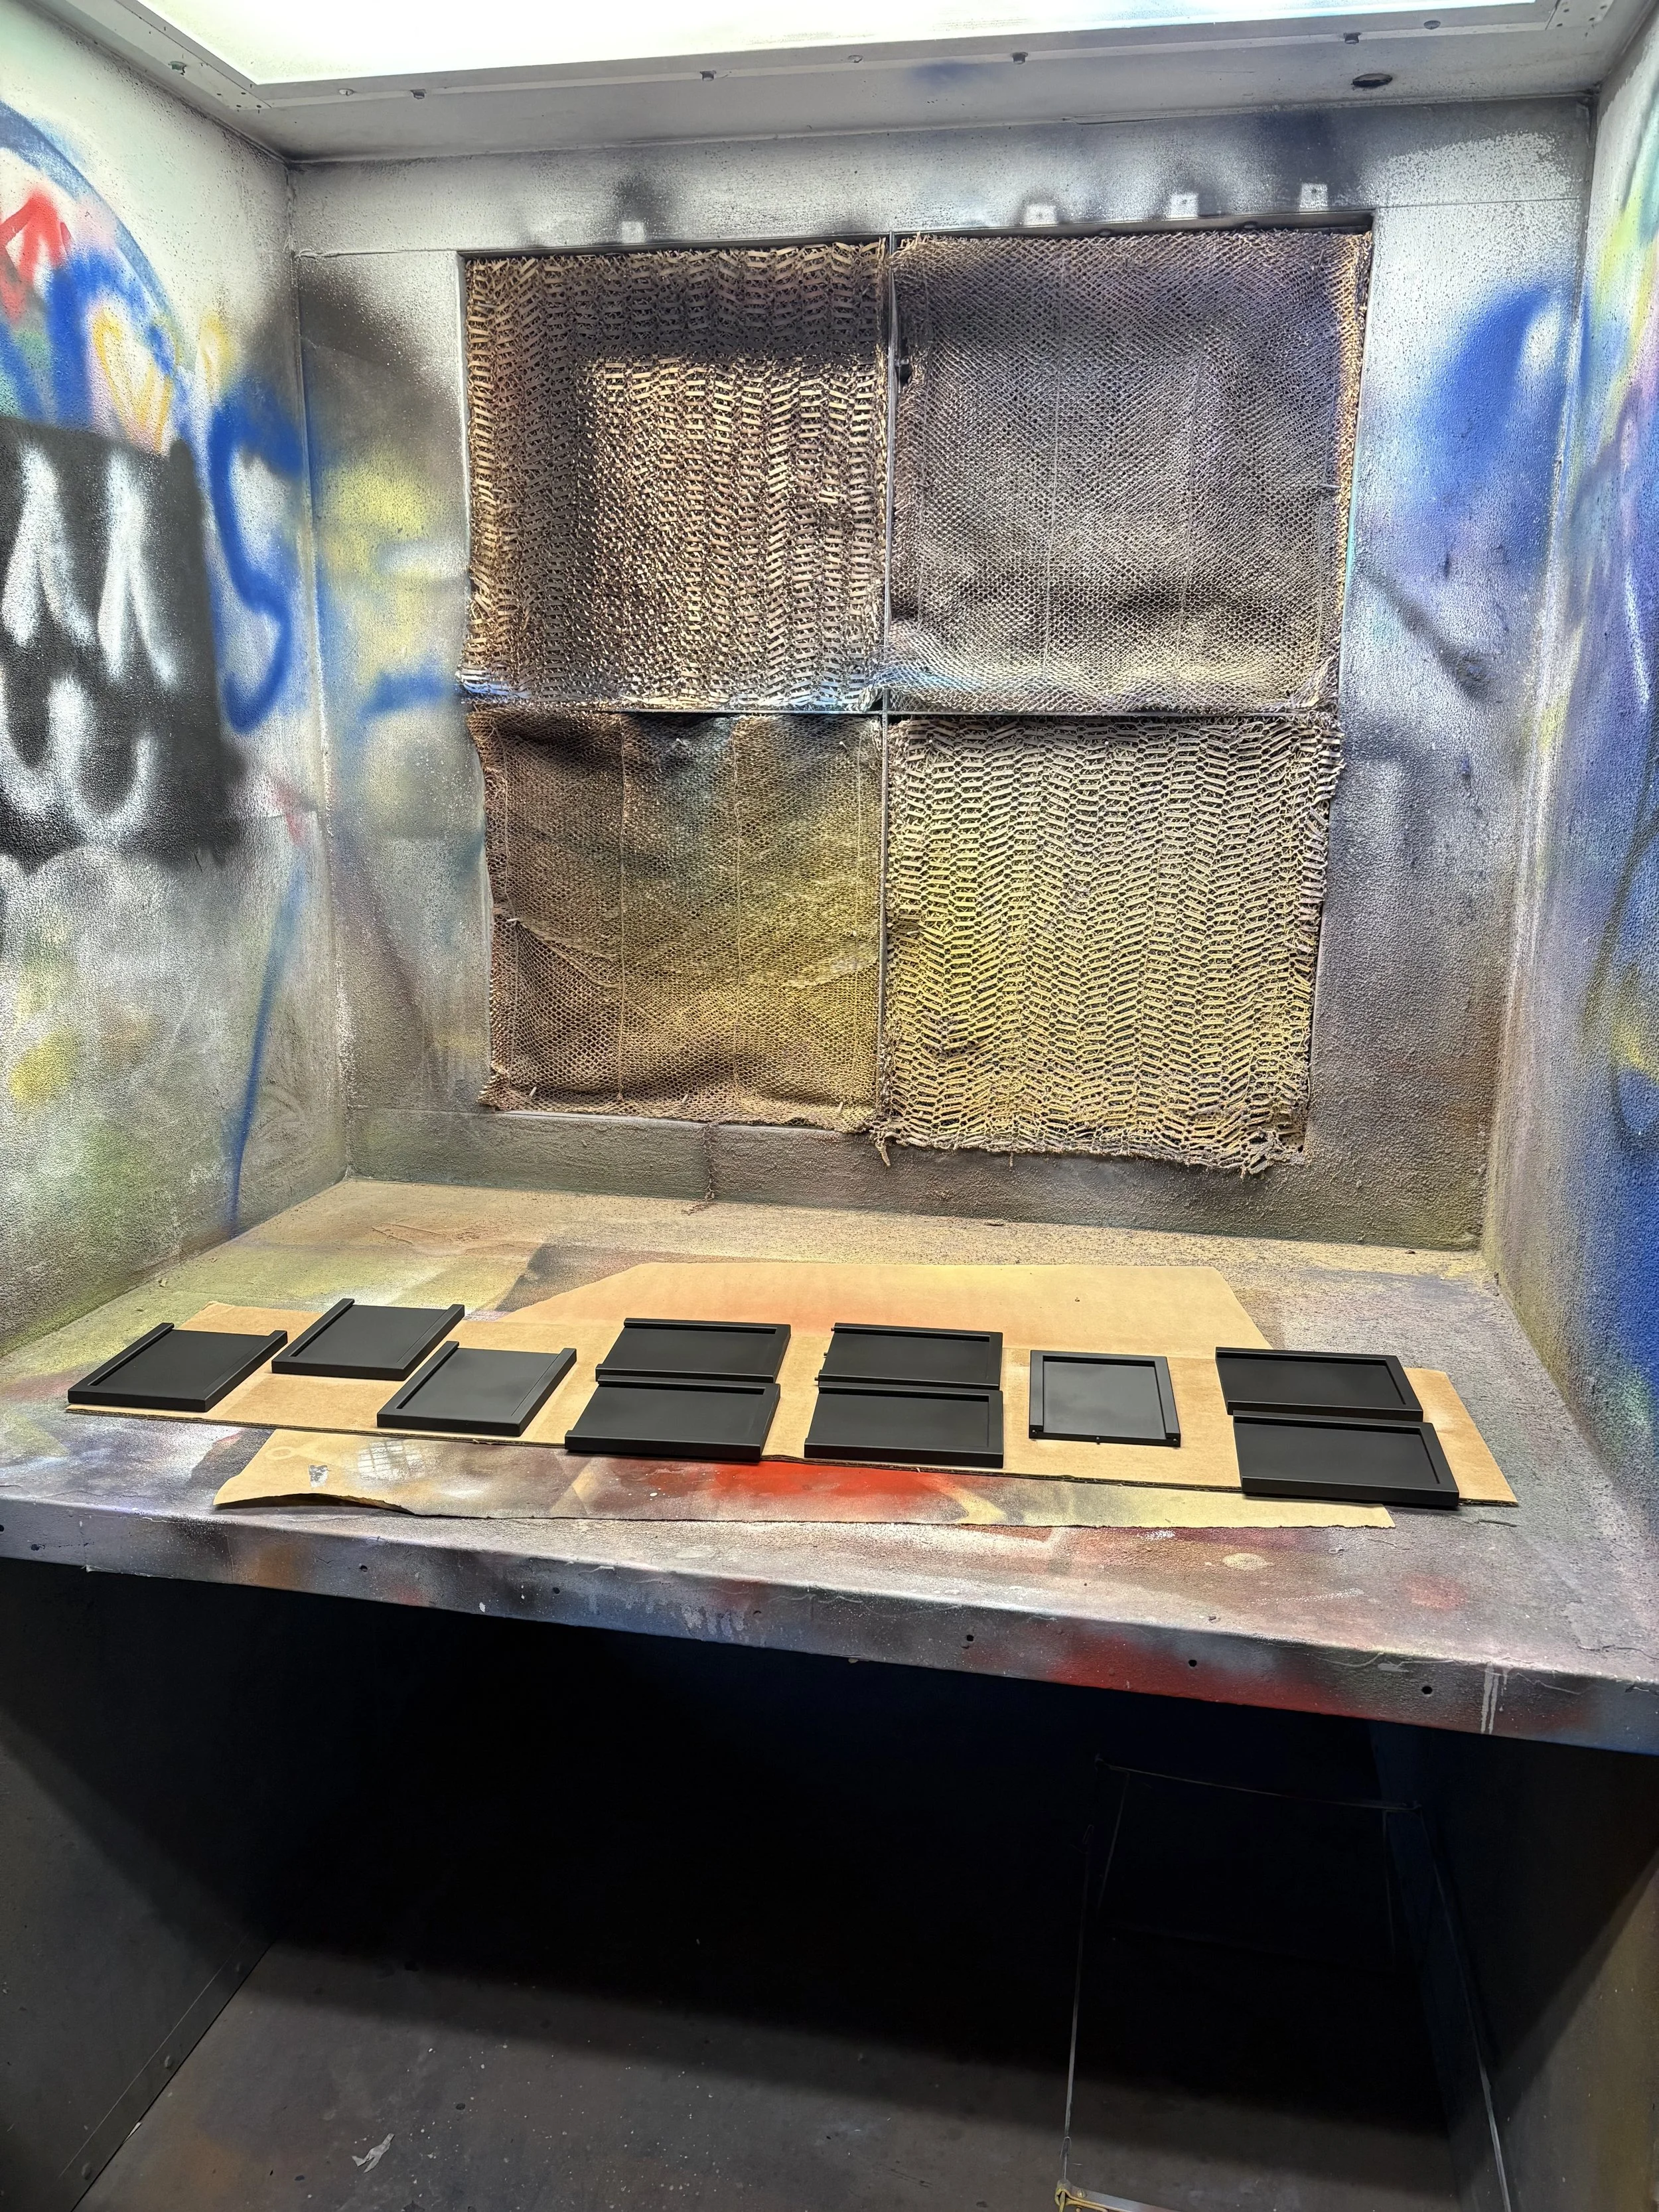
Sanded and top-coated frames before epoxy
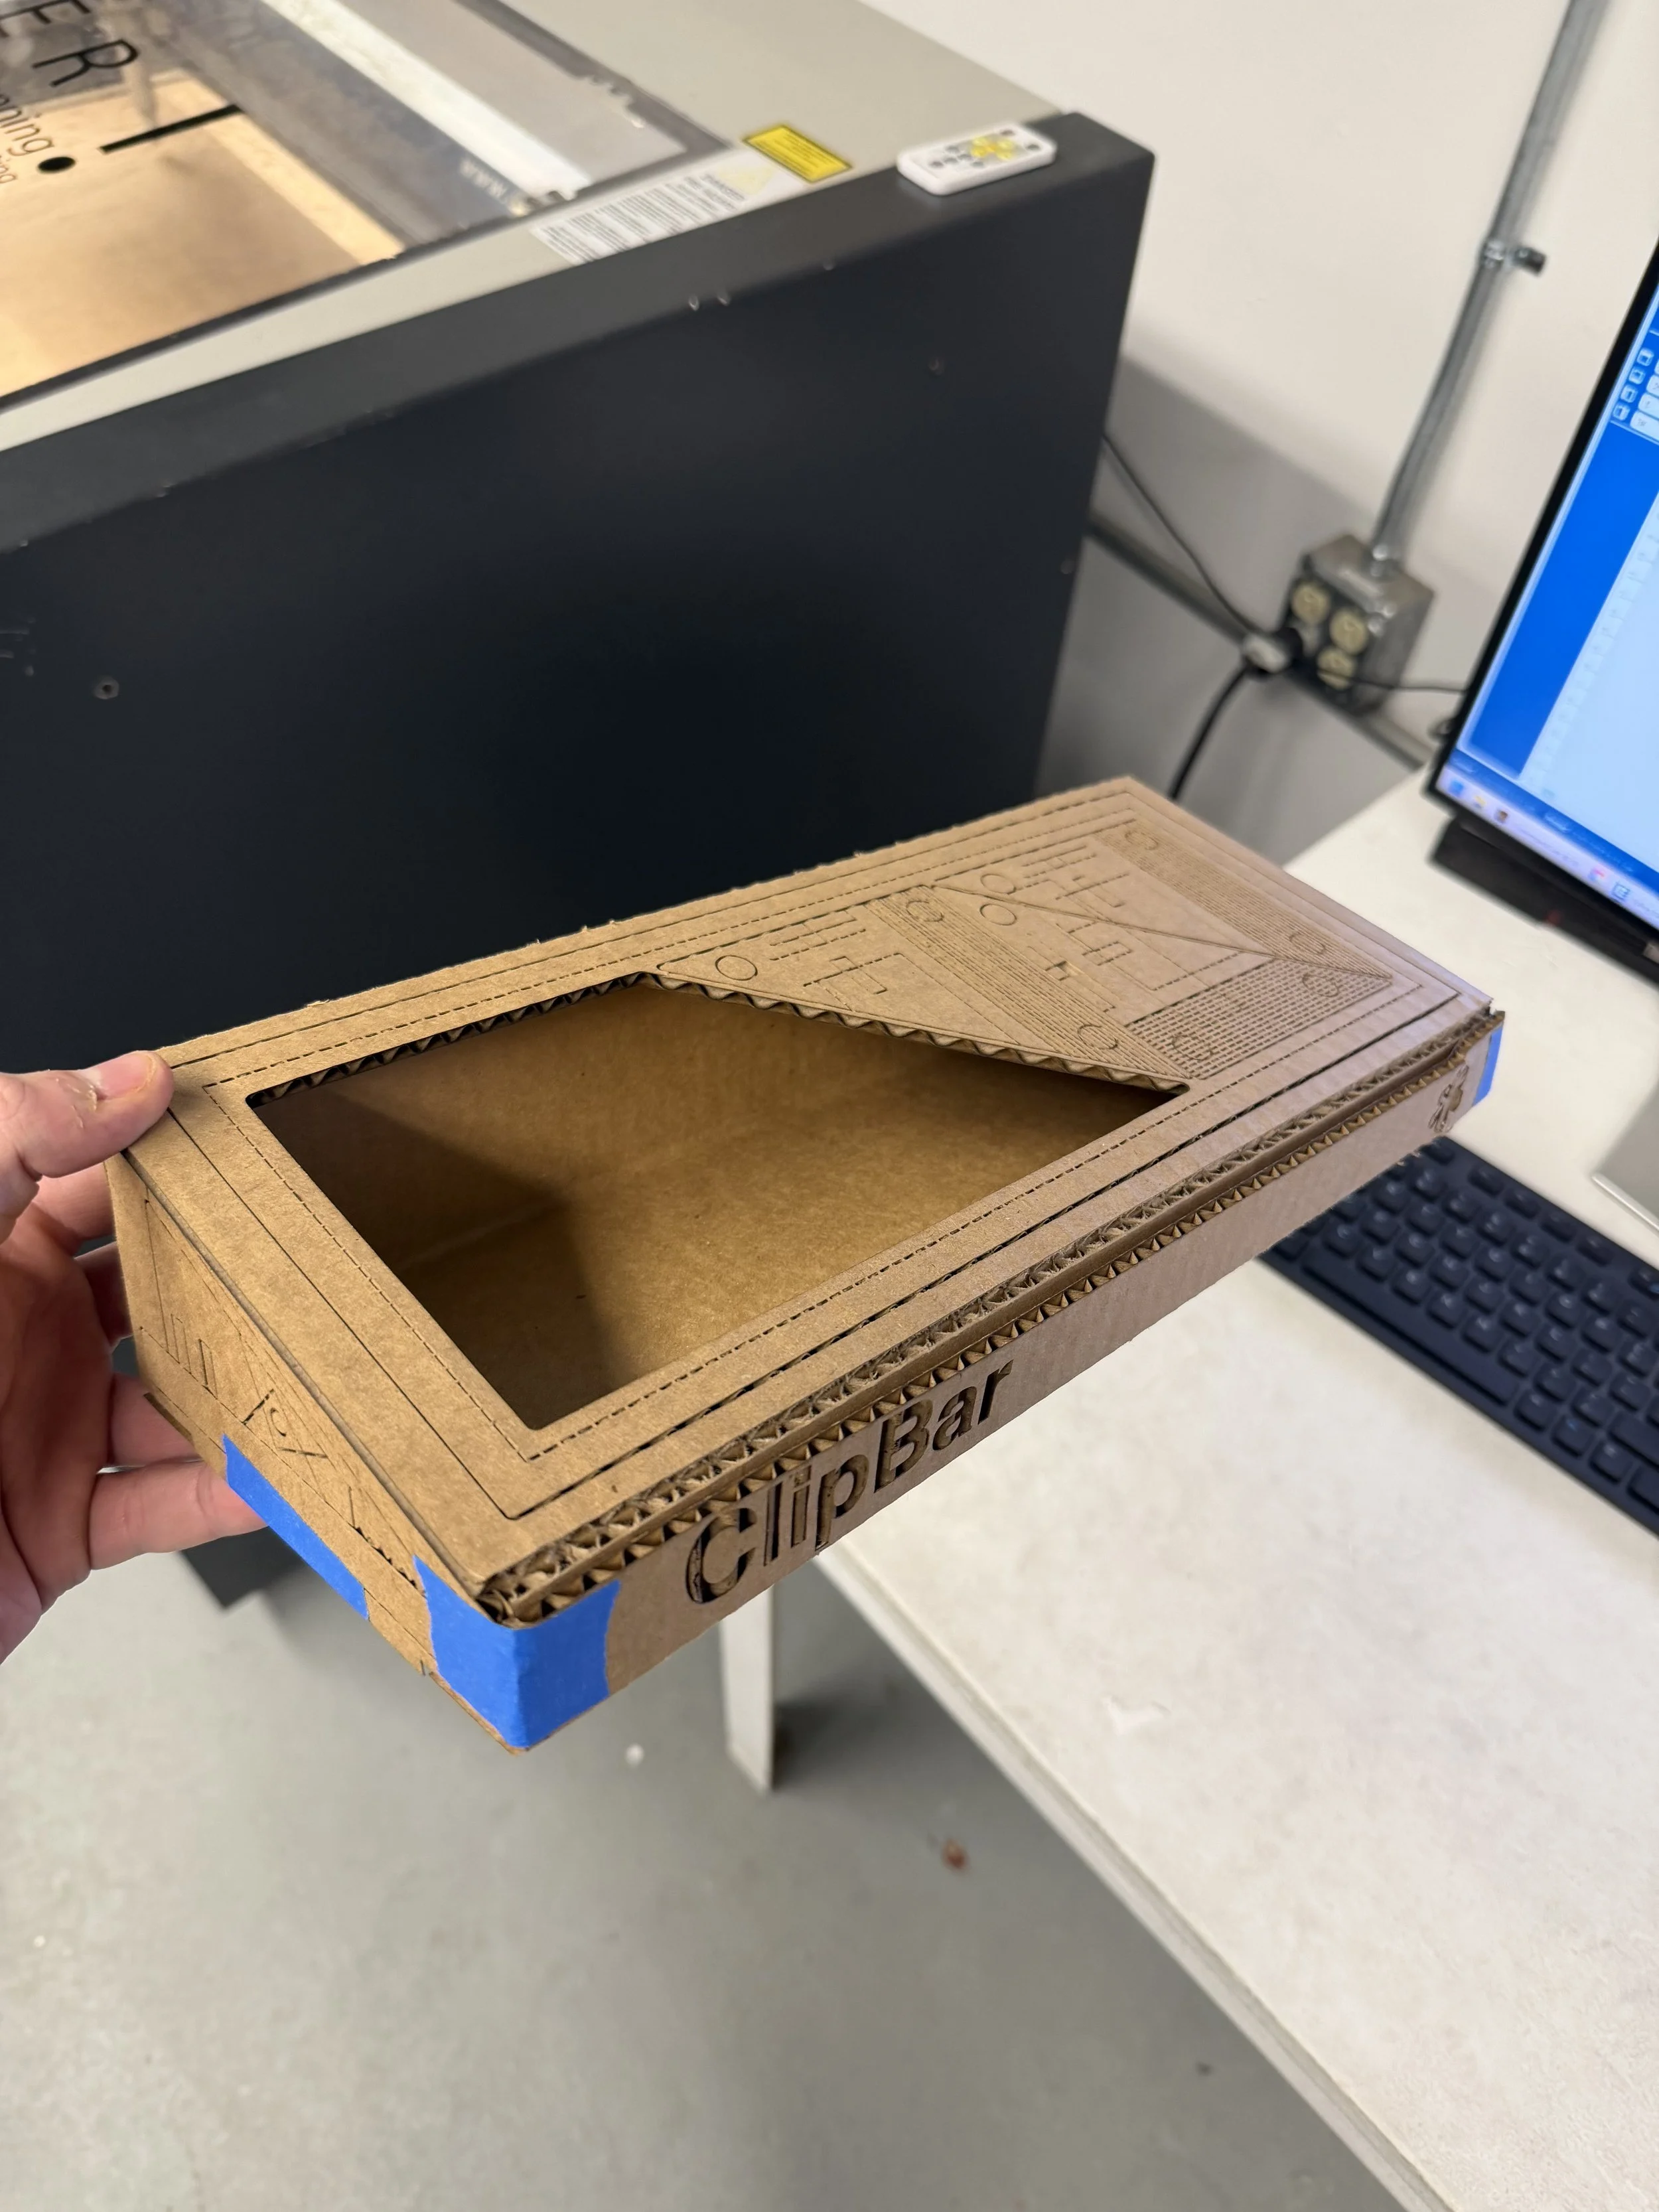
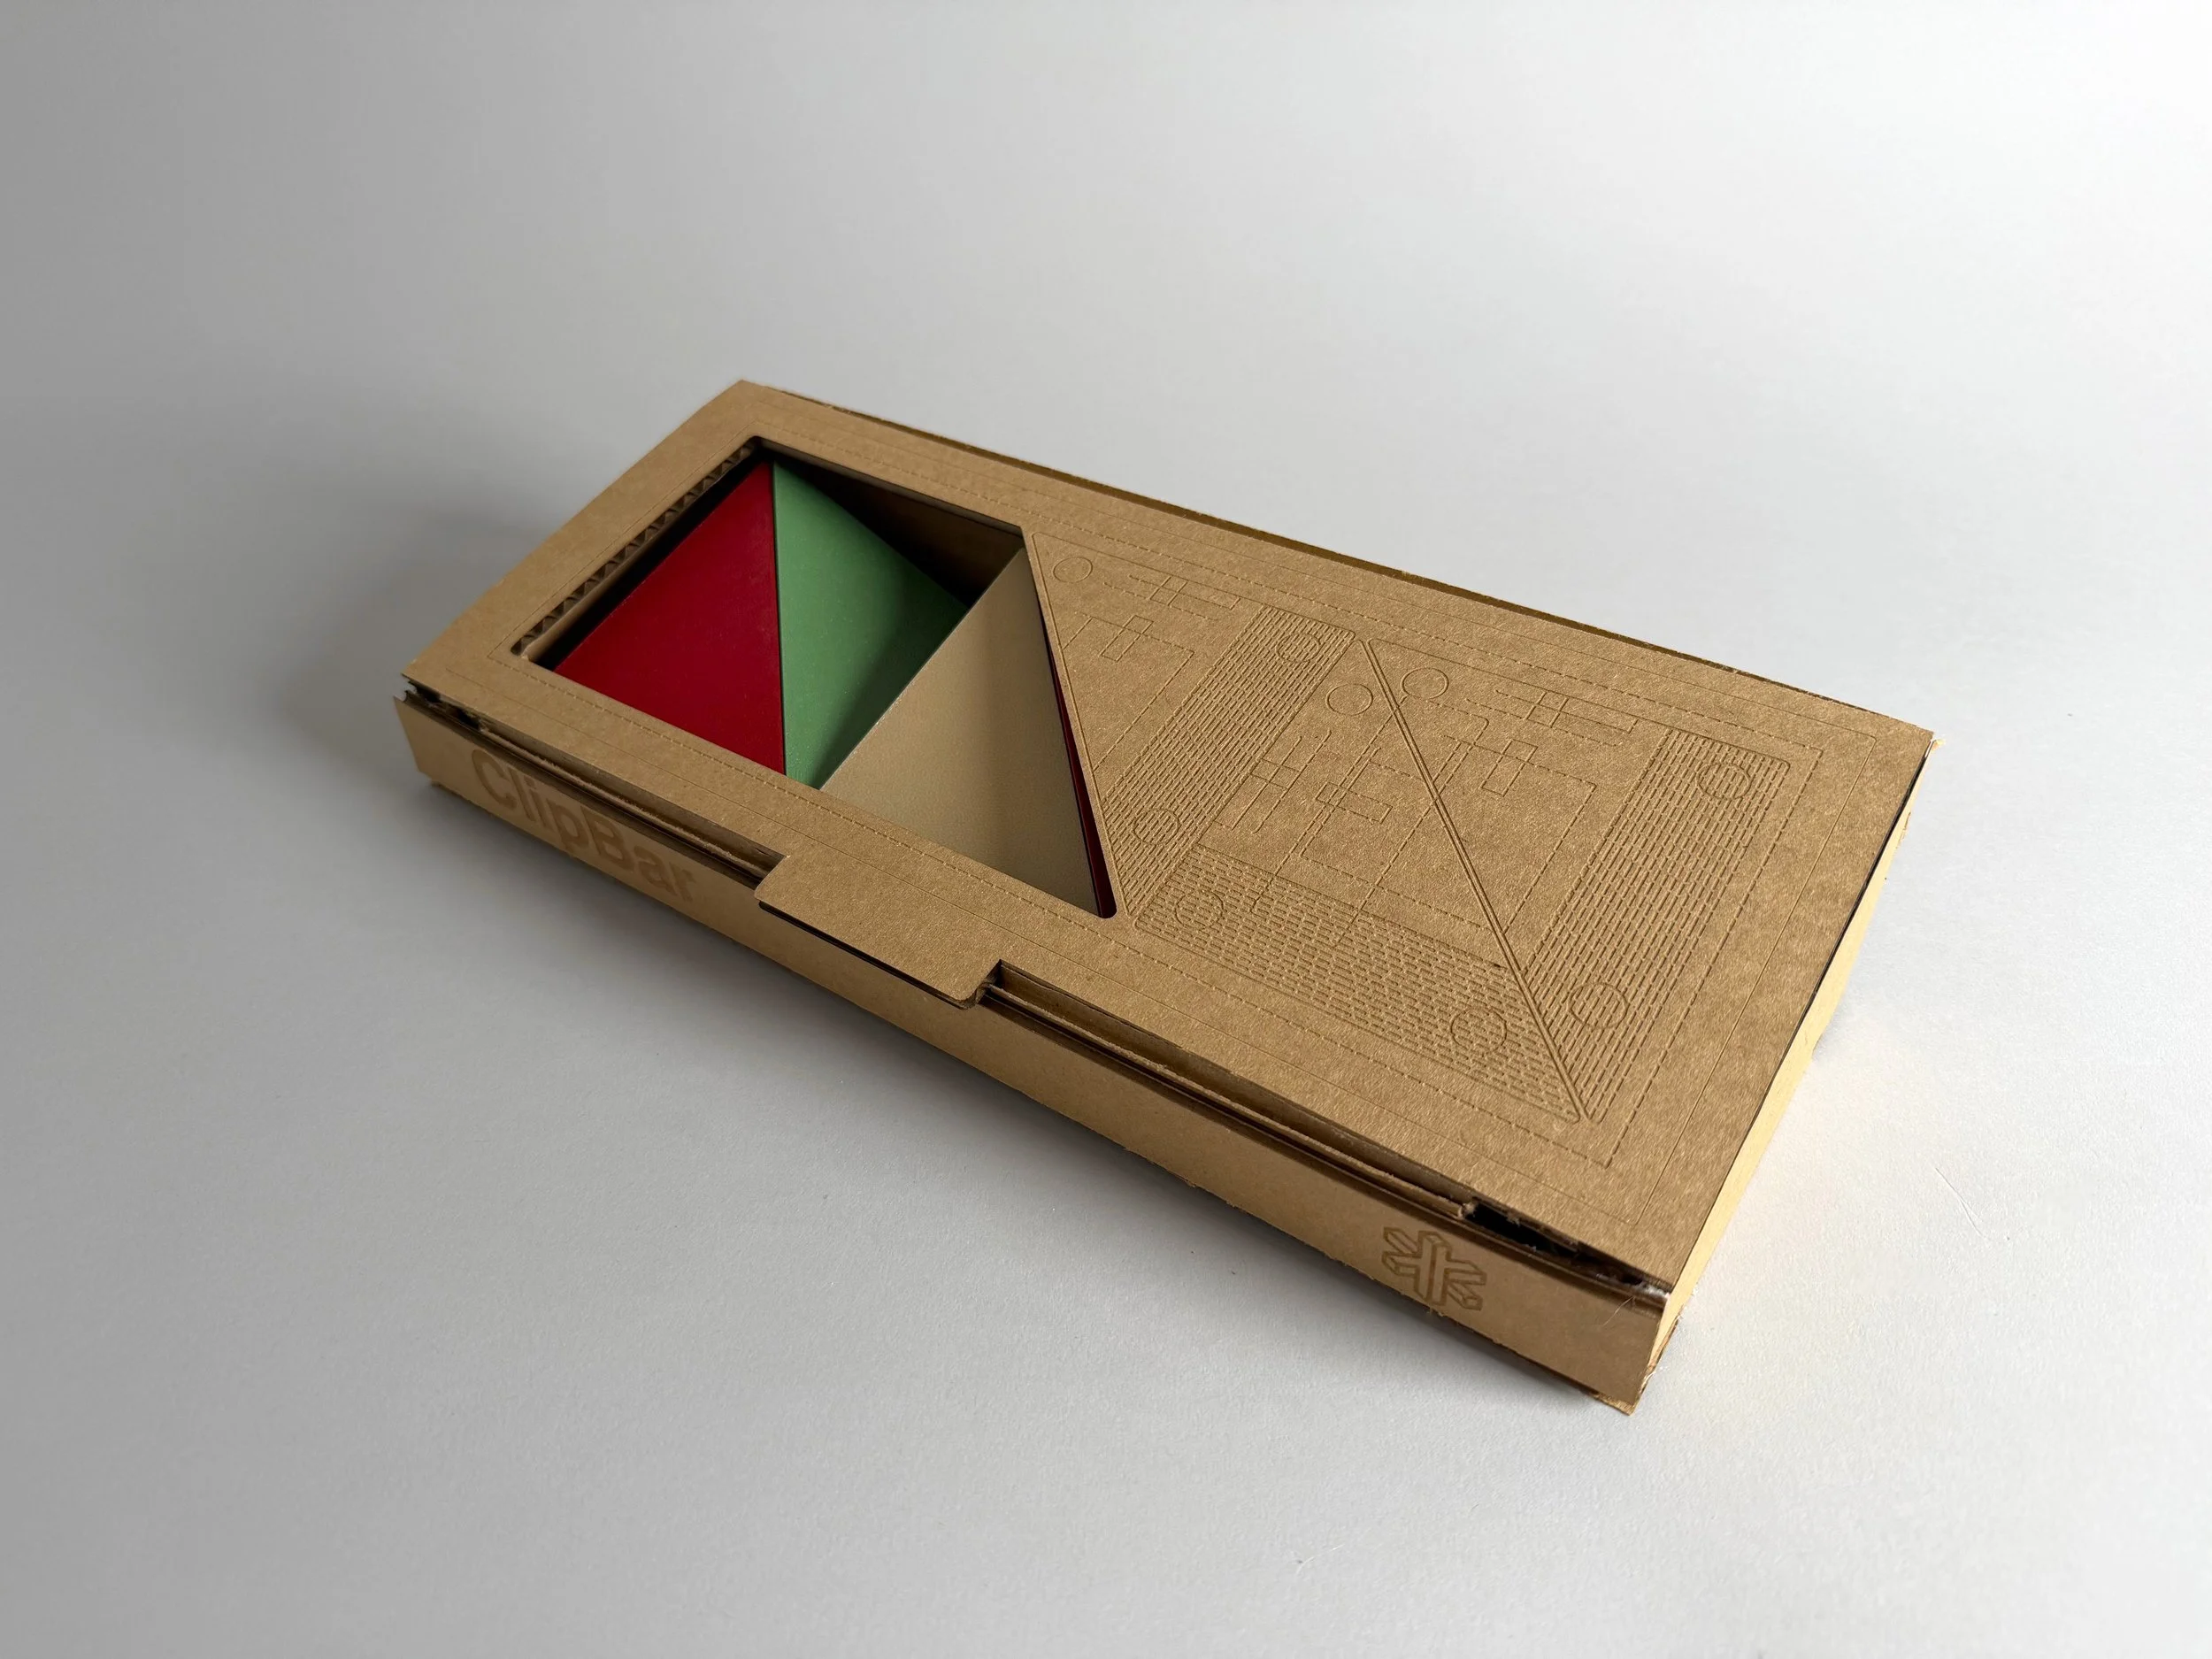
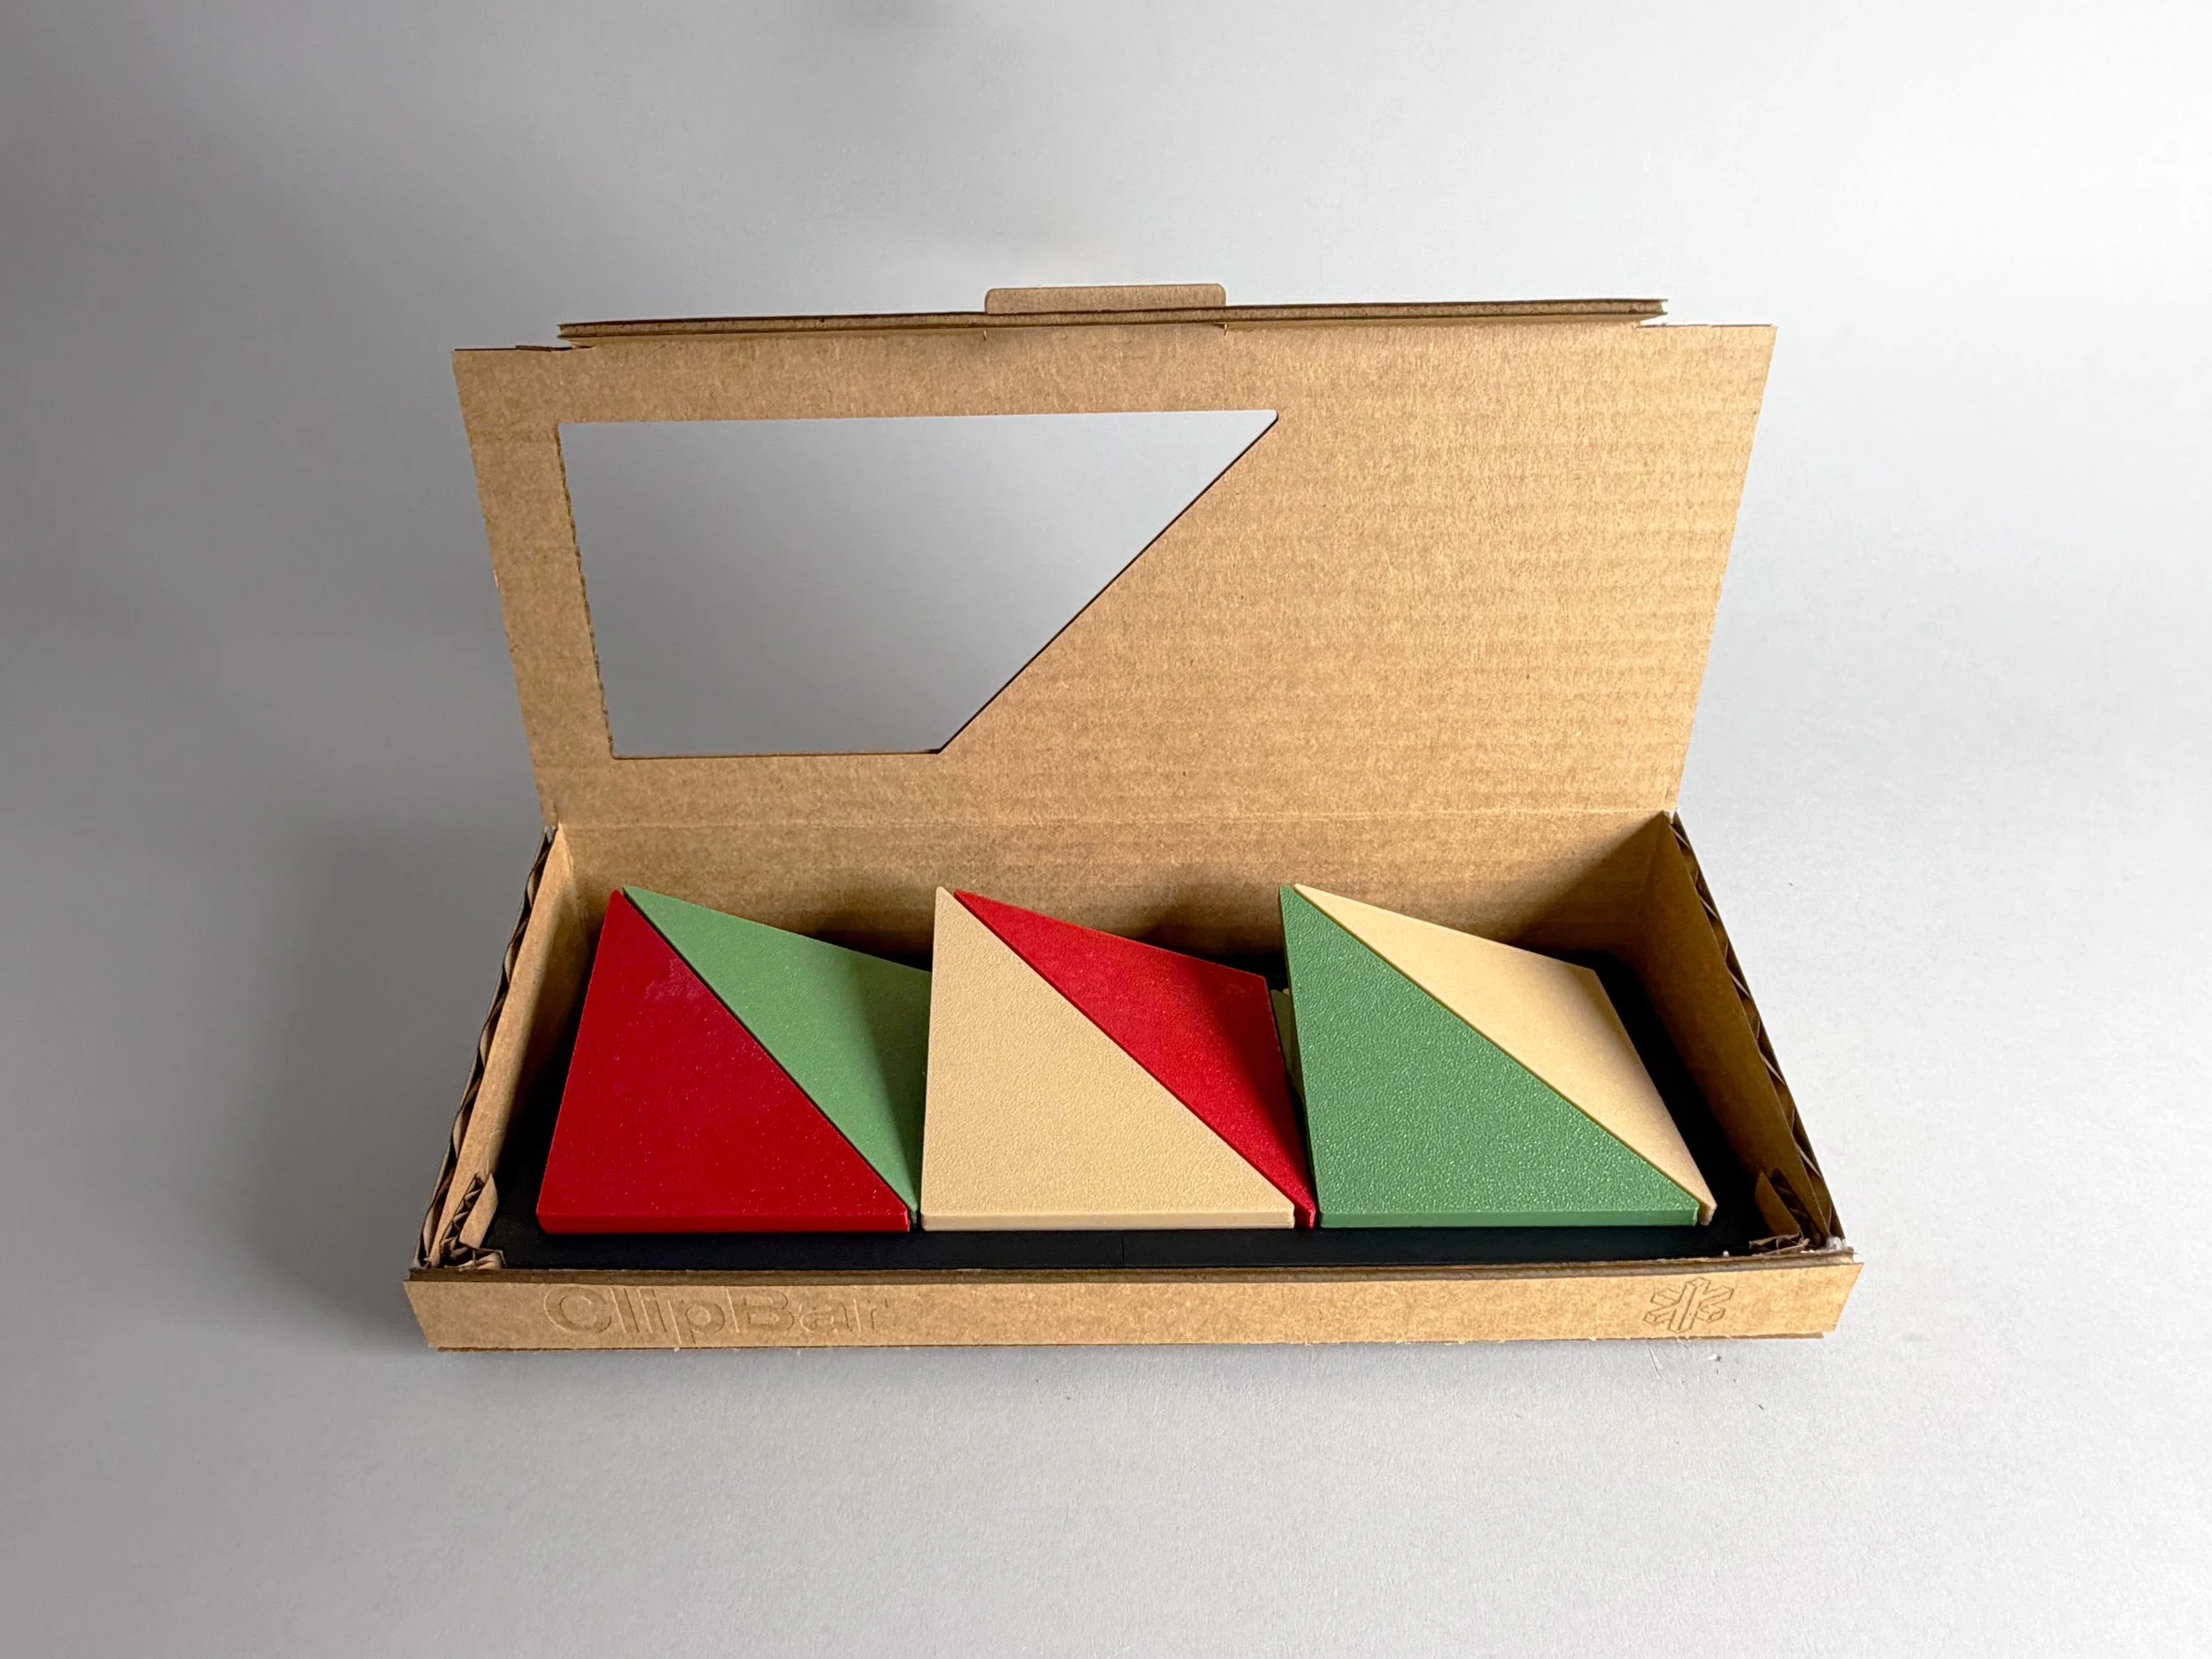
Final glued packaging
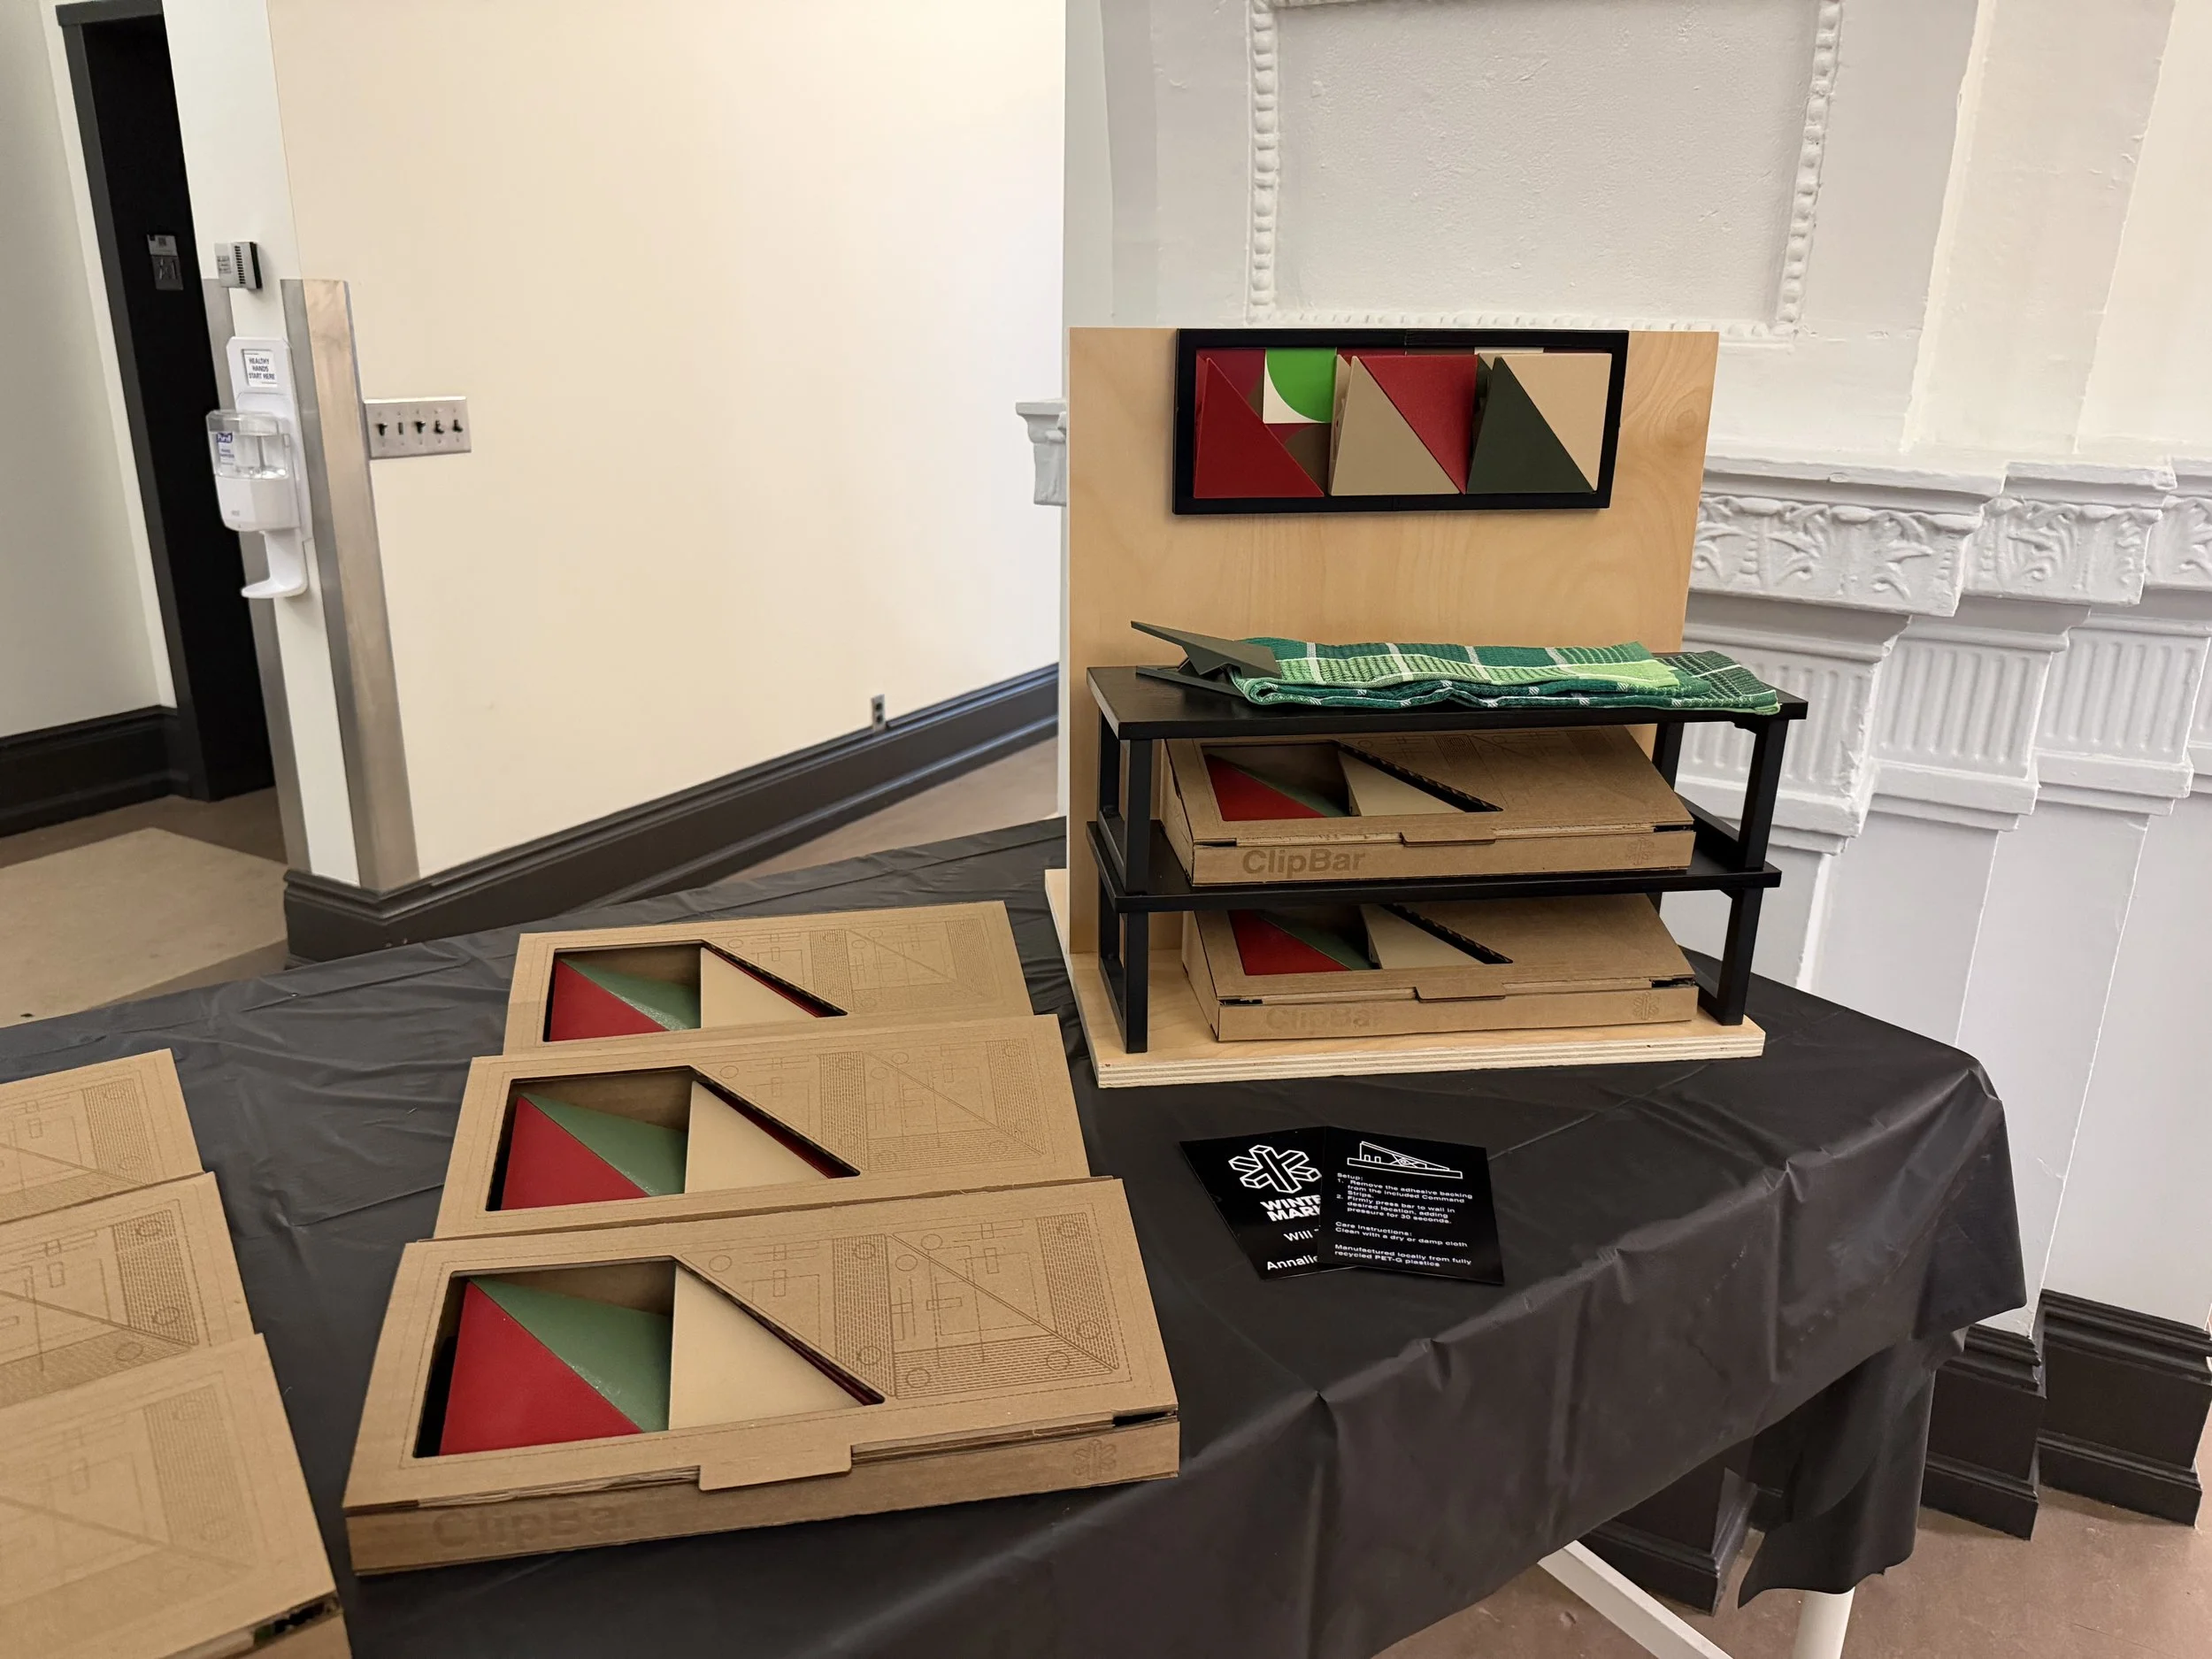
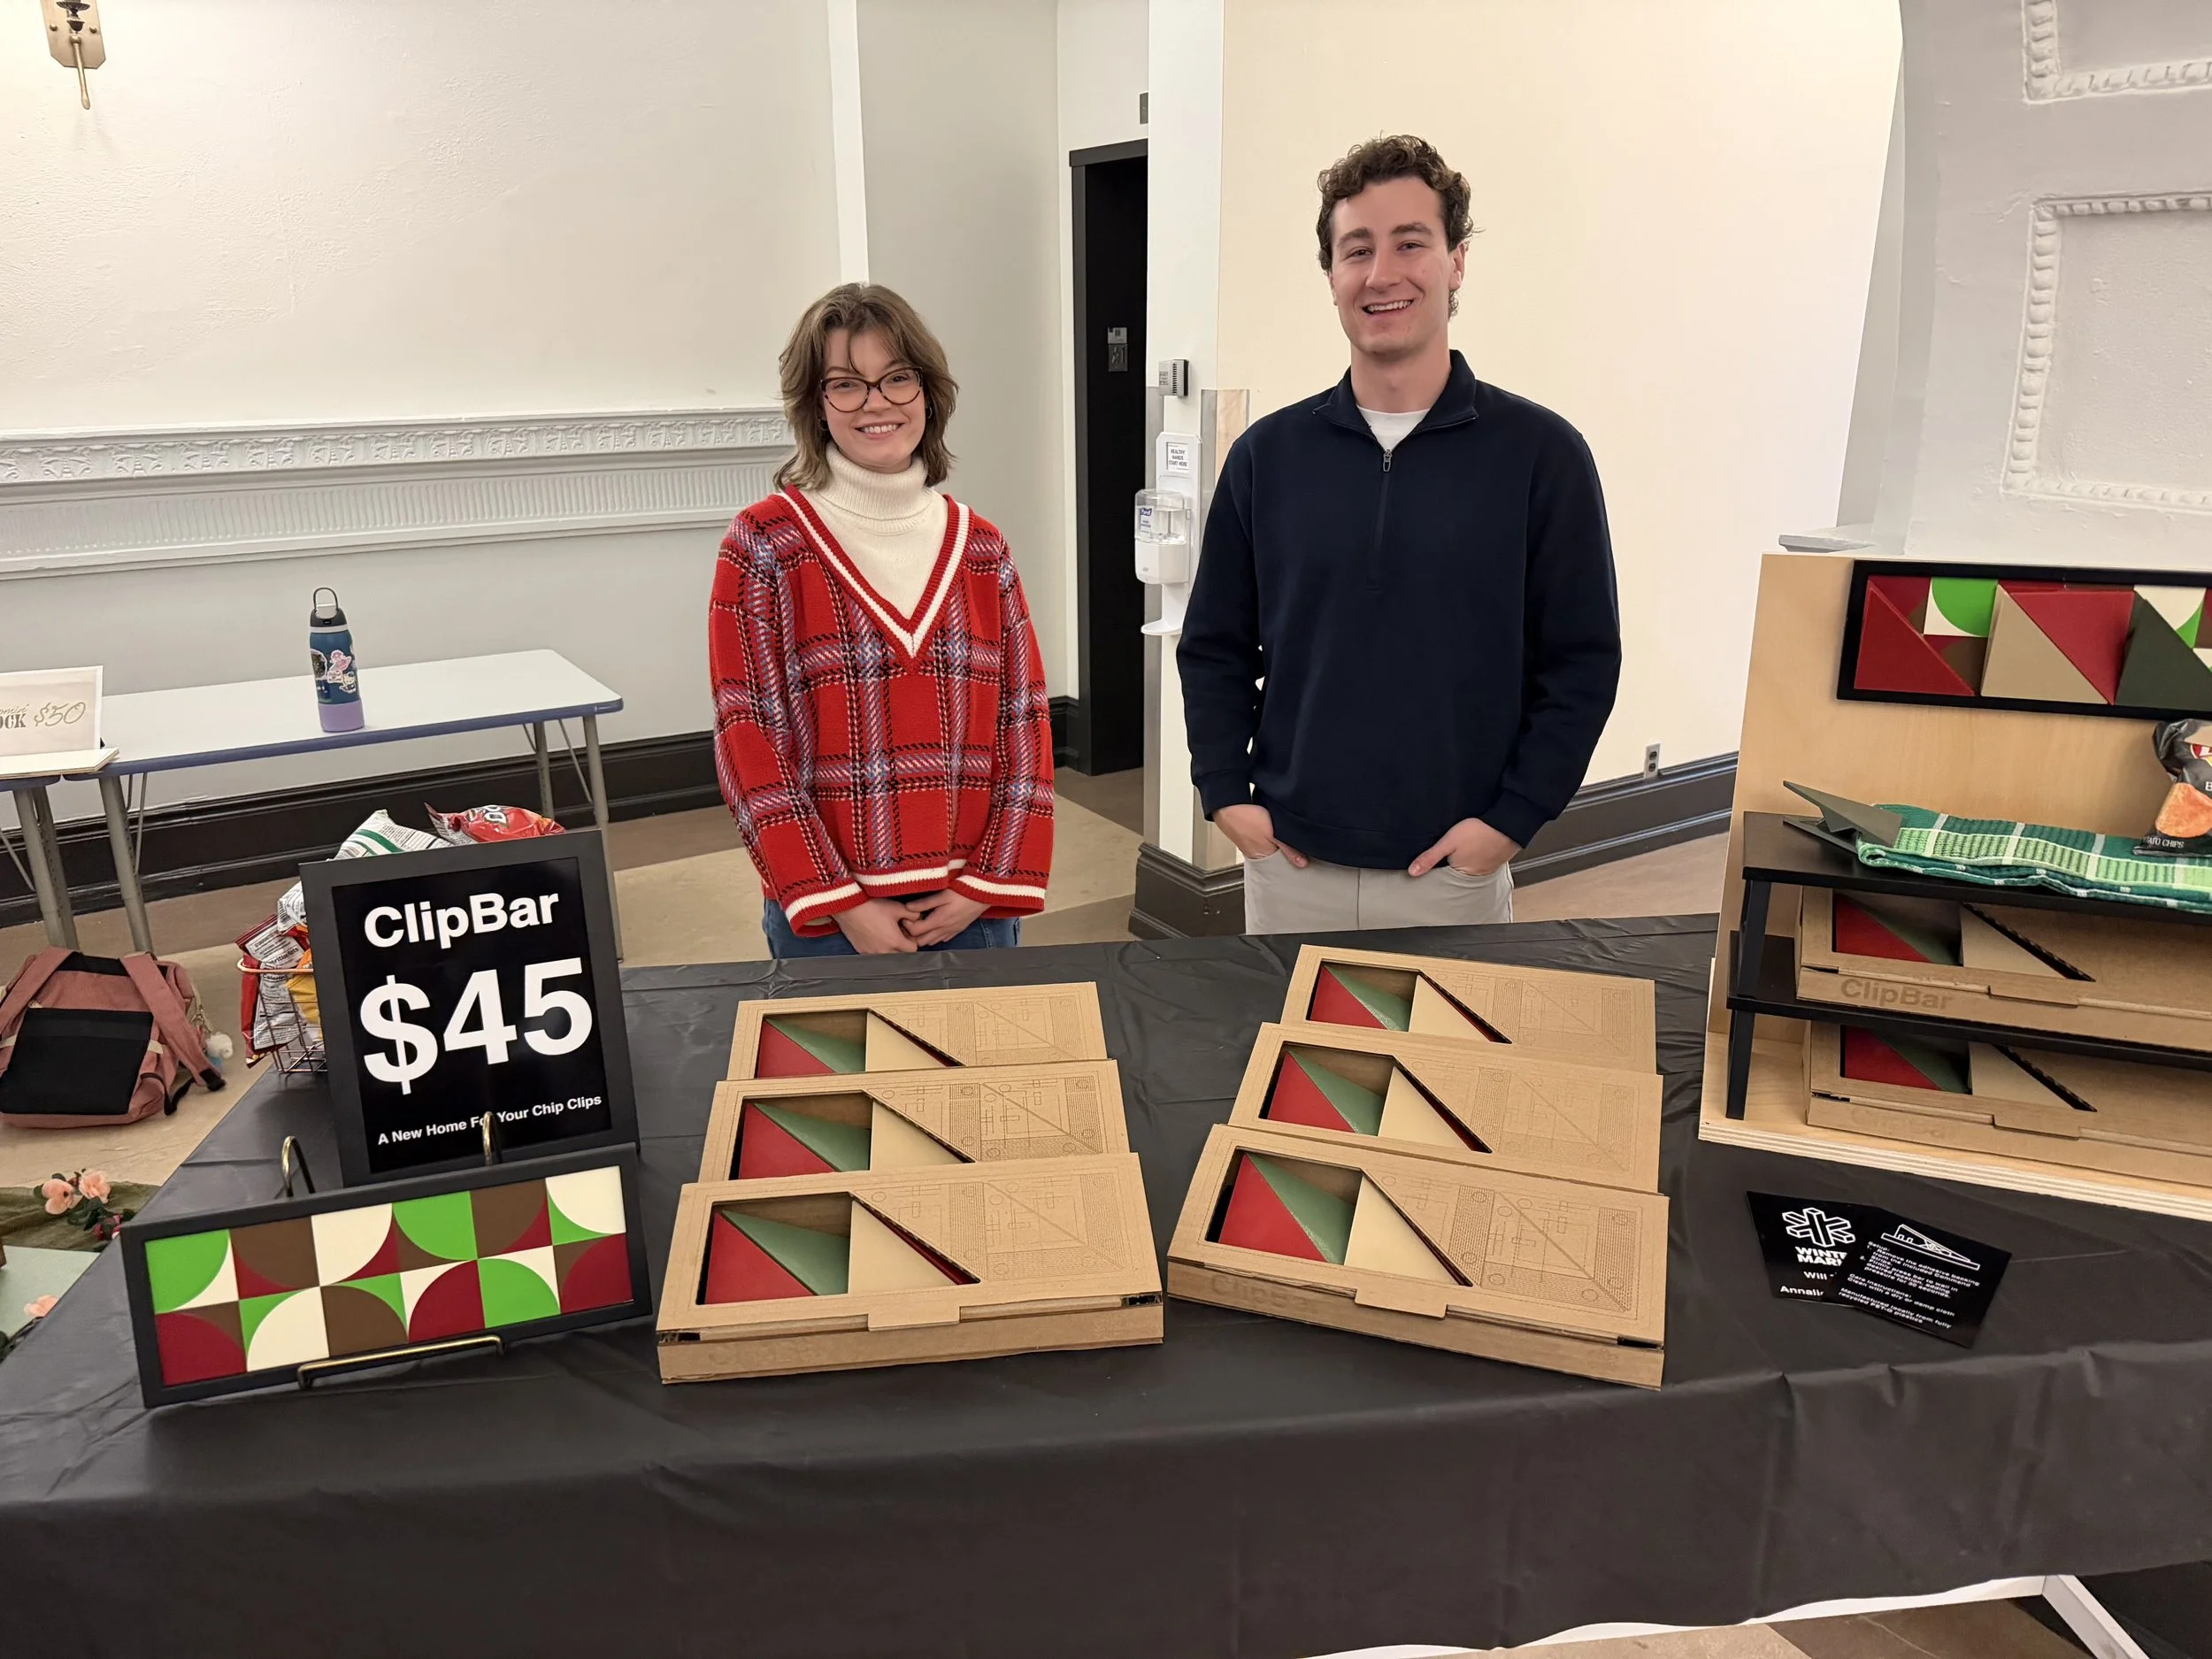
Winter Market
The final 10 ClipBars produced were sold at the Ohio State University Department of Design’s eighth annual Winter Market. After giving our pitch to all who came, we were able to sell-out within an hour. I learned so much about working closely with a partner, assigning a cost to my labor/time, and preparing to sell a design I made. I sincerely look forward to seeing my work being sold again!